DIY Color Stained Wood Welcome Mat
Posted by DecoArt on Jun 2nd 2016
Items Needed:
- Americana Decor Color Stain 8oz - White
- Americana Decor Color Stain 8oz - Coral
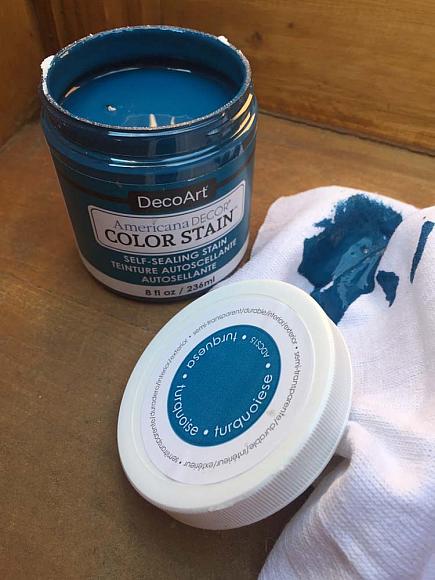
- Americana Decor Color Stain 8oz - Turquoise
- Americana Decor Color Stain 8oz - Navy
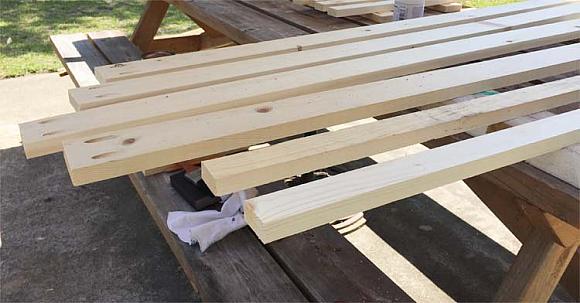
- 1x3's (for Slats)
- 1x2's (for Frame And Supports)
- Kreg Jig (set For 3/4" Pocket Holes)
- 1 1/4" Pocket Hole Screws
- Brad Nailer
- Sander
- Paint Brush
Instructions:
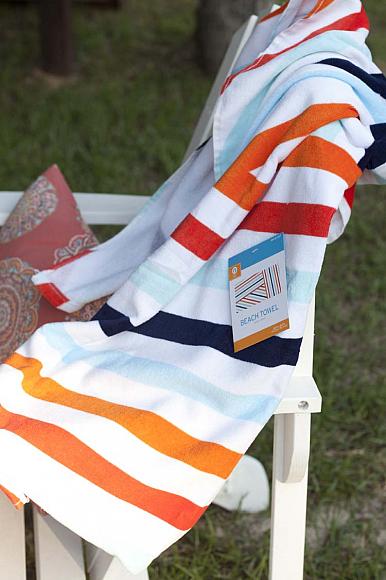
I had gotten some new pool towels for the summer, less because we need new pool towels and more because I really liked the colors. These towels were the inspiration for my new color stained wooden welcome mat and I couldn't be happier with how it turned out. Here's how to create your own:
Gather your supplies!
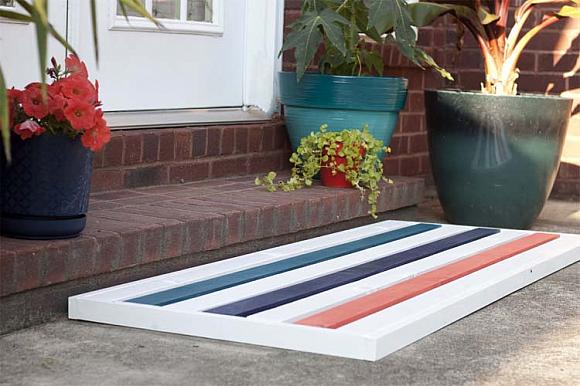
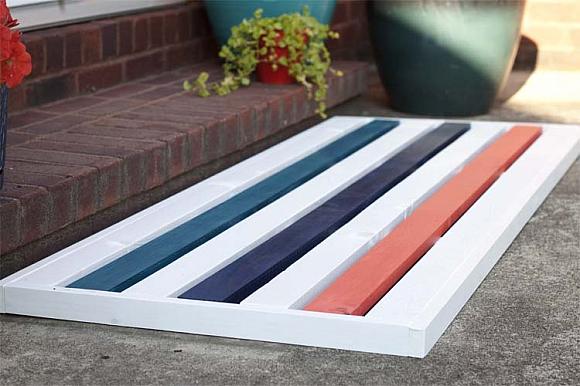
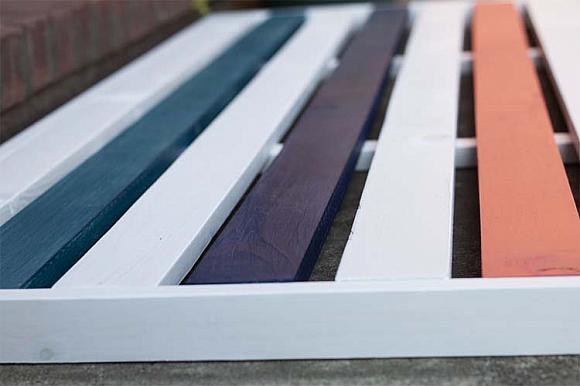
Your cuts will depend on the size of your mat. You will attach your top slats with pocket hole screws from the bottom to the sides of your frame leaving approximately a 3/4” gap between each slat, if desired. Then you will nail on the bottom supports and front of the frame. I cut and stained all of my wood pieces prior to assembling.
I was completely amazed by how rich and highly pigmented these color stains are. To be honest, I was a little skeptical about how the white would work.
In the end I only did two coats of each color stain and the white is just as white as the navy is navy and the coral is coral. Beautifully saturated color with the added bonus of the gorgeous wood grain still coming through. If you prefer a more translucent effect one coat is all you will need.
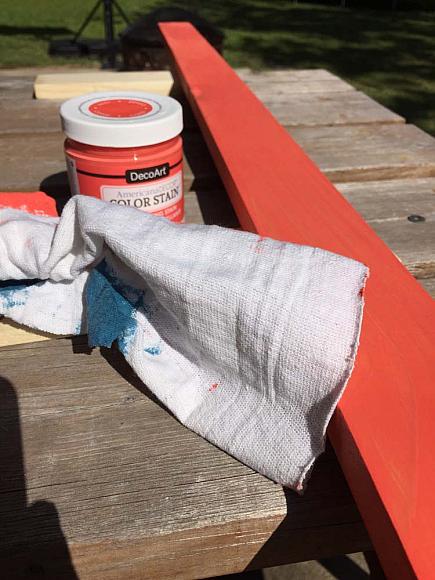
Initially, I applied the stain with a clean rag but found that using a brush was quicker. Since the stains aren't super thin like traditional stain using a brush didn't make a mess and all I had to do was clean out my brush with soap and water when I was done. Doesn't get any better than that!
The stains are self sealing and perfect for outdoors. I love the trendy color palette.
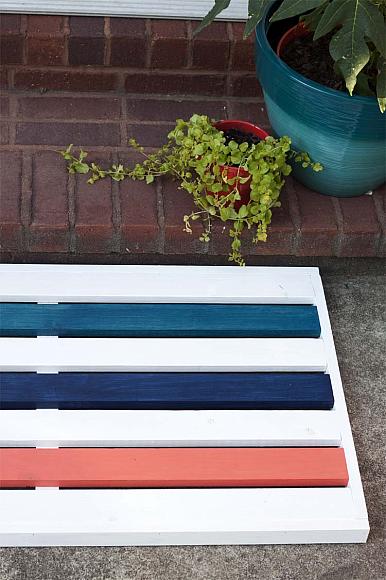
I finally have the perfect patio mat and I made it myself. This project has me so excited for summer and our upcoming patio makeover. And these color stains have me wanting to stain all the things!