
Fall Landscape Reflected
Posted by DecoArt on Apr 29th 2015
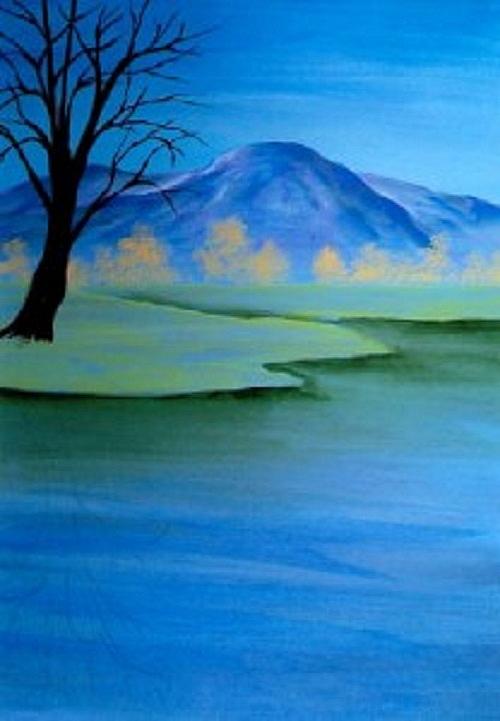
Capture the sights and colors of a beautiful fall day on the bank of a small lake.
SUPPLIES
- water container
- palette or plastic plate
- paper towels
- tracing paper
- 1" flat brush
- fine-grit sandpaper
- #2 liner brush
- 1/2" stippler brush
- #8 flat brush
- #12 flat brush
- mop brush
- stylus
- pencil eraser
- 8" x 10" canvas
- grey transfer paper
- #8 filbert brush
- #2 fan brush
INSTRUCTIONS
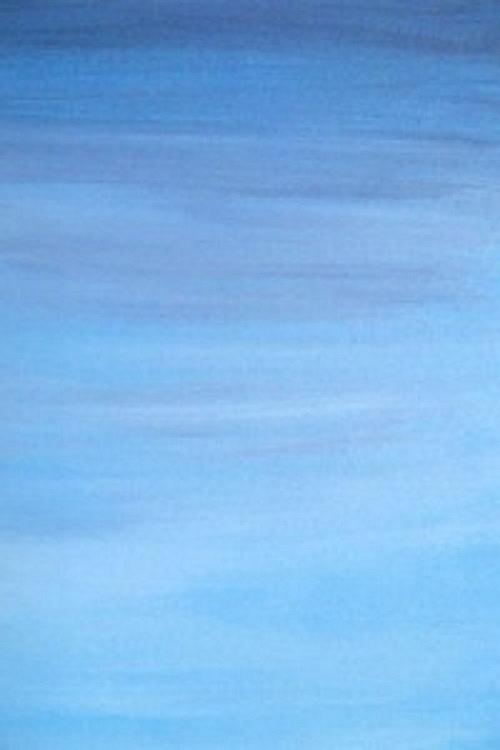
- Use a 1” flat brush to basecoat the canvas with one coat of Baby Blue. Let dry.
- Using a 1” flat brush, begin basecoating at the bottom with horizontal brush-strokes of French Grey Blue, allowing some of the undercoat to show and ending about 1/4 of the way up.
- Begin brush mixing in some Winter Blue as you work towards the top of the canvas, ending with Winter Blue only on the brush. Allow some of the Baby Blue undercoat to show through as streaks. (Tip: Keeping the paint a little on the wet side helps it to move better.)
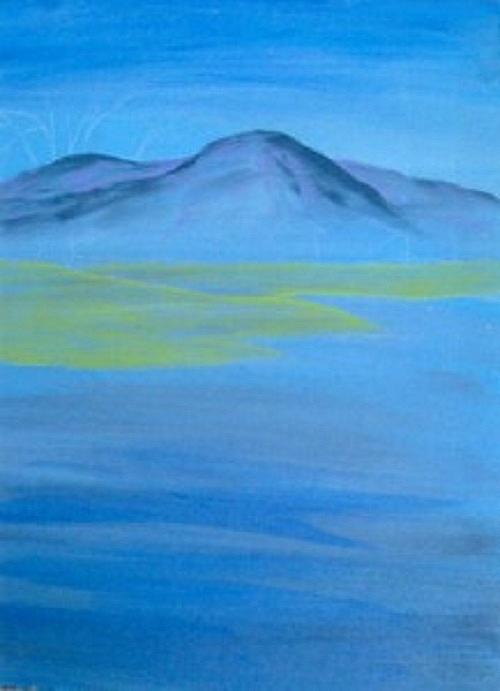
- When dry, sand lightly the canvas and transfer the pattern, the outline of the mountain and banks only.
- Loosely float in the shape of the mountain with a side-load of French Grey Blue, using a #12 flat brush.
- Make two mixes for the mountain: Dark mix: Blue Harbor, French Grey Blue, and Razzle Berry (1:1:1); Light mix: Baby Blue, Razzle Berry, and Snow White (2:2:1).
- Using a #12 flat brush, float in the darker areas on the right side of the mountain with the dark mix and float in the light areas on the left side with the light mix.
- Wash/float Blue Harbor on some of the dark areas.
- Highlight the lightest areas, the base of mountain, and suggestions of snow on the left side of the mountain with a side-load of Winter Blue. Repeat as necessary for desired lightness.
- Float in the lake banks with a #12 flat brush and Foliage Green, slightly thinned.
- Using a 1” flat brush, float between and under the banks with Plantation Pine. (This should be quite dark, so repeat as necessary, making sure to let it dry between applications.)
- Using a small fan brush, paint the short grasses on the banks with the following colors, one at a time: Foliage Green, Plantation Pine, Camel, and a little Burnt Orange.
- Stipple in the distant trees with Camel, using a #8 filbert brush and slightly dry paint.
- With the same brush, stipple in Charcoal Grey at the bases and on the right sides for shading.
- Add additional colors of Burnt Orange and Orange Twist.
- Stipple in the evergreens with Plantation Pine, using a #8 filbert brush. Let dry and do a second coat so the color is darker.
- Highlight the left sides of the evergreens with Foliage Green, side-loaded on a #8 filbert brush.
- Basecoat the trunk and branches of the large tree Charcoal Grey, using a #2 liner brush.
- Use a #2 liner brush to add a few streaks of Burnt Orange for a highlight on the left side of the trunk.
- Using a 1/2" stipple brush and Camel, pounce in leaf clusters, varying their sizes.
- Pounce Honey Brown on the bottoms and right sides of the clusters.
- Pounce in highlights of the following colors: Cadmium Yellow, Orange Twist, and Snow White.
- Using a #8 flat brush, paint short, horizontal strokes, adding shadow and leaves under the tree with horizontal strokes to resemble fallen leaves with Charcoal Grey, Burnt Orange, Honey Brown, and Cadmium Yellow.; darken with Plantation Pine if needed using a small fan brush, creating grass.
- All reflections are painted wet on wet: Dampen the surface with a 1” flat brush; lay in desired reflection and mop gently with a mop brush to soften the image. Let dry completely before repeating the directions for the next reflection.
- Dampen the surface and paint in mountain reflection, with two mixes used originally in step 6. Let dry; dampen again; and add snow and light highlights with Winter Blue. Mop again.
- Paint in the evergreen trees reflection with Plantation Pine and a #8 filbert brush.
- Paint the tree trunk reflection with Charcoal Grey using a #2 liner and #8 flat brushes.
- Paint the reflections of tree leaves using a stipple brush to pounce Honey Brown onto damp surface. Let dry; rewet; and pounce in Camel and Cadmium Yellow. Mop to soften. Dampen again; stipple in Orange Twist; and mop. The final color is Cadmium Yellow, mixed with a little Snow White, added in the same way.
- Paint leaves floating on the surface of the water in the same way as the leaves under the tree. (See step 23.)
- Add a motif in the lower right corner, either by transferring the pattern if needed or by free-handing.
- Paint a large rock and small ones on the bank with Charcoal Grey, using a #8 filbert brush.
- Paint little branches with a #2 liner brush and Charcoal Grey.
- Pull up grasses with a #2 liner brush using Plantation Pine and Foliage Green; Cadmium Yellow; and Burnt Orange and Orange Twist.
- Using a #8 flat brush, create little 1-stroke leaves with the chisel edge of a brush, using some Honey Brown, Burnt Orange, Cadmium Yellow, and a touch of Snow White.
- Remove any remaining graphite lines with a clean pencil eraser.
- Sign and then apply two or three coats of DuraClear Satin Varnish, allowing to dry between coats.