Faux Wood Shim Art
Posted by DecoArt on Apr 20th 2014
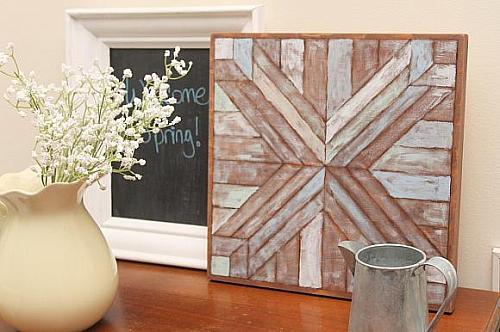
I love some of the wood inlay art I have seen in major home décor catalogs. I decided to make my own version on the cheap with a few simple tools. You can make my faux wood shim art in any pattern you choose. I choose to make a quilt square type design.
Items Needed:
- 12 X 12 Birch Wood Canvas From Walnut Hollow
- Ruler
- Pencil
- Wood
- Creative Versa-Tool
Instructions:
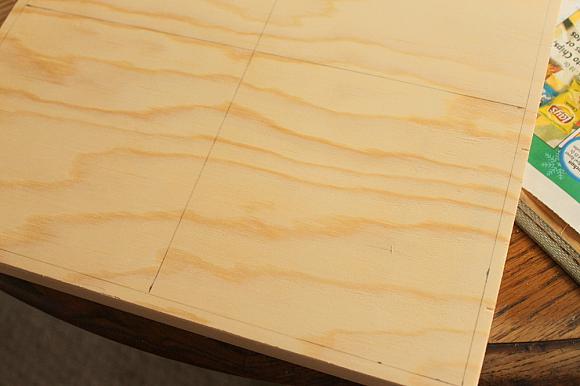
Let’s start creating our design. Using your ruler and pencil draw a line ¼ of an inch around the perimeter of the board. Then draw two lines down the center in both the horizontal and vertical direction.
I then did a one inch and two inch square in each corner as shown below.
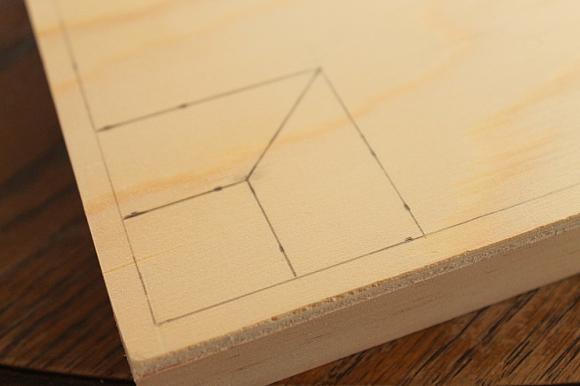
Using a long ruler or yard stick, connect those squares as shown below. Be sure to stop at your center lines as shown.
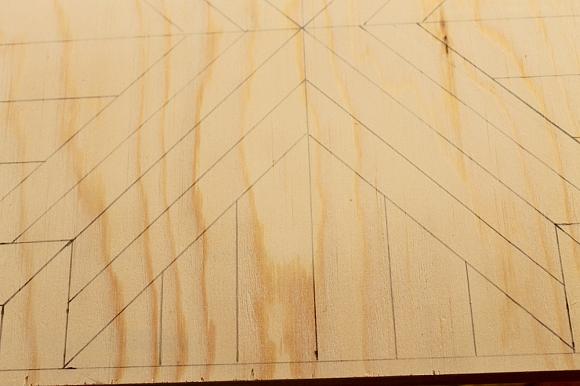
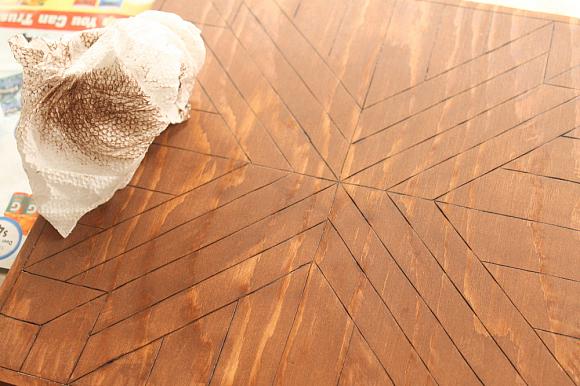
So the center line starts at the point of your 2 inch square. The other two lines start at the corners of your 1 inch square. You can see the results in the image below. If you mess up at all just erase the lines and try again. That is why we are using pencil.
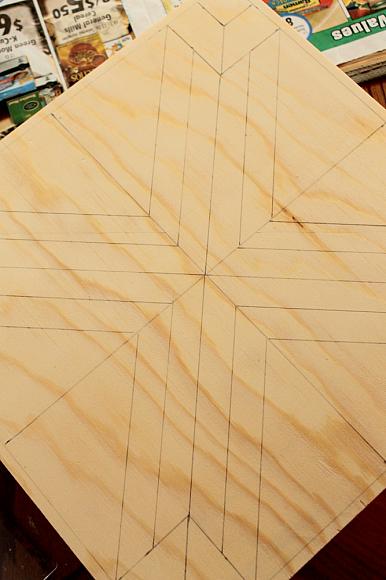
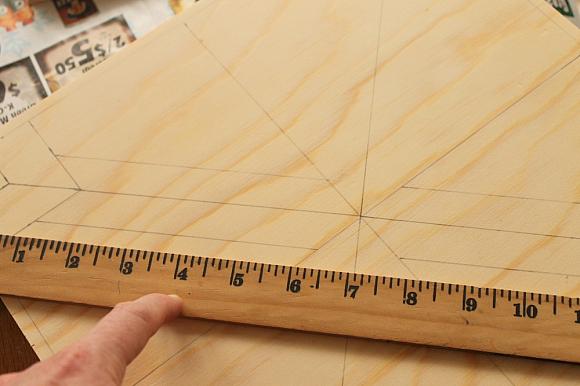
Then each of the remaining open areas should be filled with lines as shown. I used the width of the ruler I was using actually. It fit almost perfectly. Fill each of the four remaining open areas.
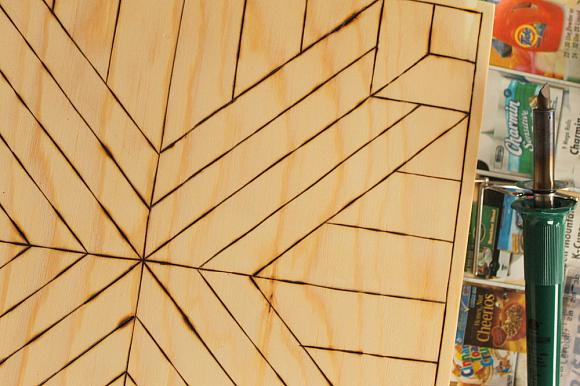
Use a wood burning tool next and go over all of your pencil lines. Don’t be afraid of a wood burning tool! It is just a pencil that is REALLY hot. So be extremely careful and trace your lines to make an inlay like appearance.
Now we are going to stain our board with Americana Gel Stain. I used Walnut because I love the darker color.
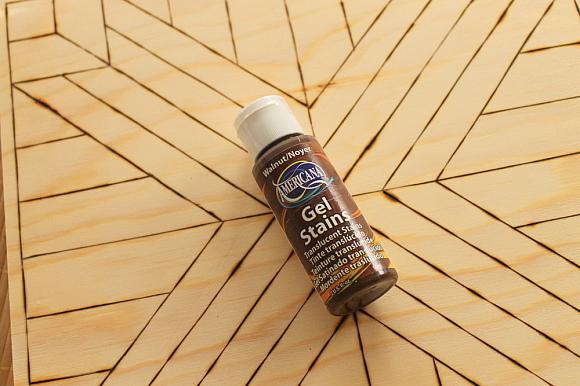
Apply the stain using a brush and let it sit for a few minutes. Remove any excess with a rag or paper towels.
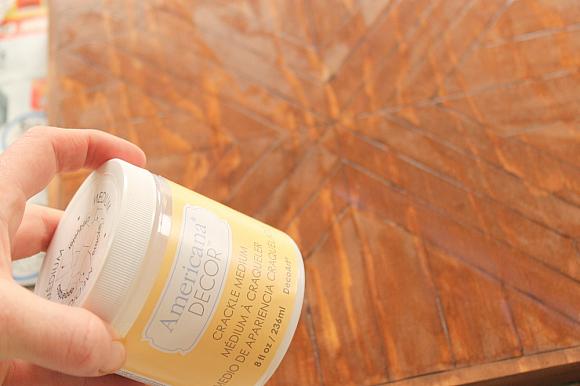
Allow the stain to dry then apply a layer of Americana Décor Crackle Medium. I applied only to my “inlay portion” of the design. I skipped the ¼ inch border that I added around the edge. I wanted my edge left wood color. Allow this crackle medium to dry completely before continuing.
I chose the Americana Décor Chalky Paint colors that go with my home décor. Feel free to change up the colors to any that you love.

Start with any color and in any area. Paint each inlay area with a color. I did some heavier with paint then others.
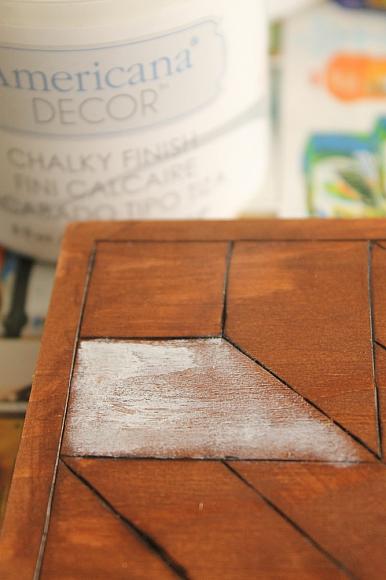
The thicker the coat the more crackle you will get. The lighter the coat the more it will look like worn or aged wood. I used both techniques to get a variety of looks. For an extremely light coat, apply paint to your brush then wipe most of it away. Use the dry brush to swiftly most across your area.
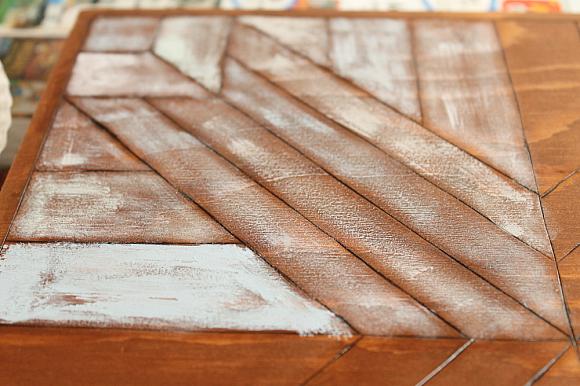
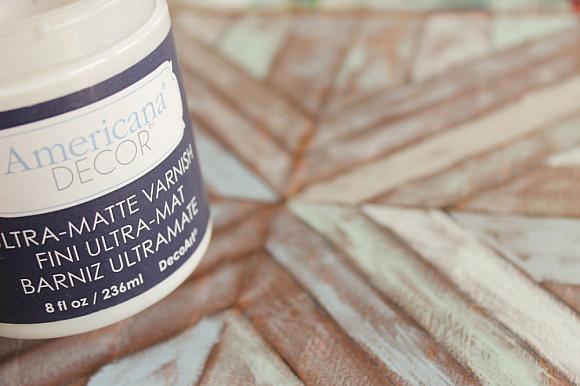
Paint each strip and vary the colors around your piece. Allow the paint to dry completely once you are finished. Then apply a layer of Americana Deco Ultra Matte Varnish to protect your project.
The variety of colors and textures on this piece is so intriguing.
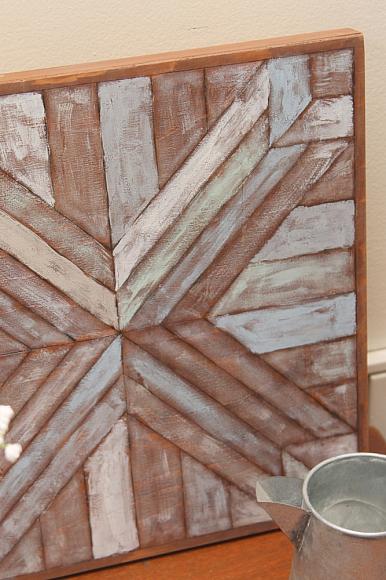
Add this faux wood shim art to your any room in your home. If you would like a larger version, buy 4 of these 12 inch canvases and connect them. You would then be able to make a 2 foot by 2 foot piece of art. Use the same method for laying out an inlay pattern. Vary up the pattern by looking up quilt block patterns on the web and using those for inspiration. I do recommend straight lines especially if this is your first time using a wood burning tool. Enjoy this faux wood shim art tutorial and let us know if you make your own.