
Festive Fall Pumpkin with Sandy McTier
Posted by DecoArt on Oct 15th 2020
Looking for a new decorative painting piece perfect for the Fall season? Follow along with Sandy McTier as she shows you how to create this fun and festive pumpkin painting using our new Holographic Illusions™ glitter paint (available at Hobby Lobby and Joann Stores) and other DecoArt® products. Grab the instructions below and follow along as Sandy demonstrates on "Make It Artsy" .
The French Proverbial Signboard used in this project is from Walnut Hollow.
You can get the brushes at The Brush Guys using the discount promo code: SANDYMC
The rest of the supplies can be found at the DecoArt® website as well as your local craft supplier
Items Needed:
- DecoArt Holographic Illusions 2oz - Dazzling Teal (DHG07-30)
- Americana Pearls 2oz - Snow White (DAPO1-30)
- Americana Pearls 2oz - Desert Turquoise (DAPO44-30)
- DHG06 Holographic Illusions Green Potion
- M2-2L 12x12 Flourish Stencil
- 206S #20 Shader
- 206S #14 Shader
- 206S #12 Shader
- 206A 1/2 Angle
- 206R #2 Round
- Medium Mezzaluna
- DYN22183 1/2 Stencil
- Water Basin
- Paper Towels
- Palette Paper
- Sanding Pad
- White Graphite
- Transfer Paper
- Stylus Or Pen
- French Provincial Signboard 12 X 20
Instructions:
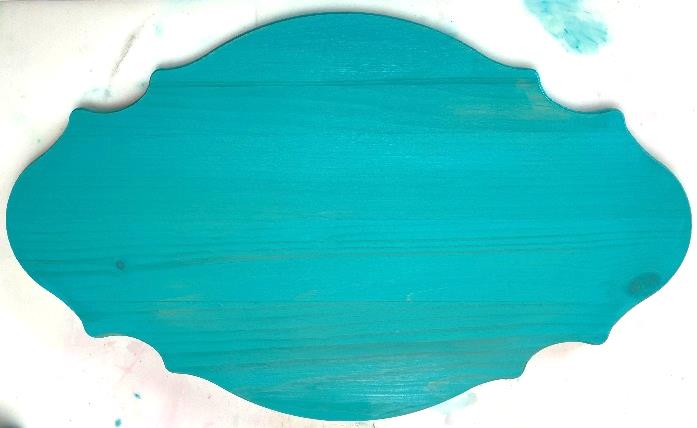
1. Load the large brush with Multi-Purpose Sealer™ and paint the entire surface; let dry. Lightly sand if necessary
2. Load the large brush with Vintage Effect Wash™ in Turquoise and paint the surface; let dry.
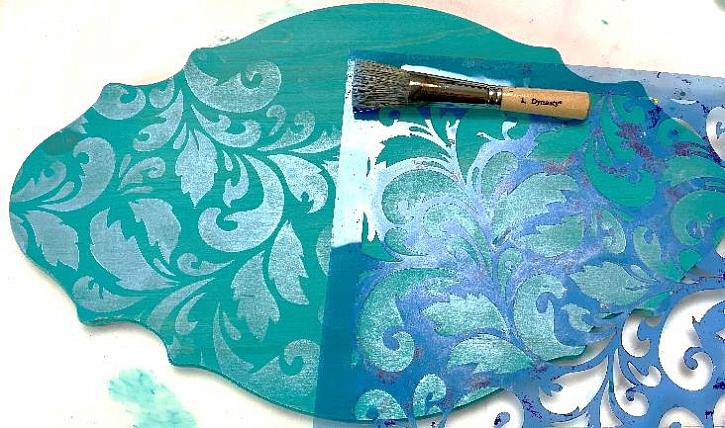
3. Load the 1/2" Stencil with Americana® Pearls™ Desert Turquoise and a touch of Pearls™ Snow White; mix on palette. Wipe almost all of the paint off on a paper towel. Lay the stencil on the surface and, using a soft circular motion, brush over the stencil. Go clockwise and counterclockwise. Reload brush as needed making sure to wipe off before stenciling. Let dry.
4. Print the pattern, cut off the edges, overlap the left and middle line drawings and then the right line drawing. Tape together and transfer the pattern onto the surface using transfer paper and a pen or stylus.
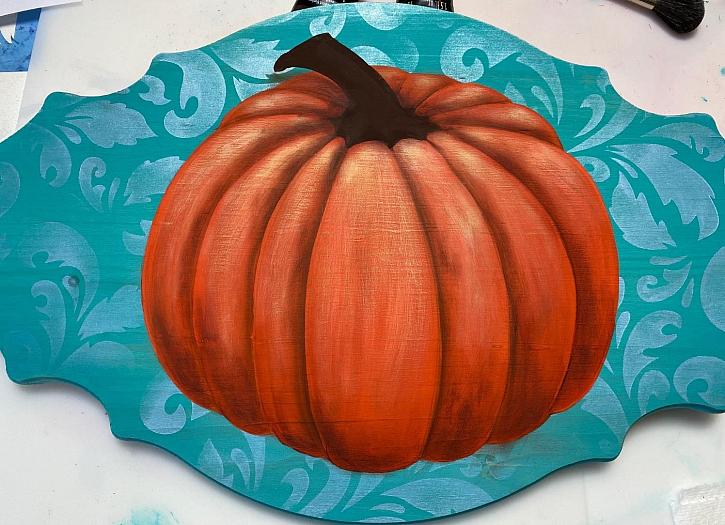
5. Load the large brush with Jack-O’Lantern Orange and Titanium White; mix on palette and paint the pumpkin.
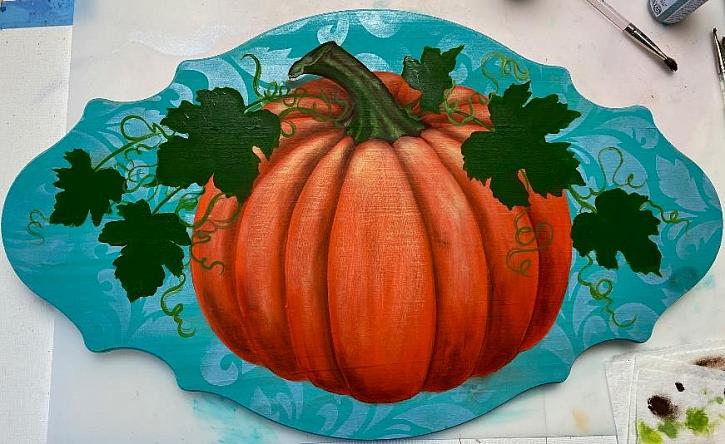
6. Load the large brush with Plantation Pine and a touch of Lamp Black; mix on palette to make a dark green color and paint the leaves.
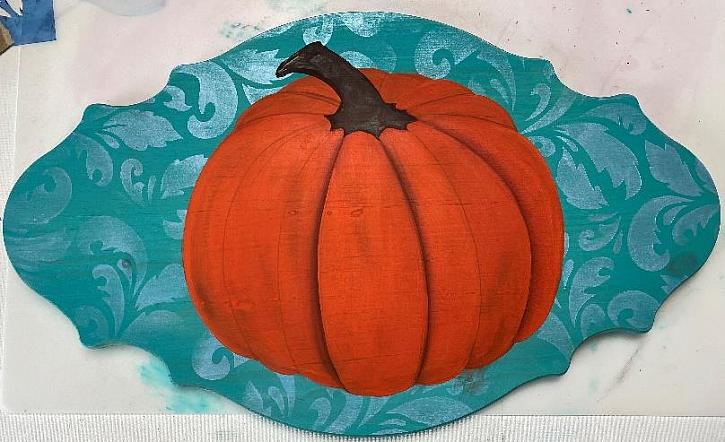
7. Load the #12 brush with Burnt Umber and a touch of Lamp Black; mix on palette and paint the stem.
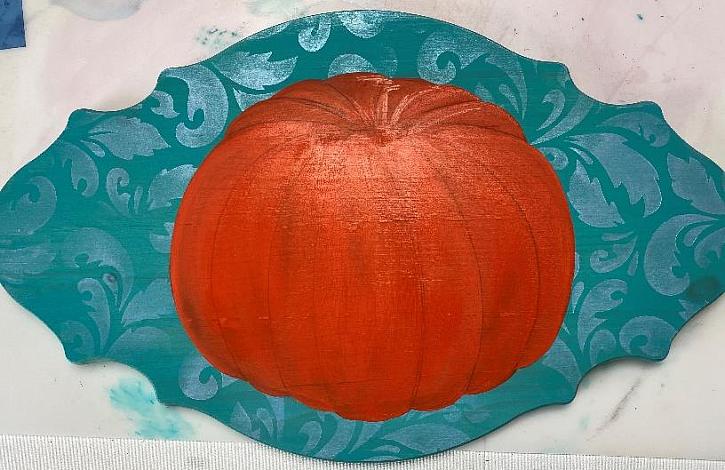
8. Load the large brush with Jack-O’ Lantern Orange and True Red (1:1/2) and mix on palette. Repaint the pumpkin. Notice how I just went over the leaves – you will still be able to see them through the color. Redraw the lines on the pumpkin sections if necessary.
9. Load the toe of a slightly wet 1/2” Angle with Burnt Umber; blend colors on palette. Float the color between the pumpkin sections; let dry. Swipe with your finger to soften the look after you paint the stroke if necessary.
10. Load the #14 with Burnt Umber and wipe brush off on a paper towel to get rid of excess paint. Dry brush the color on the base of each section. Move the brush around and use your finger to soften the look to avoid harsh lines. Repeat with Burnt Sienna. Let dry.
11. Load a dry 1/2" Stencil with Bright Yellow and Titanium White; mix on palette. Wipe almost all of the paint off on a paper towel. Pull highlighted color from the top of each section to create highlights. Repeat as needed.
12. Load a wet large brush with Jack-O’ Lantern Orange and paint a wash over the entire pumpkin.
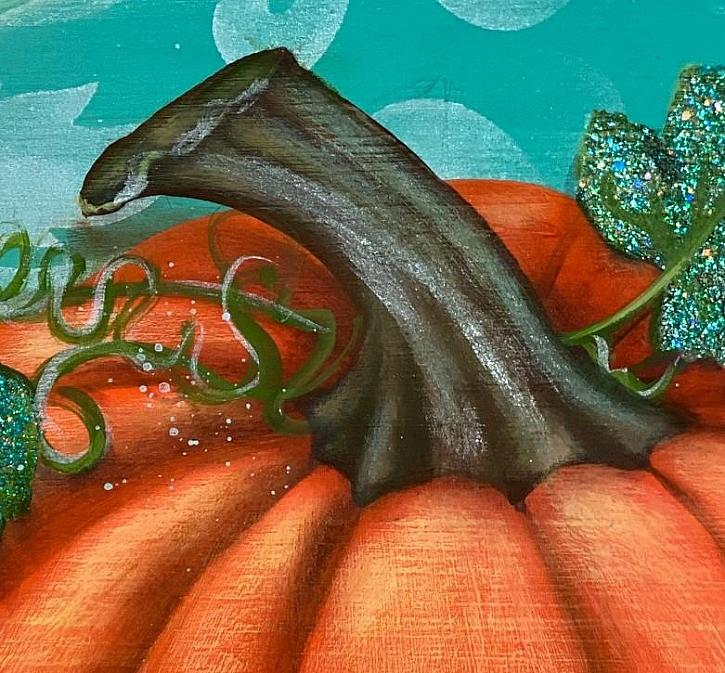
13. Load the Mezzaluna with Burnt Umber and a touch of Titanium White; mix on palette. Wipe almost all of the paint off on a paper towel. Dry brush lines up and down the stem and just below the top of the stem. Wipe off the brush. Load with a touch of Plantation Pine, Bright Yellow and Titanium White and repeat the process. Wipe off the brush. Load with some of the background color and repeat.
14. Load a wet #2 Round with Plantation Pine, Bright Yellow and Titanium White; mix on palette. Paint a loose highlight on the front of the top of the stem. Highlight parts of the tendrils while you’re at it. Reload brush with Plantation Pine and paint the tendrils. Reload with the light green mixture and highlight the tendrils. Rinse the brush. Optional: Add a tiny highlight of Pearls™ Snow White on the stem as shown below.

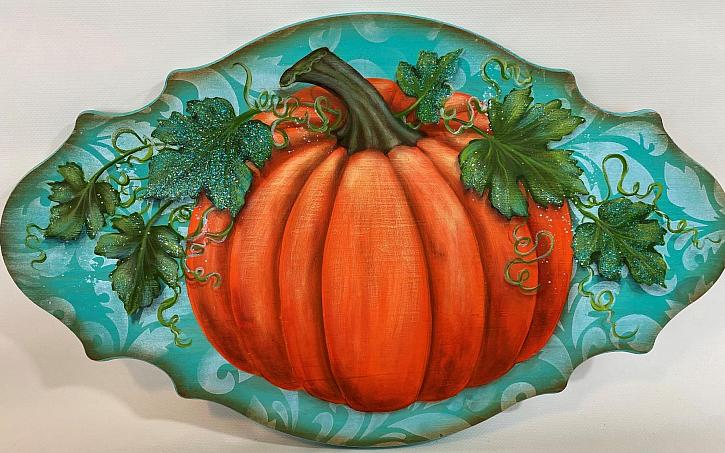
15. Let’s paint the leaves… one at a time. Load the #12 with Plantation Pine and a little Lamp Black; mix on palette and then repaint one leaf. Wipe off the brush. Load with Plantation Pine, Bright Yellow and a touch of Titanium White; mix on palette. Wipe a lot of the paint off the brush; then from the edge of the leaf, pull on the color and lift. All of the strokes should go toward the tip of the leaf and not all the way to the center of the leaf. Wipe off the brush. Load with some Vintage Effects™ Turquoise and a touch of Titanium White and mix together. Wipe almost all of the paint off the brush; then from the edge of the leaf, pull just a few strokes here and there on the leaf. Load a wet #2 Round with a mixture of Plantation Pine, Bright Yellow and Titanium White and, using the tip of the brush, paint the vein lines on the leaf. Repeat for all of the leaves. Let dry.
16. Load the toe of a damp 1/2" Angle with Lamp Black and float the color underneath the leaves and some of the tendrils to add a shadow. Reload the toe of the brush with Burnt Sienna and a touch of Burnt Umber and float the color underneath the pumpkin. Swipe with your finger to soften the look if necessary.
17. Wrap a baby wipe around your index finger and swipe the tip of your finger back and forth into some Burnt Sienna. With your hand on the inside of the surface, run you finger along the inside edge of the surface. This will give the design a nice ‘framed in’ look.
18. Load the #12 with Holographic Illusions™ Green Potion and paint in a few of the leaves. Add additional coats depending on the desired coverage. Wipe off the brush, load with Holographic Illusions™ Dazzling Teal and add a few swipes of color on the leaves that aren’t fully covered with Green Potion.
19. Load a very wet brush with Americana® Pearls™ Snow White and mix to make paint very inky. Tap the handle
We hope you enjoy this Festival Fall Pumpkin. You can find much more Fall and Pumpkin inspiration here. Also, be sure to check out Make It Artsy for more project inspiration. We enjoyed being a part of their show.