
Found Object Toy Soldier & Ballerina
Posted by DecoArt on Dec 2nd 2015
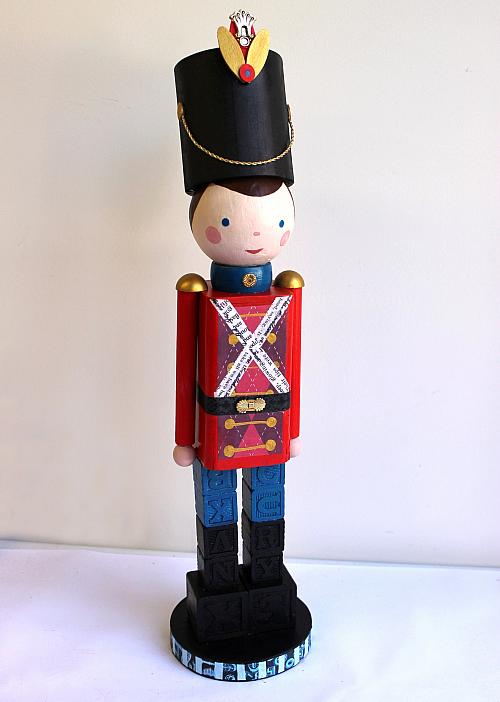
This couple, made from wooden shapes, will add a bit of tradition and child-like whimsey to holiday décor.
SUPPLIES
- water container
- palette or plastic plate
- paper towels
- tracing paper
- transfer paper
- scissors
- pencil
- 3/4" flat brush
- #8 round brush
- #8 flat brush
- handsaw
- assorted scrapbook paper
- wooden blocks
- embellishments of choice
- tart pan
- wooden dowel rods
- E6000 Glue
- wooden balls
- round wooden disks
- ribbon
- wooden salt shaker
- wooden napkin ring
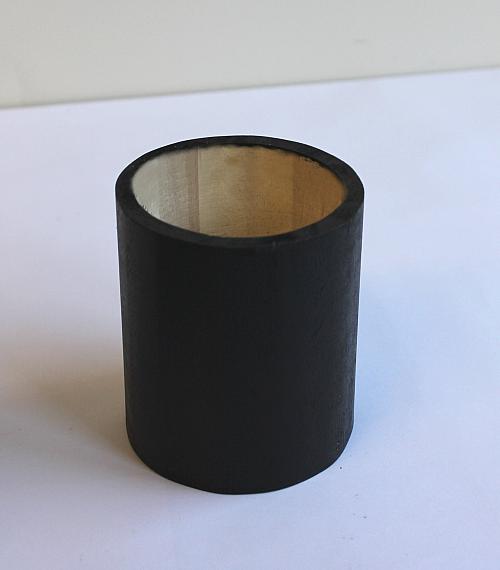
- wooden pencil holder
- papier-mâché ornament
INSTRUCTIONS
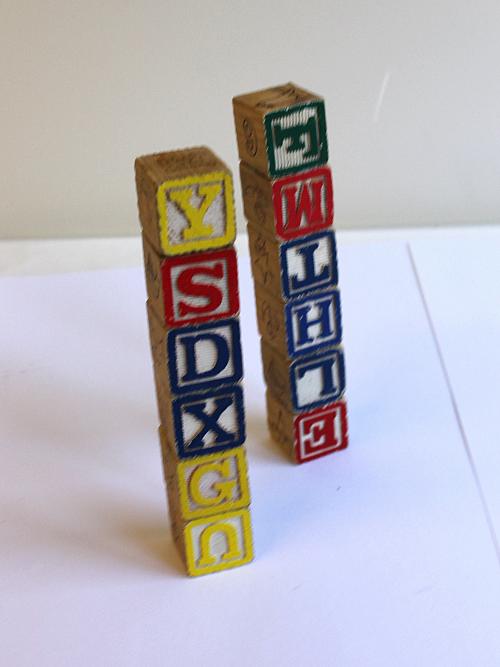
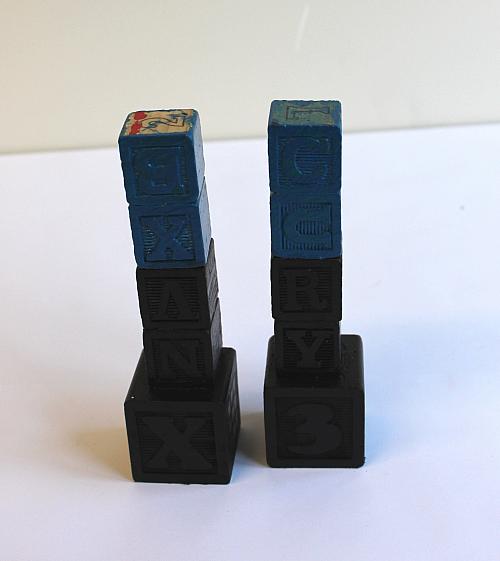
- For the ballerina, glue two sets of six medium-sized blocks together with E6000 Glue. For the toy soldier, glue two sets of four medium-sized blocks and one large block (for the boots) together. (Refer to photo.)
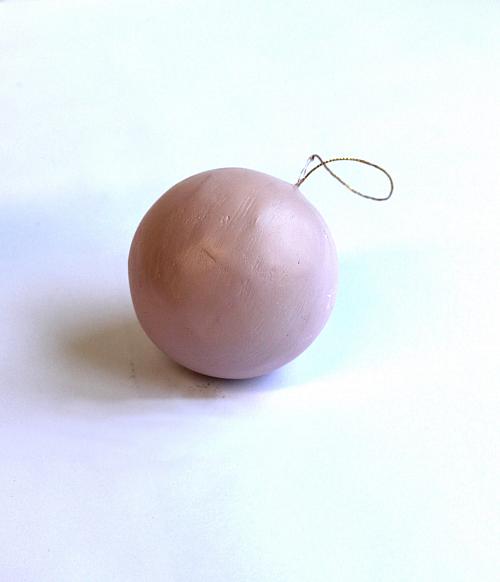
- Mix (4) parts Titan Buff, (2) parts Yellow Oxide, and (1) part Primary Magenta. Use this mix to paint the two round, papier-mâché ornaments using a 3/4" flat brush. (Save this mix for future step.)
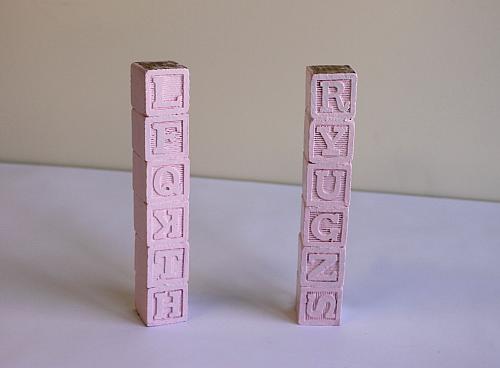
- BALLERINA: Mix (4) parts Titanium White with (1) part Primary Magenta to make light pink. Use this mix to paint the blocks.
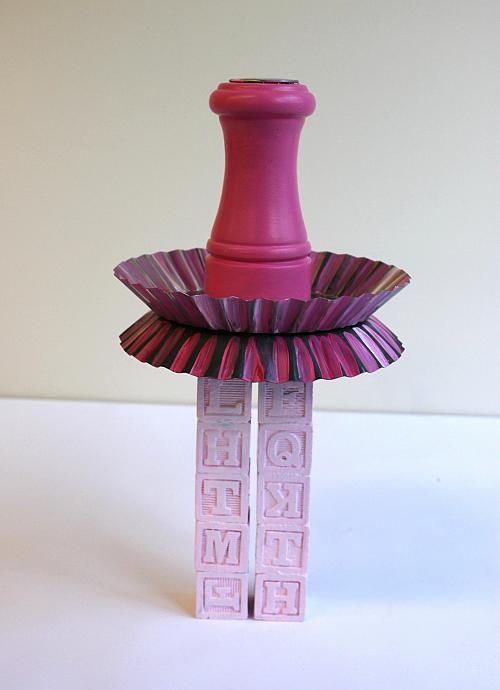
- Mix (2) parts Titanium White with (1) part Primary Magenta to make bright pink. Use the mix to paint the fluted part of the tart pans using a #8 round paint brush. Use E6000 Glue to adhere the pans together. (Save mix for future steps.)
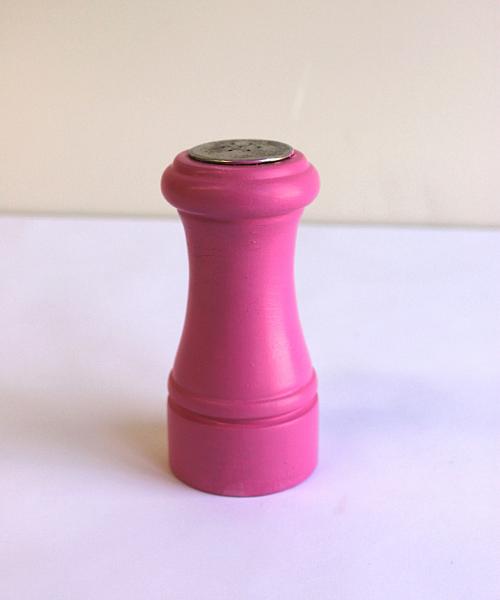
- Using a 3/4" flat brush, paint the rounded salt shaker with the bright pink mix from step 4.
- Use E6000 Glue to adhere the salt shaker (body), tart pans (tutu), and blocks (legs) together.
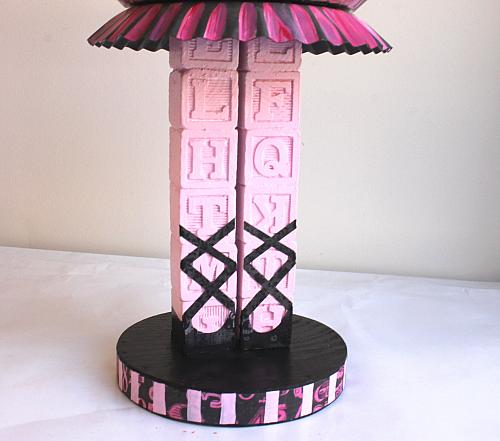
- Use a 3/4" flat brush to paint the wooden disk Carbon Black. Cut a strip of the Americana Metallic Type Decou-Page Paper to fit around the base. Use a 3/4" flat brush to adhere with Matte Medium. Mix (1) part of the bright pink mix from step 4 with (2) parts Matte Medium and brush over the cut Decou-Page Paper. Use a #8 flat brush to paint stripes with the light pink mix from step 3.
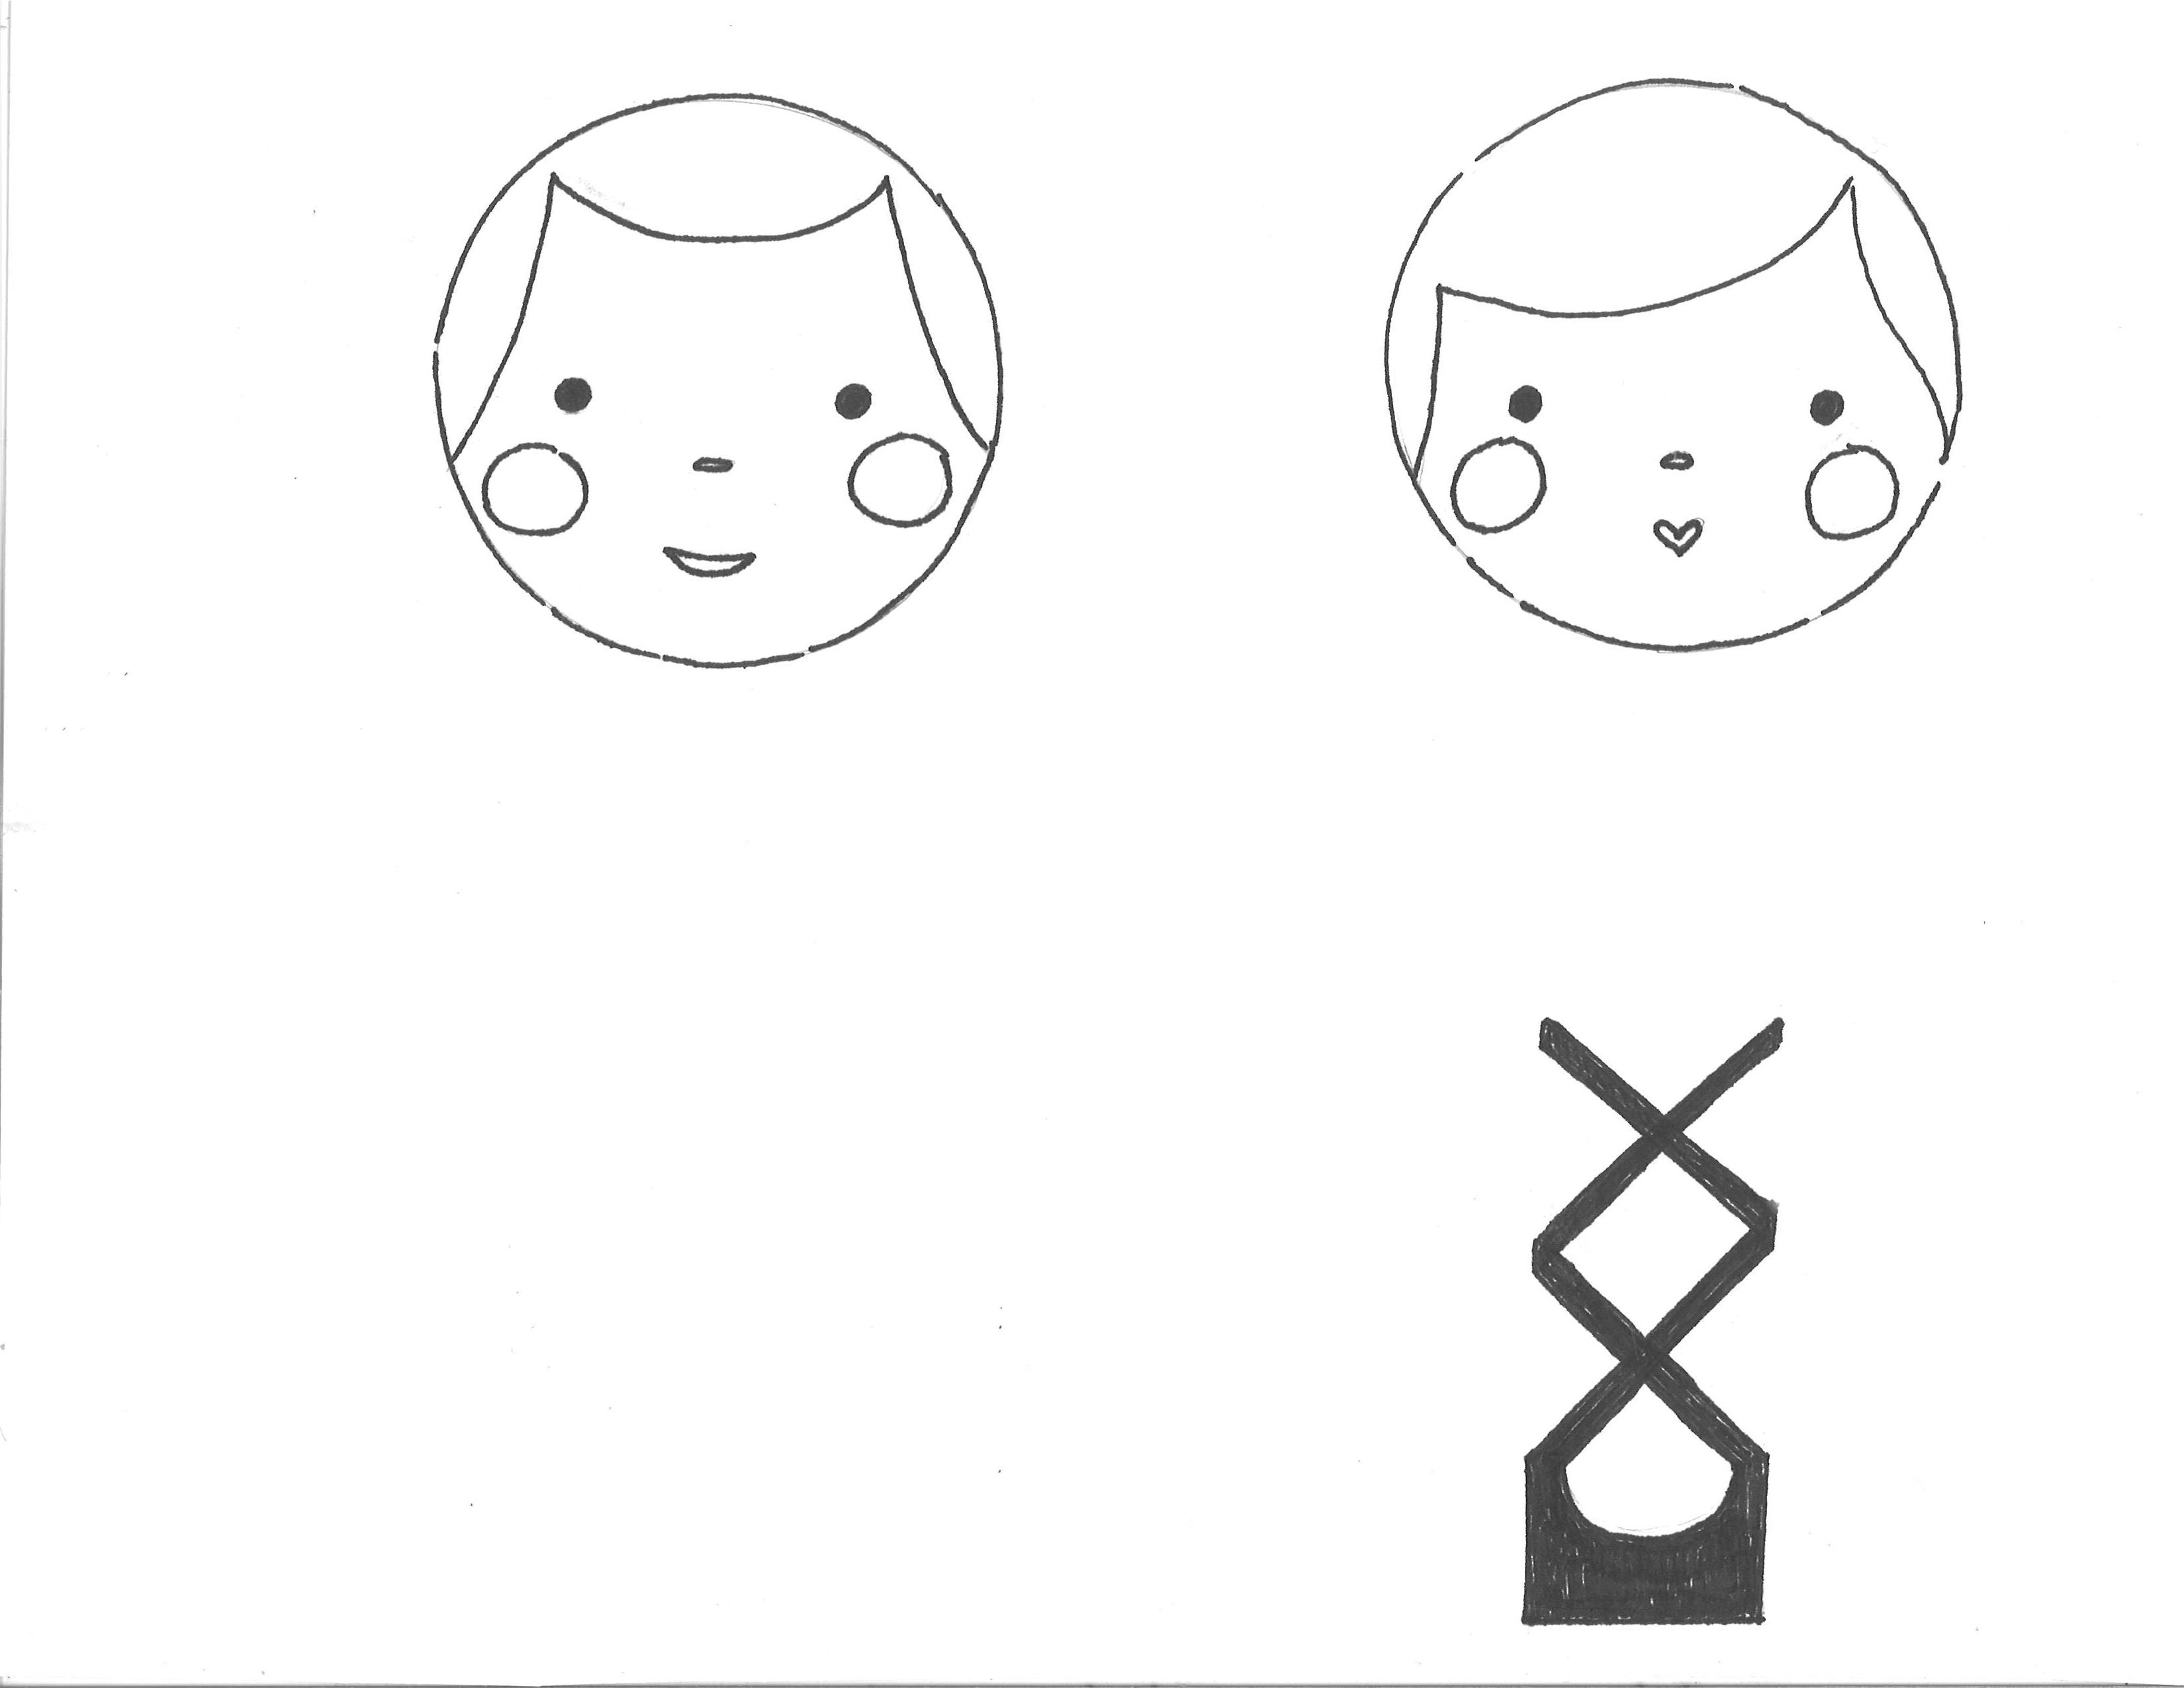
- Trace the ballet slipper pattern onto black scrapbook paper with the tracing and transfer papers and a pencil. Use scissors to cut out the slippers. Use a #8 flat brush to adhere in place with Matte Medium.
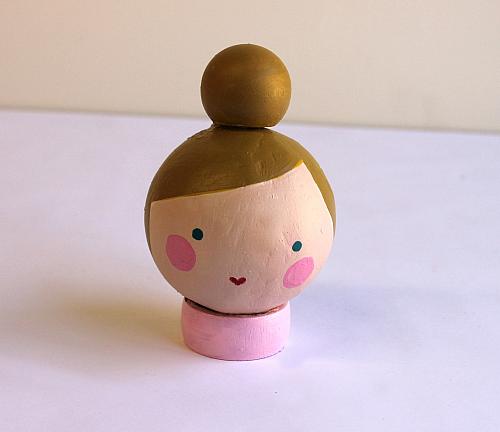
- Use a 3/4" flat brush to paint the hair and wooden ball (bun) in Yellow Oxide. Use a #8 round brush to paint the eyes in Cerulean Blue; the cheeks in the bright pink from step 4; and the mouth in Primary Magenta. Using a 3/4" flat brush, paint the wooden napkin ring with the light pink mix from step 4. Adhere the bun to the top of the head and the napkin ring to the bottom of the head with E6000 Glue.
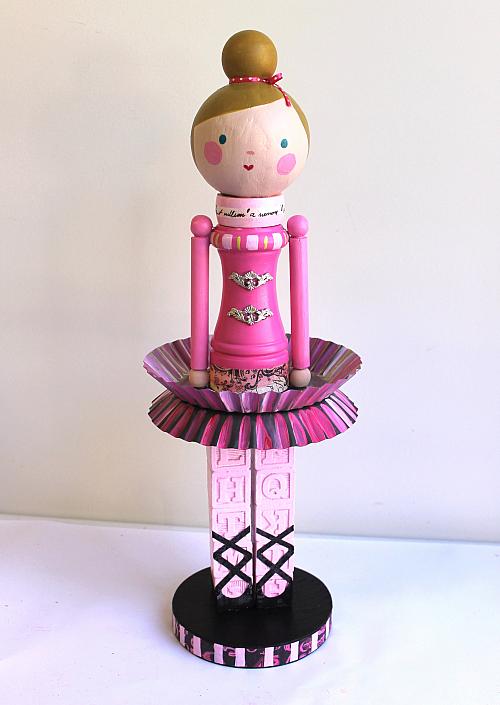
- For the arms, use a handsaw to cut the dowel to size. Using a 3/4" flat brush, paint the dowel pieces with the bright pix from step 4. Paint the two small balls with the Titan Buff/Yellow Oxide/Primary Magenta mix from step 2. Glue the balls to the dowels, then adhere into place with E6000 Glue. (Refer to photo for placement.) Add the finishing touches by tying a pink ribbon around the bun and gluing embellishments to the dress with E6000 Glue.
- SOLDIER: Using a 3/4" flat brush, paint the top two blocks in Cerulean Blue and the bottom three blocks in Carbon Black.
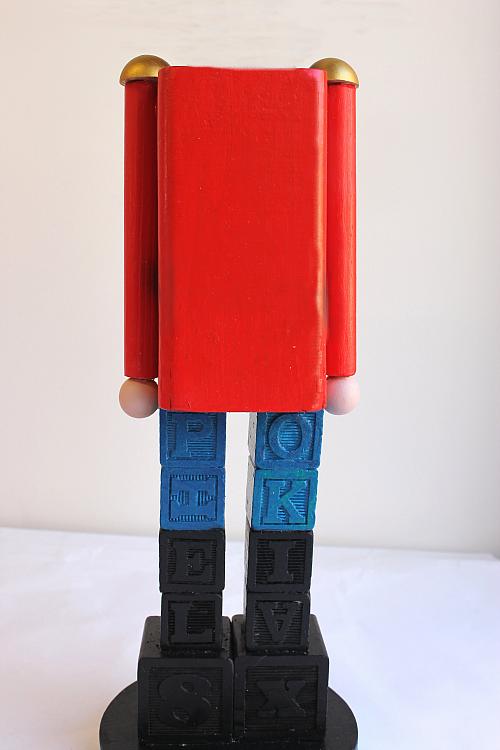
- Using a 3/4" flat brush, paint the squared salt shaker (body) Pyrrole Red. For the arms, use a handsaw to cut the dowels to size. Using a 3/4" flat brush, paint the dowels Pyrrole Red. Using a #8 flat brush, paint two small wooden balls using the mix from step 2. Using a #8 flat brush, paint two half balls in Gold (Metallic). Use E6000 Glue to adhere the arms into place. (Refer to photo for placement.)
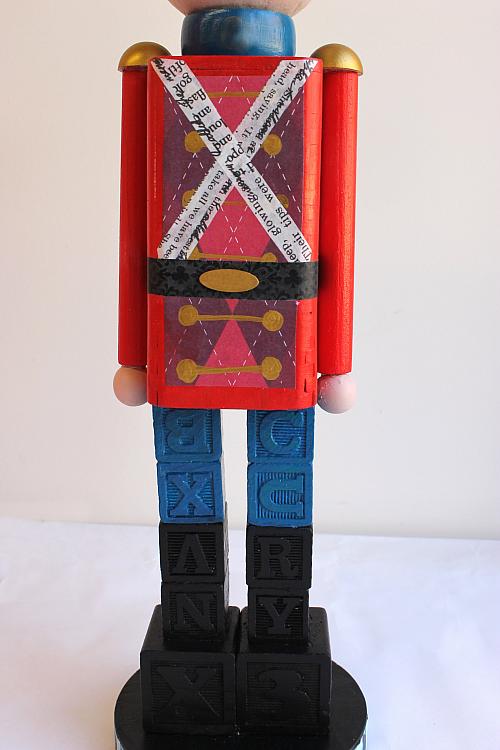
- Use scissors to cut red scrapbook paper to fit the body; cut thin strips of white scrapbook paper to criss-cross and a strip of black scrapbook paper for the belt. Use a #8 round brush to paint the buttons and a belt buckle in Gold (Metallic). (Refer to photo.)
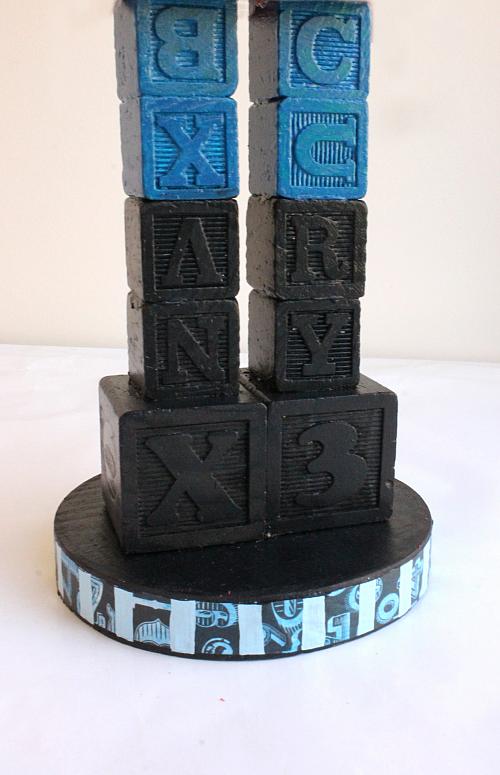
- Use a 3/4" flat brush to paint the round wooden disc Carbon Black. Cut a strip of Americana Metallic Type Decou-Page Paper to fit around the base. Use a 3/4" flat brush to adhere the paper to the base with Matte Medium. Mix (1) part Cerulean Blue with (2) parts Matte Medium and brush over the Decou-Page Paper. Use a #8 flat brush to paint stripes in a 3:1 mix of Titanium White and Cerulean Blue.
- Use a 3/4" flat brush to paint the pencil holder (hat) in Carbon Black.
- Using a #8 round brush, paint small wooden embellishments in Gold (Metallic) and Pyrrole Red. Use E6000 Glue to adhere the embellishments to the hat. (Refer to photo.)
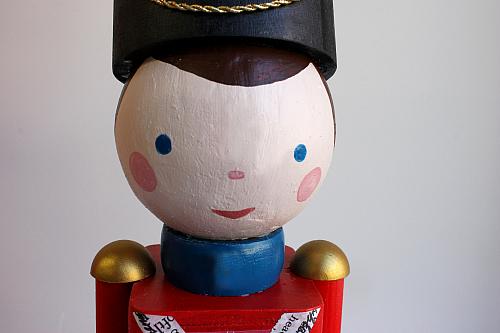
- Using a #8 round brush, paint the eyes Cerulean Blue. Mix (2) parts Titan Buff with (1) Pyrrole Red and use to paint the mouth using a #8 round brush. Add more Titan Buff to the same mix to lighten and, using a #8 round brush, paint the cheeks. Using a 3/4" flat brush, paint a wooden napkin ring Cerulean Blue. Use E6000 Glue to adhere the hat to the head and the head to the body.
- Optional: Add more embellishments to the soldier with E6000 Glue.

