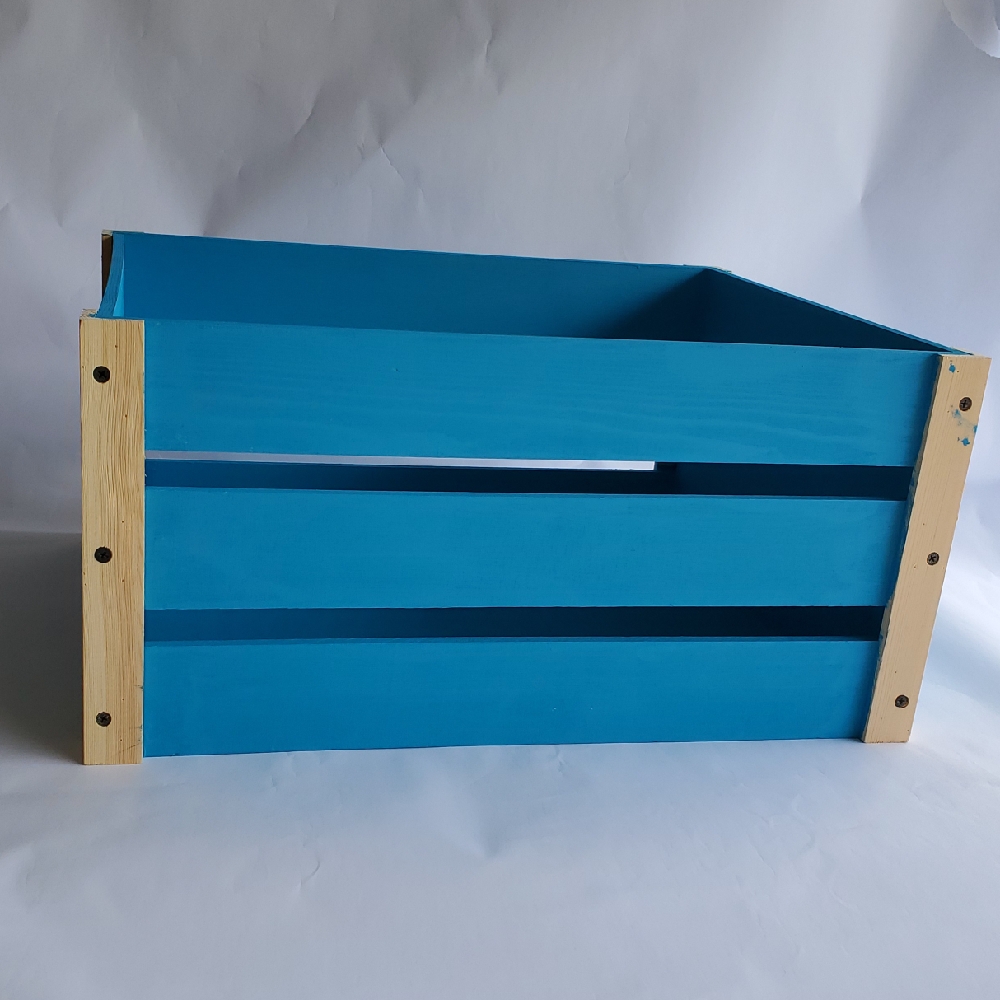
Glittered Fall Pumpkins and Crate
Posted by DecoArt on Oct 16th 2019
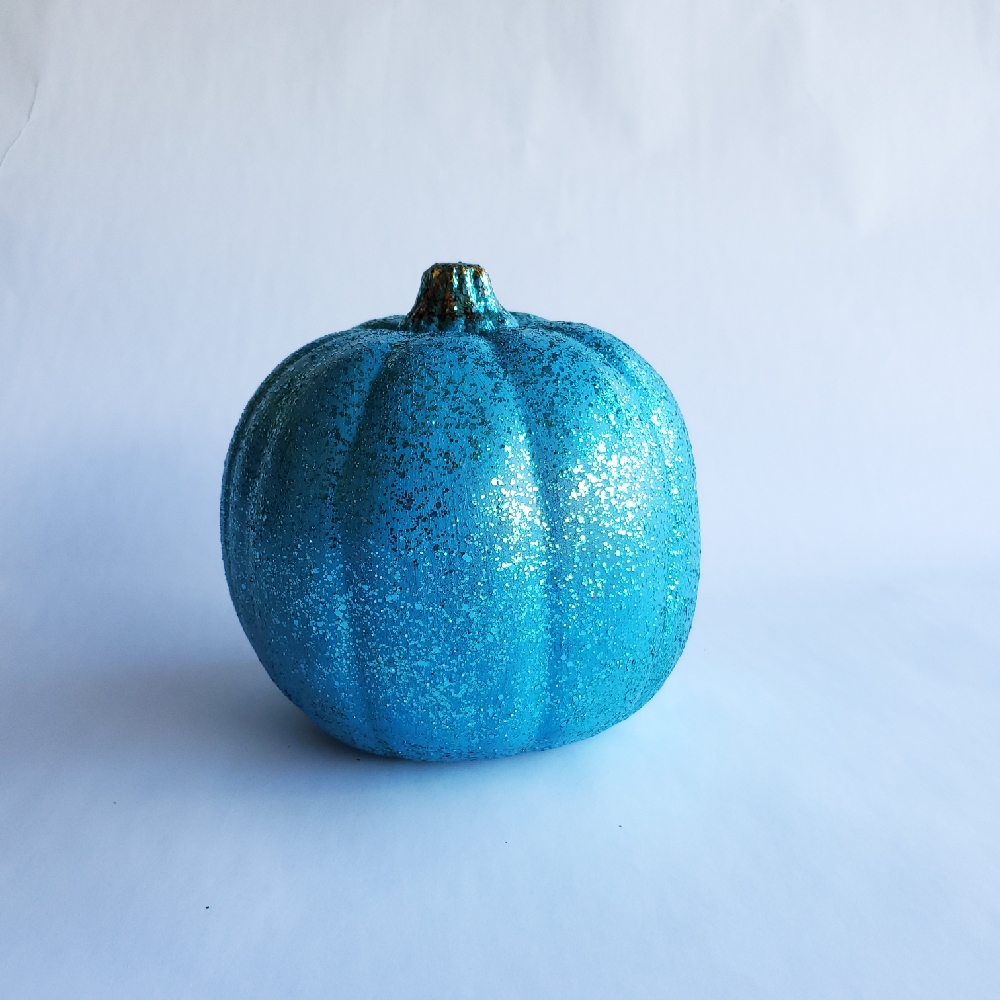
Step up Fall décor with these glittered pumpkins, sparkling with Galaxy Glitter™.
SUPPLIES
- sandpaper
- 1/4" flat brush
- unfinished wood crate
- damp cloth
- 1" paintbrush
- faux pumpkins
INSTRUCTIONS
NOTES:
Sand any rough edges on the crate before painting.
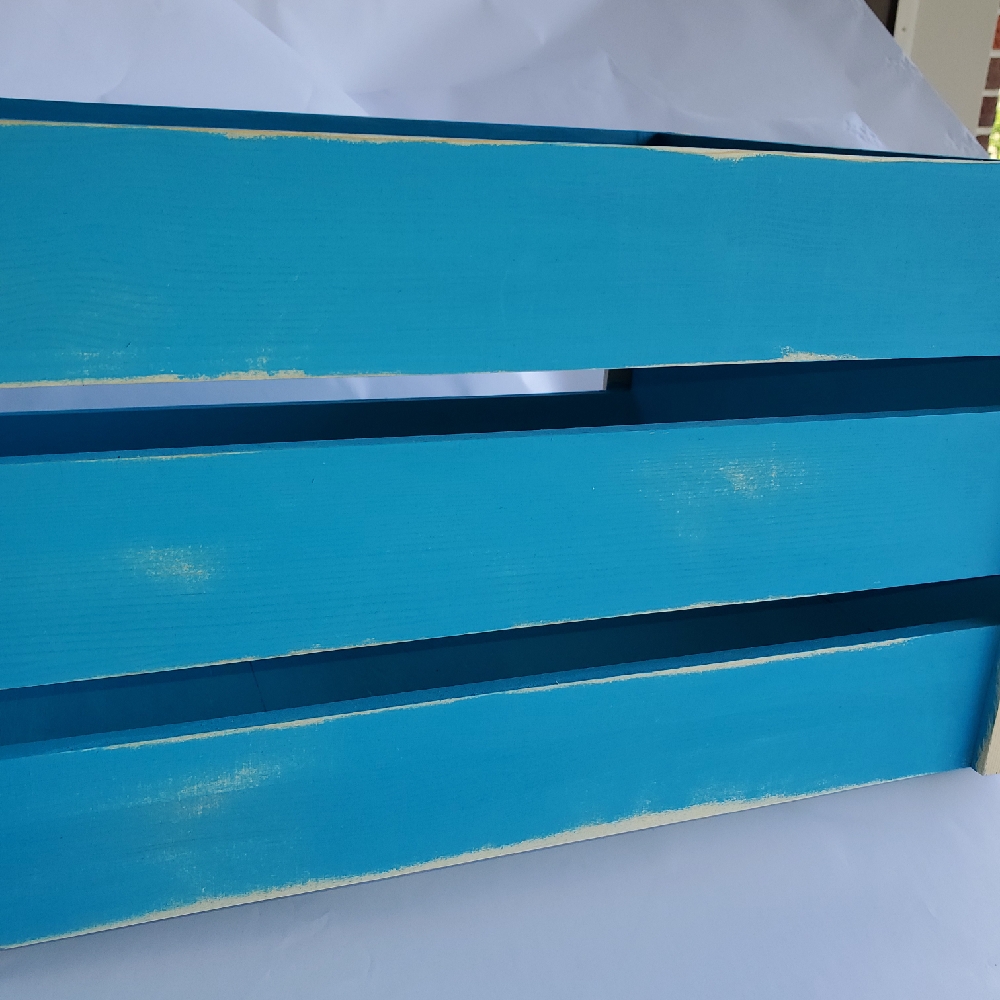
- Paint the crate with one coat of Calypso Blue. (Don't paint the corner trim pieces yet.) Let dry completely.
- Lightly distress the crate with 220-grit sandpaper. (Don't sand the corner pieces.) Wipe the crate with a damp cloth to remove sand dust.
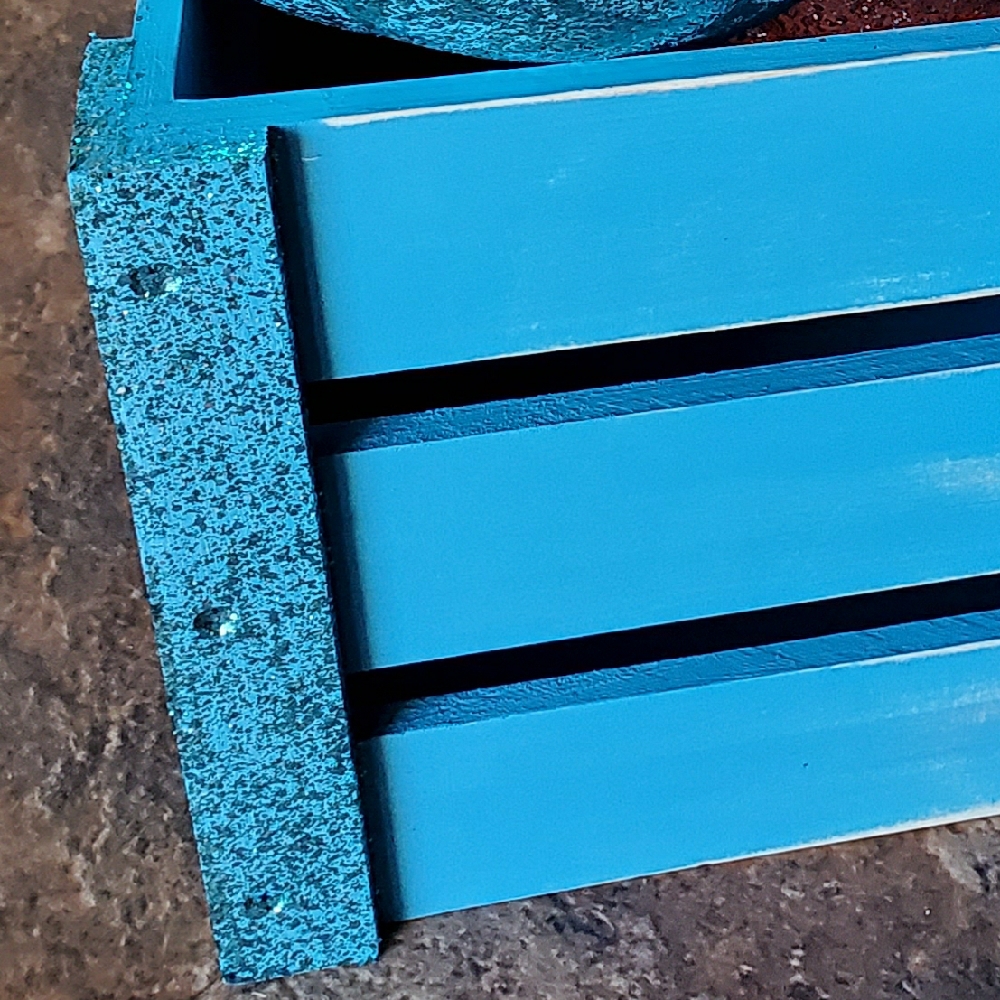
- Mix (2) parts Calypso Blue with (1) part Texture Sand Paste. Paint one coat of this onto the corner trim pieces. Let dry completely.
- Paint two coats of Aqua Meteor over the corner trim pieces. Allow to dry completely between coats.
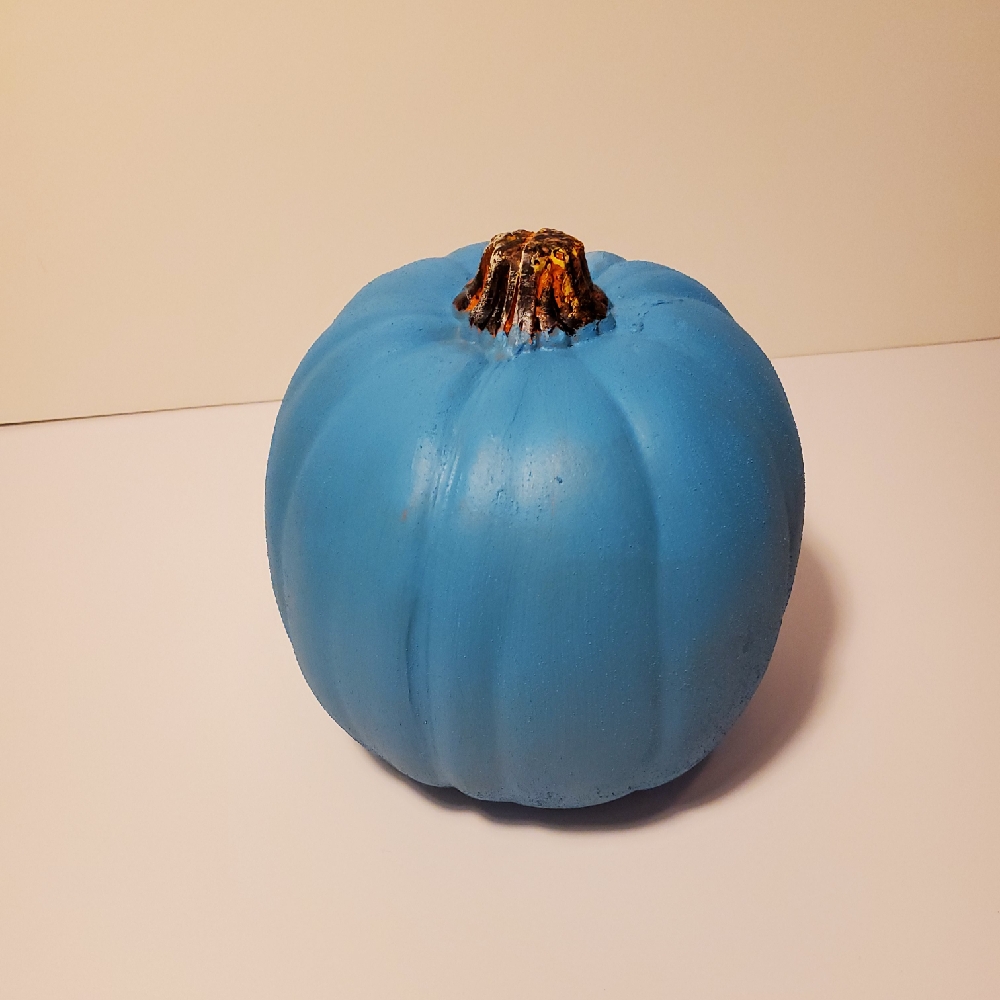
- Paint one coat of Calypso Blue (or your chosen color) onto the pumpkin. Let dry completely. (If painting a white pumpkin, it may need two coats of paint.)
- Apply two coats of Aqua Meteor (or the Galaxy Glitter that is close in color to your chosen base color of paint). Let dry completely between coats.
- To make a striped pumpkin, measure down from the pumpkin's stem where you want the top and bottom of the stripe to be. Lightly mark these measurements with a pencil all the way around the pumpkin. Paint each color to where you marked and let each color dry completely before painting another color next to the first color.