Industrial Meets Vogue
Posted by DecoArt on Apr 29th 2015
Three projects made from one piece of tie dye fabric.
Items Needed:
- Andy Skinner Stencils 8x8 - Made to Measure (ANDY103-K)
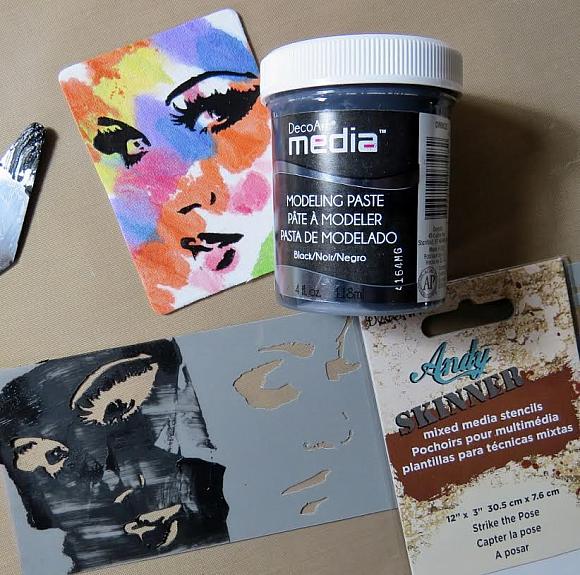
- Andy Skinner Stencils 12x3 - Strike the Pose (ANDY06-K)
- Tie Dye Fabric
- Mat Board
- Palette Knife
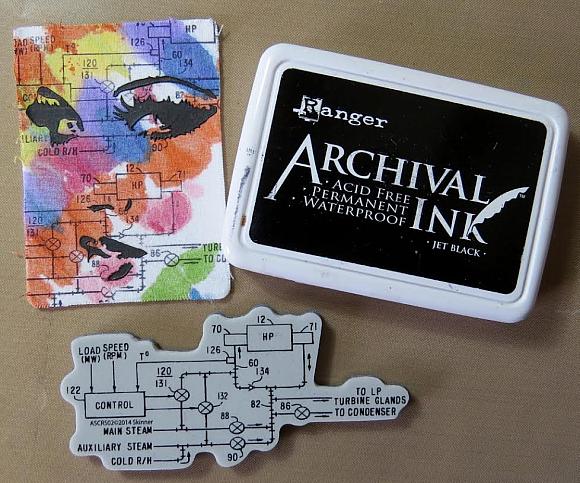
- Archival Ink
- Andy Skinner Steampunk Stamps
- Quote Stamp
- Paint Brush
- Embossing Label Machine
- Metal Eyelet
- Jute String
- Foam Board
- Chipboard Compass And Gear Shapes
Instructions:
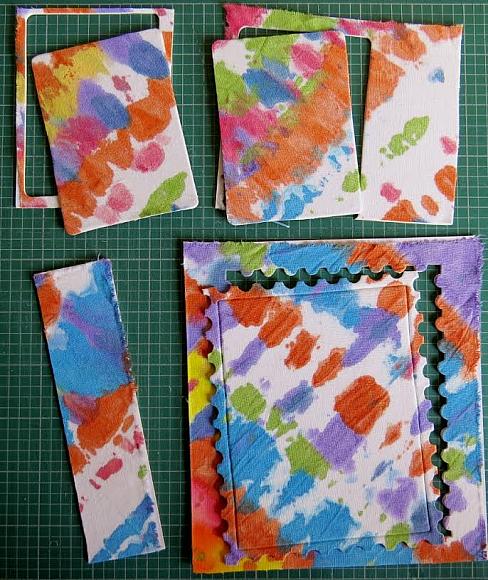
Glue tie dye fabric to mount board and die cut required shapes or neatly cut scraps.
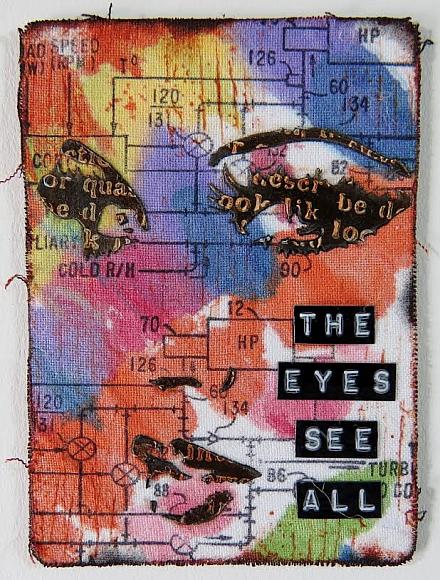
For ATC and small gift tag:
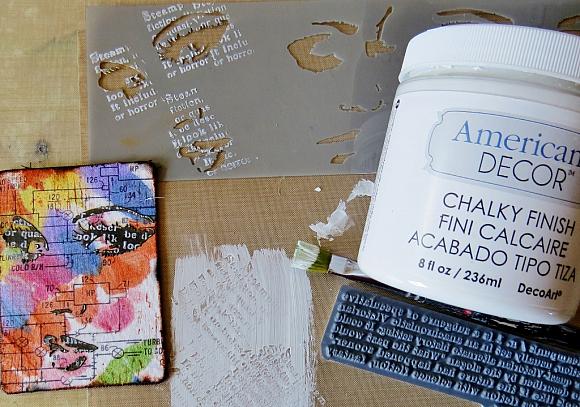
Apply black modeling paste through stencil and leave to dry.
Use a permanent ink, stamp image onto the fabric as required. Always give a quick blast of your heat gun to stop the ink bleeding.
Stamp onto the dry modeling paste using Chalky Finish - gives very crisp results every time! Always brush a little of the chalky paint out on a craft sheet, keeping it fairly thin. Tap the stamp lightly into the paint a couple of times and then apply. Clean stamp immediately!
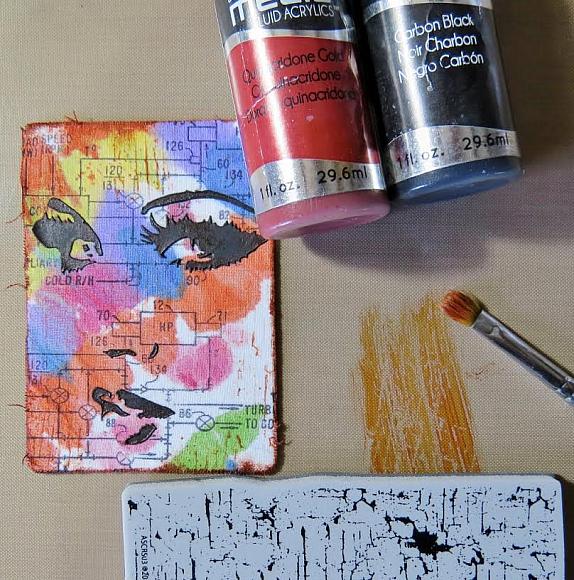
Using the same technique with Media Fluid Acrylics, stamp marks onto the fabric to represent aging.
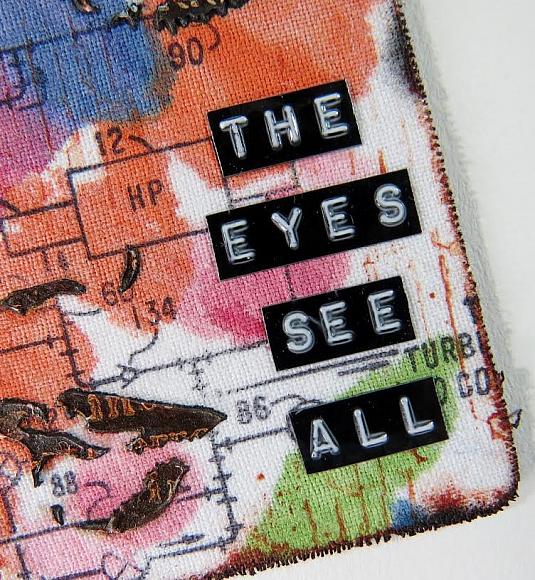
For the ATC:
Make a quite using a vintage label machine.
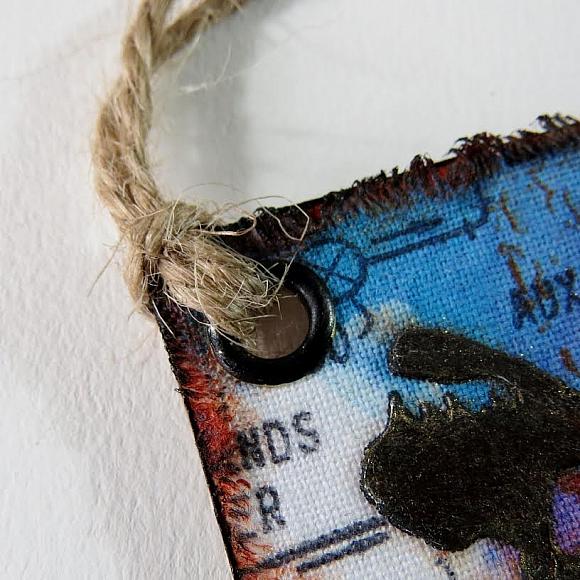
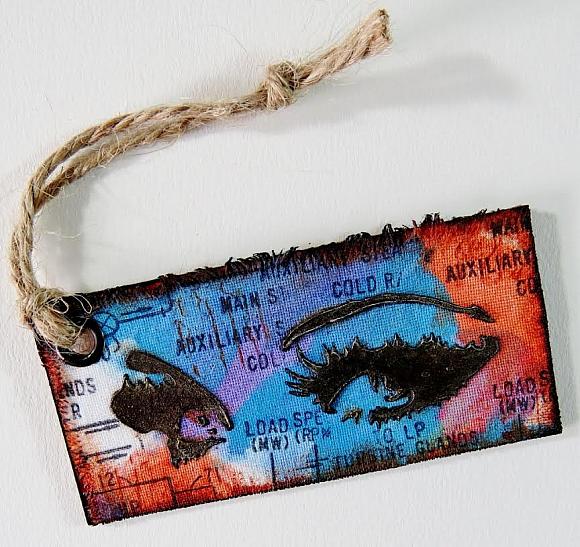
For the Gift Label:
Add a metal eyelet. Tie some jute string through the eyelet or ribbon of your choice.
Finished ATC and Gift Tag:
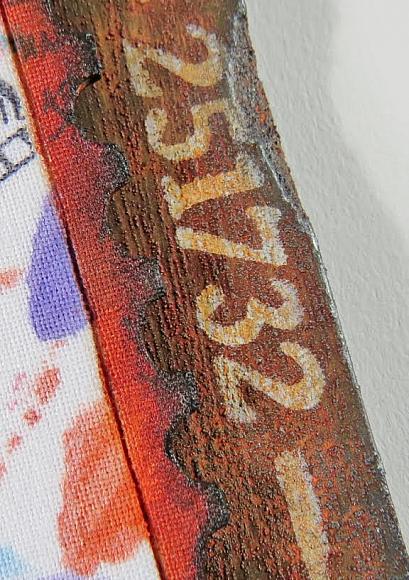
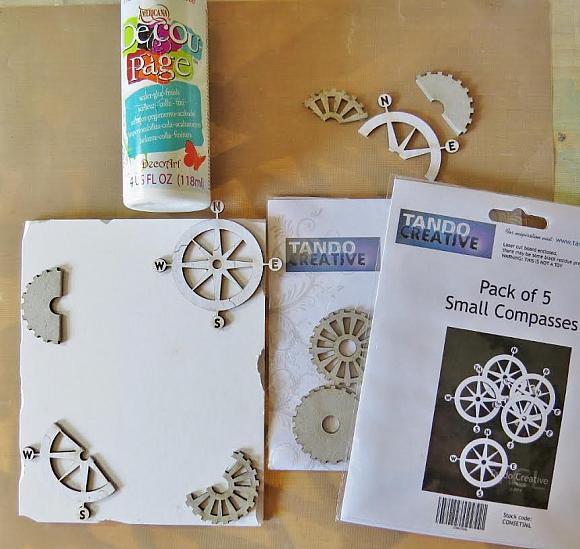
For the Wall Plaque:
Cut a piece of foam board to the size required – this one is cut approximately two cms larger than the die cut stamp shape. Adhere chipboard shapes. Roughen the edges of the foam board with a craft knife to give the final piece a worn look.
Paint everything with two coats of the Dark Grey Value 3. Remember to paint the sides of the piece.

Create a rust finish using your favorite method. I used an Andy Skinner technique. The finished project has two little rusty wire loops to hang it from.
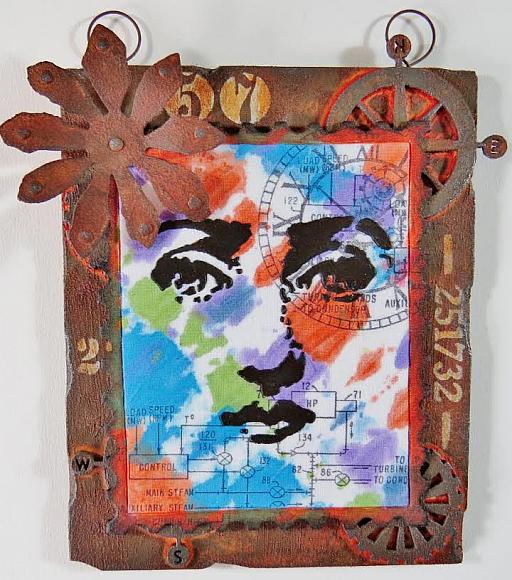
Add stenciled details using Titan Buff Media Fluid Acrylic.
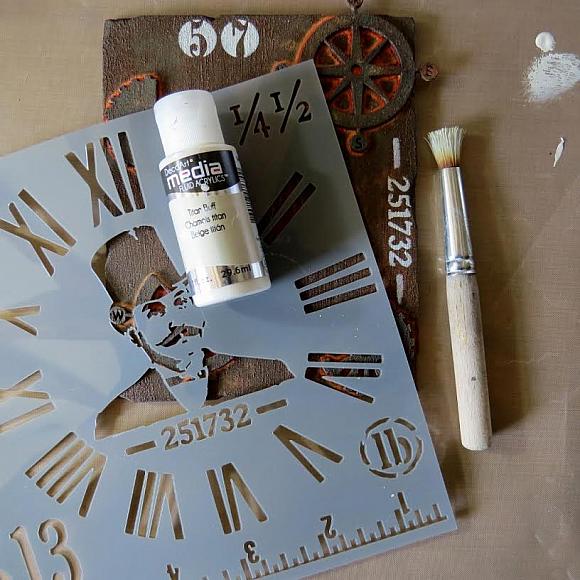
Age the stenciled images with some Quinacridone Gold and Carbon Black applied neat to the Titan Buff.