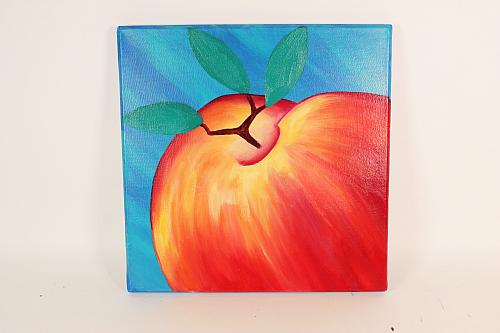
Life's A Peach Painting
Posted by DecoArt on Jun 30th 2019
This fruity painting is colorful and easy with Americana® Premium™ Acrylics and Drying Time Extender.
SUPPLIES
- water container
- palette or plastic plate
- paper towels
- 12" x 12" canvas
- paintbrushes
INSTRUCTIONS
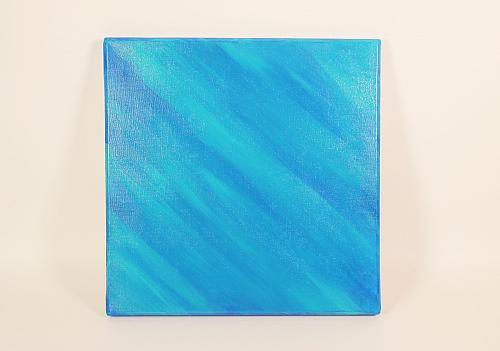
- Load a wide brush with both Cerulean Blue and Cobalt Teal Hue; add a touch of Drying Time Extender to these colors; and blend them across the canvas in a diagonal.
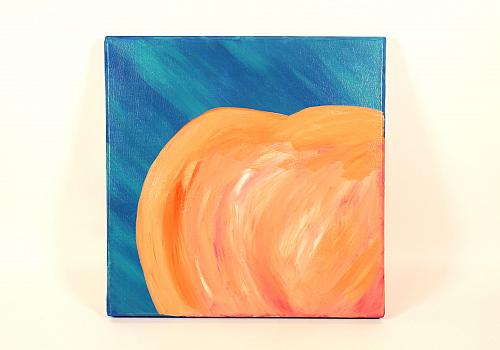
- Load the brush with Vermillion Hue and Titanium White, along with a drop of Drying Time Extender and map out the shape of the peach.
- On the palette or plastic plate, mix Quinacridone Magenta, Quinacridone Violet, Pyrrole Red, Vermillion Hue, Primary Yellow, and Titanium White individually with Drying Time Extender. Lay all the colors down in the areas desired in a painterly fashion, starting with the darkest colors, wrapping around the edges, and focusing on the bottom right of the canvas. Then work in the lighter colors as you move toward the pit. Save all the paint/extender mixes.
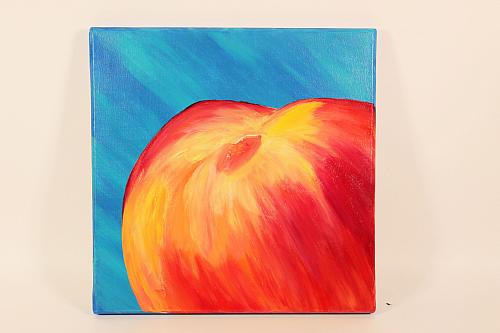
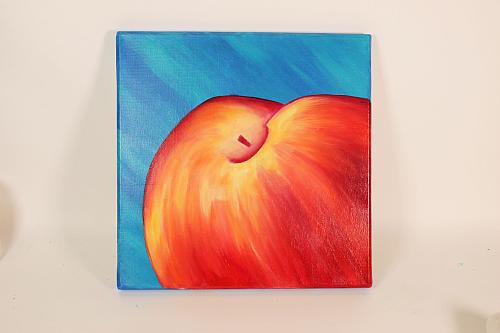
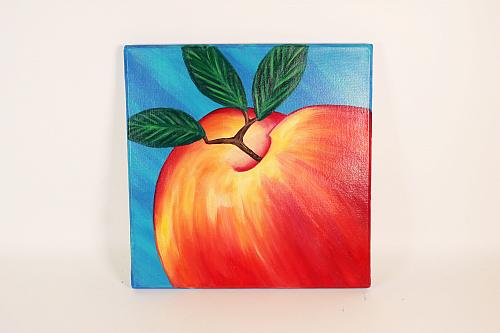
- Using the mixes from STEP 3, blend the image across, exactly as before, but working in smaller sections to make sure everything blends seamlessly. (Work dark to light again.) In Quinacridone Magenta, mark the front edge of the pit and the area where the stem will eventually. Use more Drying Time Extender as needed to blend seamlessly.
- Mix Phthalo Green-Blue with a touch of Titanium White and mix Burnt Umber with a touch of Titanium White. Use the Burnt Umber mix to paint in the stem and the light Green-Blue mix mix to paint in three leaves. Save the light Green-Blue mix.
- Extend the branch down into the pit, lining it up with the rounded edge previously painted in Quinacridone Magenta. Add shadows and highlights to the stem using Burnt Umber as is and Burnt Umber mixed with Titanium White. Add details to the leaves using Phthalo Green-Blue as is for shadows and the saved mix from Step 4 as highlights.