
Painted Fall Centerpiece Crate
Posted by DecoArt on Jul 23rd 2015
Celebrate family and friends at gatherings this fall with a festive centerpiece.
SUPPLIES
- water container
- palette or plastic plate
- paper towels
- tracing paper
- transfer paper
- ruler
- pencil
- 3/4" flat brush
- #1 round brush
- soft white eraser
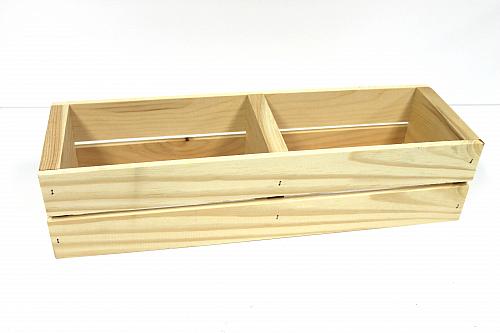
- 2-sided wooden crate
INSTRUCTIONS
NOTES:
Let dry completely between painting steps.
- Make sure the wooden crate surface is clean and dust free.
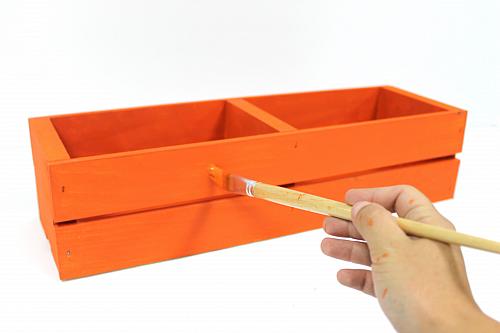
- Use a 3/4" flat brush and Canyon Orange to paint the entire inside and outside of the crate. Rinse brush. Let dry completely.
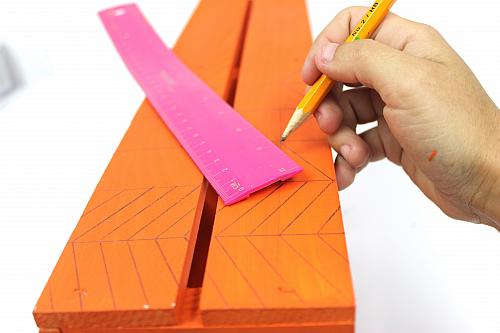
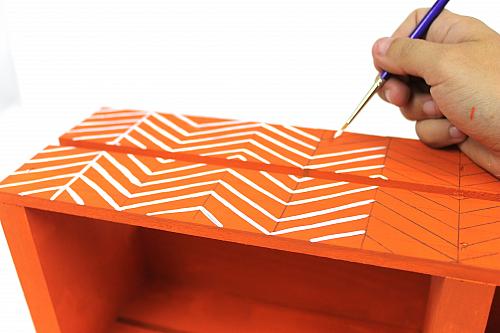
- Use a ruler and pencil to make stripes the width of the ruler.
- Connect the stripes with a herringbone pattern by connecting with diagonal lines.
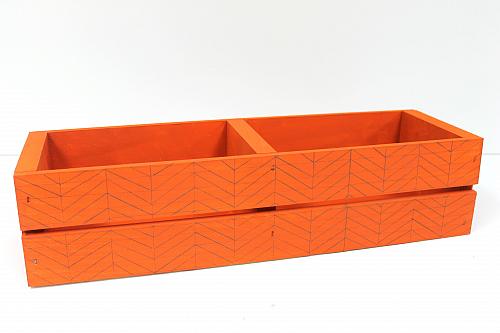
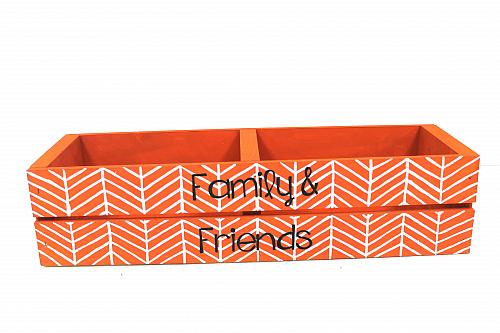
- The front and the back of the crate should look like this. (See photo.)
- Use a #1 round brush and Snow White to paint on all of the herringbone lines. Rinse brush. Let dry completely.
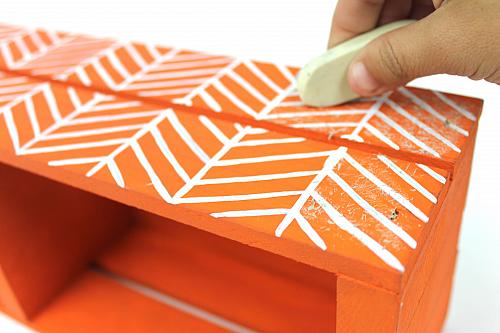
- Use an eraser to get rid of any extra pencil lines.
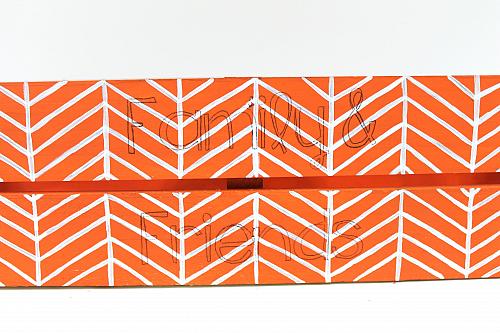
- Use the pencil and the tracing and transfer papers with the pattern to trace and transfer the lettering onto the middle of the crate.
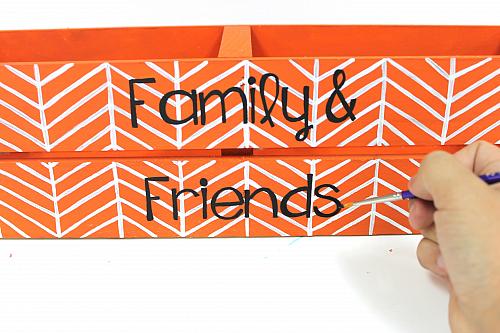
- Use a #1 round brush and Lamp Black to fill in the words "Family & Friends". Rinse brush.
- Once fully cured, fill the crate with flowers or candles to make the perfect centerpiece.
