
Painted Vintage Pumpkin Character
Posted by DecoArt on Oct 8th 2015
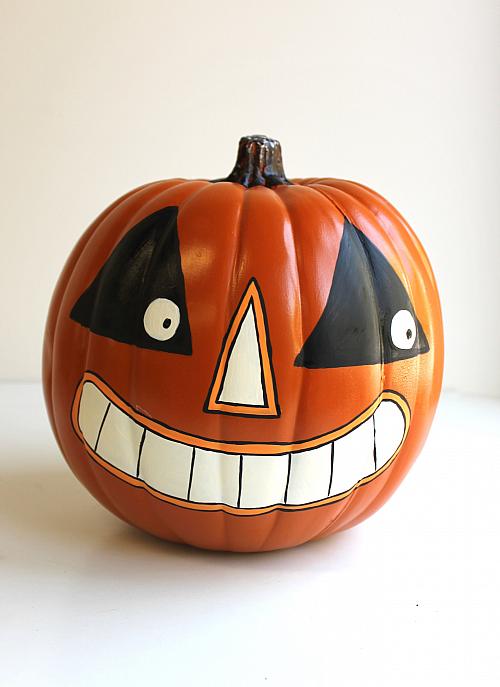
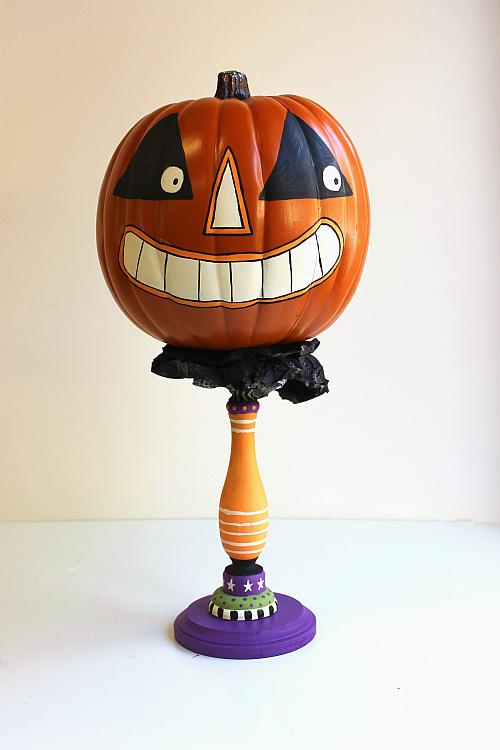
Bring vintage back this Halloween with this pumpkin character painted with Americana® Acrylics.
SUPPLIES
- water container
- palette or plastic plate
- paper towels
- tracing paper
- hot glue gun
- #10 flat brush
- #12 flat brush
- #1 liner brush
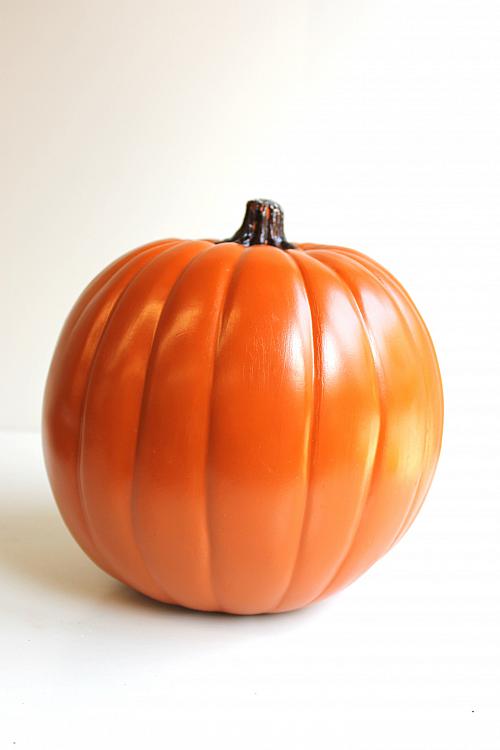
- 9" foam pumpkin
- #1 round brush
- pen or pencil
- grey graphite paper
- circle plaque
- wooden candlestick
- wooden circle
- coffee filters
INSTRUCTIONS
NOTES:
Let dry completely between painting steps.
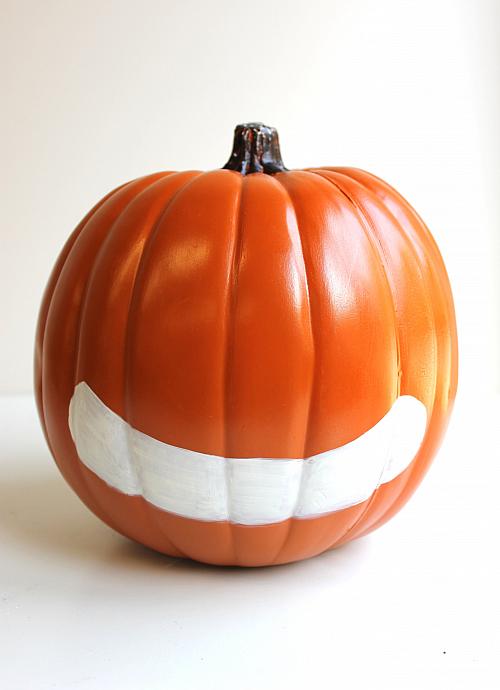
- Use a pencil or pen to trace and transfer the face pattern onto the pumpkin using grey graphite paper.
- Use a #12 flat brush and Light Buttermilk to paint the mouth and nose. Rinse brush. Let dry.
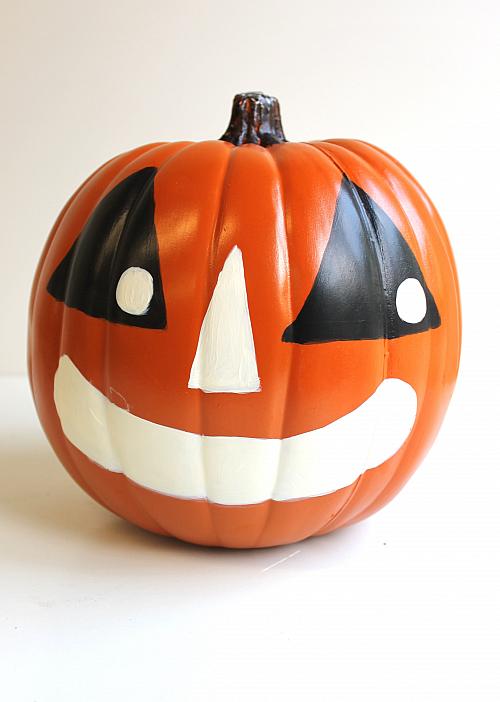
- Use a #10 flat brush and Light Buttermilk to fill in the pupils. Rinse brush. Use the same brush with Lamp Black to paint the rest of the eyes. Rinse brush.
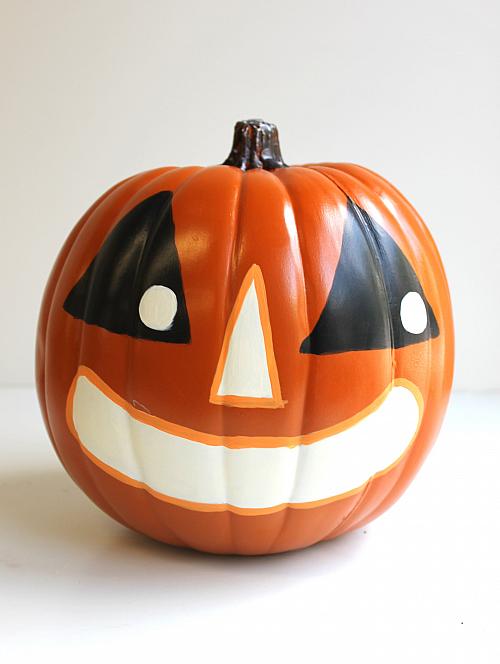
- Use a #1 round brush to mix (1) part Light Buttermilk with (1) part Bright Orange. Use the mix to outline the nose and mouth. (Save the mix for future step.)
- Use the #1 round brush and Lamp Black to outline the nose and mouth and to add the teeth.
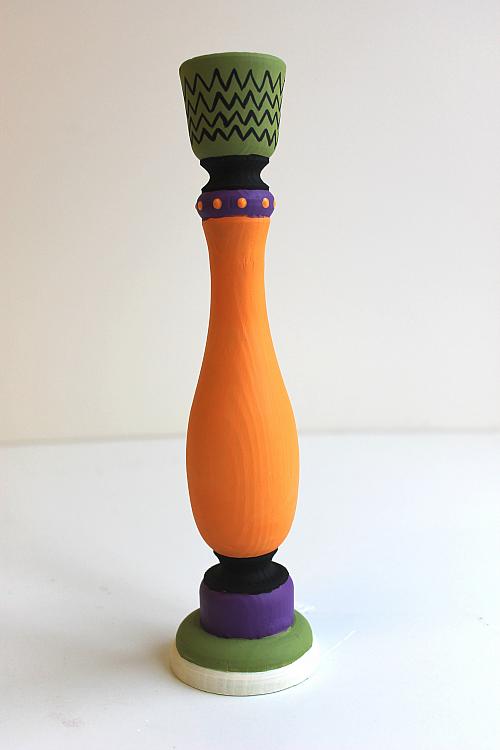
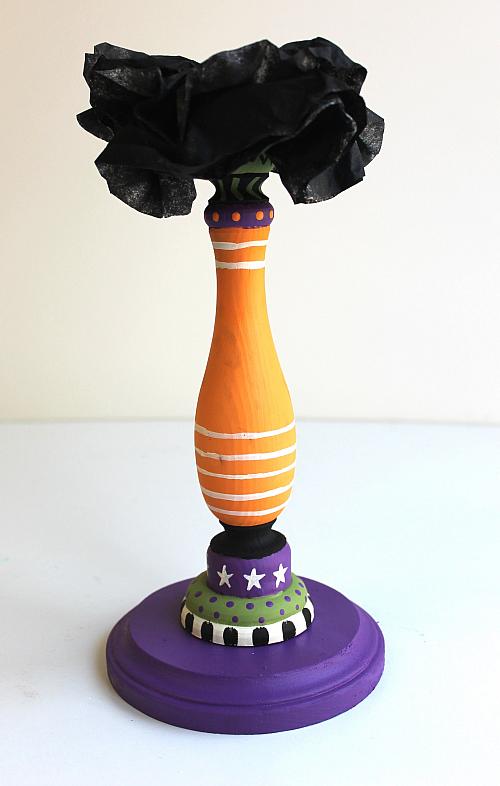
- Use a #10 flat brush and Foliage Green for the top candlestick section and second to the bottom section. Rinse brush. Use the same brush to paint the next section from the top and again below the largest section with Lamp Black. Rinse brush. Use the same brush with Purple Rain under the top Lamp Black section and also at the bottom above the Foliage Green section. Rinse brush.
- Use the #12 flat brush and the mix from step 4 to fill in the middle section of the candlestick. Rinse brush. Use the #10 flat brush to paint the very bottom section with Light Buttermilk. Rinse brush.
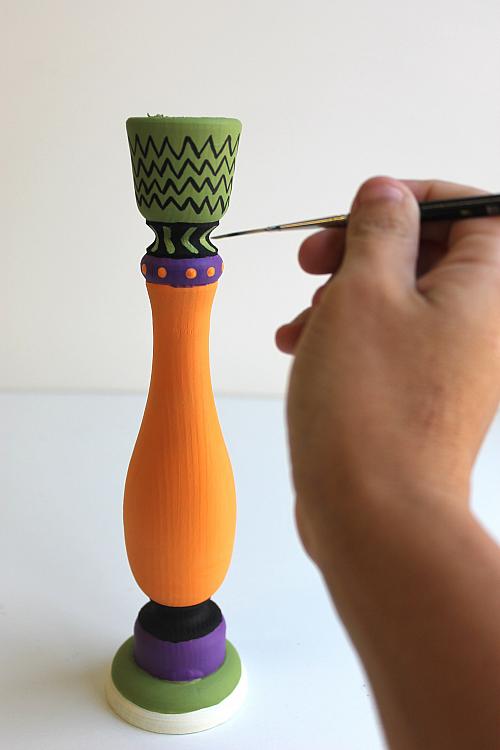
- Use a #1 liner brush and Lamp Black to paint a loose chevron pattern around the top section. Rinse brush.
- Use the #1 liner brush and Foliage Green to paint a wavy line around the next section. Rinse brush. Use the handle end of the brush dipped in Bright Orange to add a line of dots around the Purple Rain section at the top. Wipe off handle.
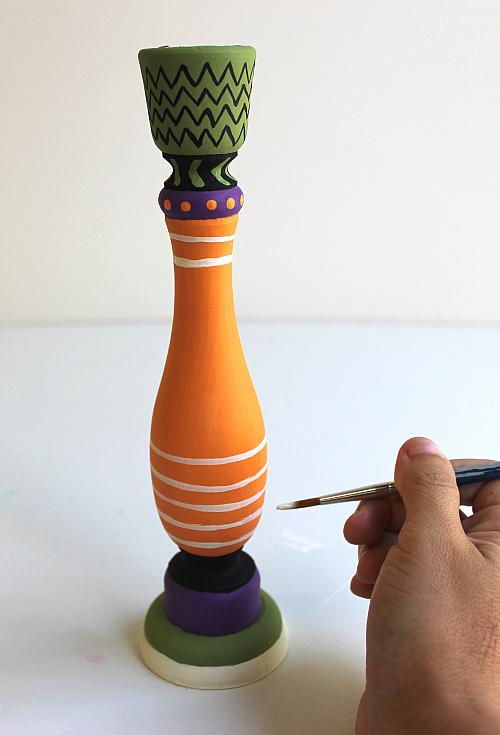
- Use a #1 round brush and Light Buttermilk to make stripes around the middle section by holding the brush horizontally and just turning the candlestick. (I put five stripes on the bottom and two toward the top.) Rinse brush.
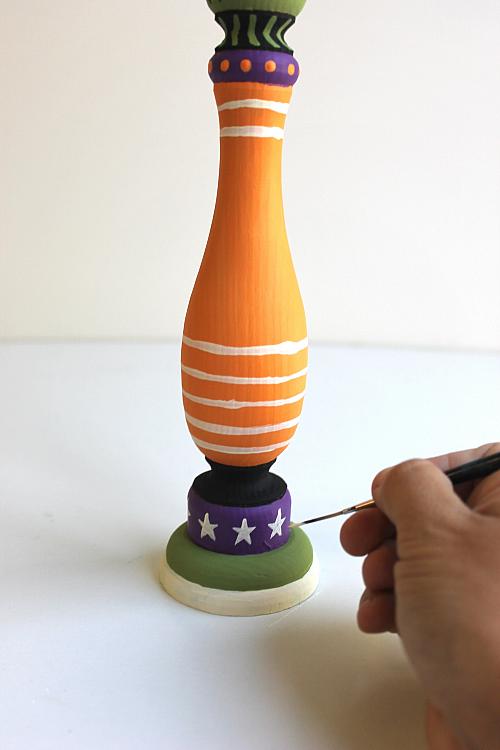
- Use the #1 liner brush and Light Buttermilk to paint loose stars around the Purple Rain bottom section. Rinse brush.
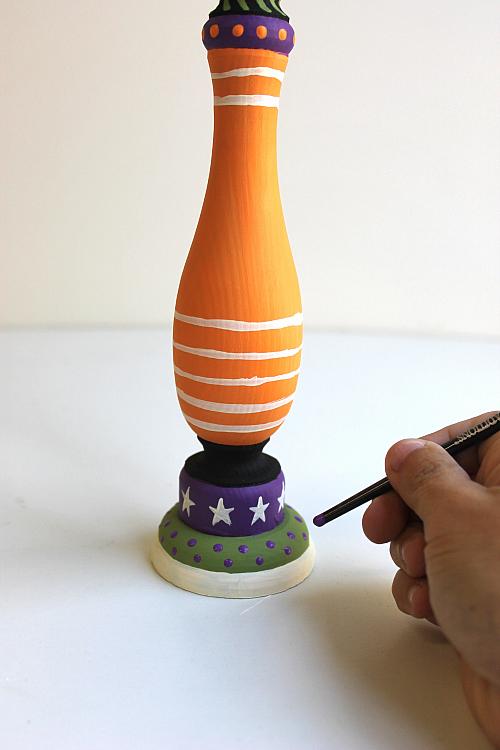
- Use the handle end of the #1 liner brush and Purple Rain to add polka dots over the bottom Foliage Green section. Wipe off the handle end.
- Use the #10 flat brush and Lamp Black to make brush-width stripes on the very bottom section. Rinse brush.
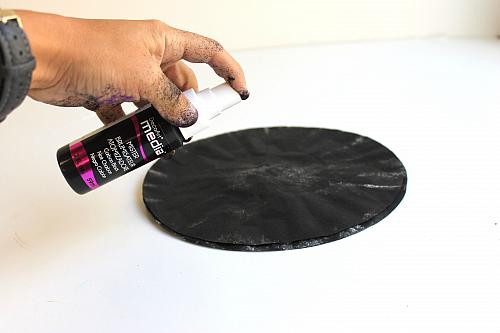
- Use the Carbon Black Spray Mister to lightly spray three coffee filters at the same time.
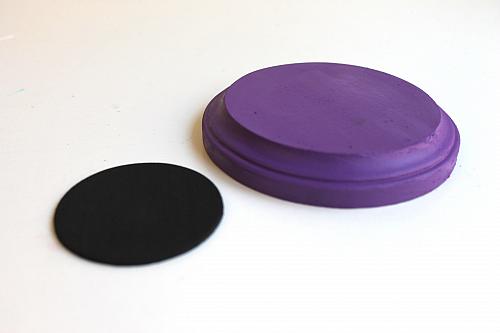
- Use the #12 flat brush and Purple Rain to paint the plaque. Rinse brush. Use the same brush or a #10 flat brush to paint the wooden circle Lamp Black. Rinse brush.
- Use a hot glue gun or E6000 Glue to adhere the Purple Rain plaque to the candlestick. Adhere the coffee filters to the top of the candlestick.
- Glue the Lamp Black wooden circle to the bottom of the pumpkin. Adhere the circle to the coffee filters.

DOWNLOADS
Candlestick Painting Guide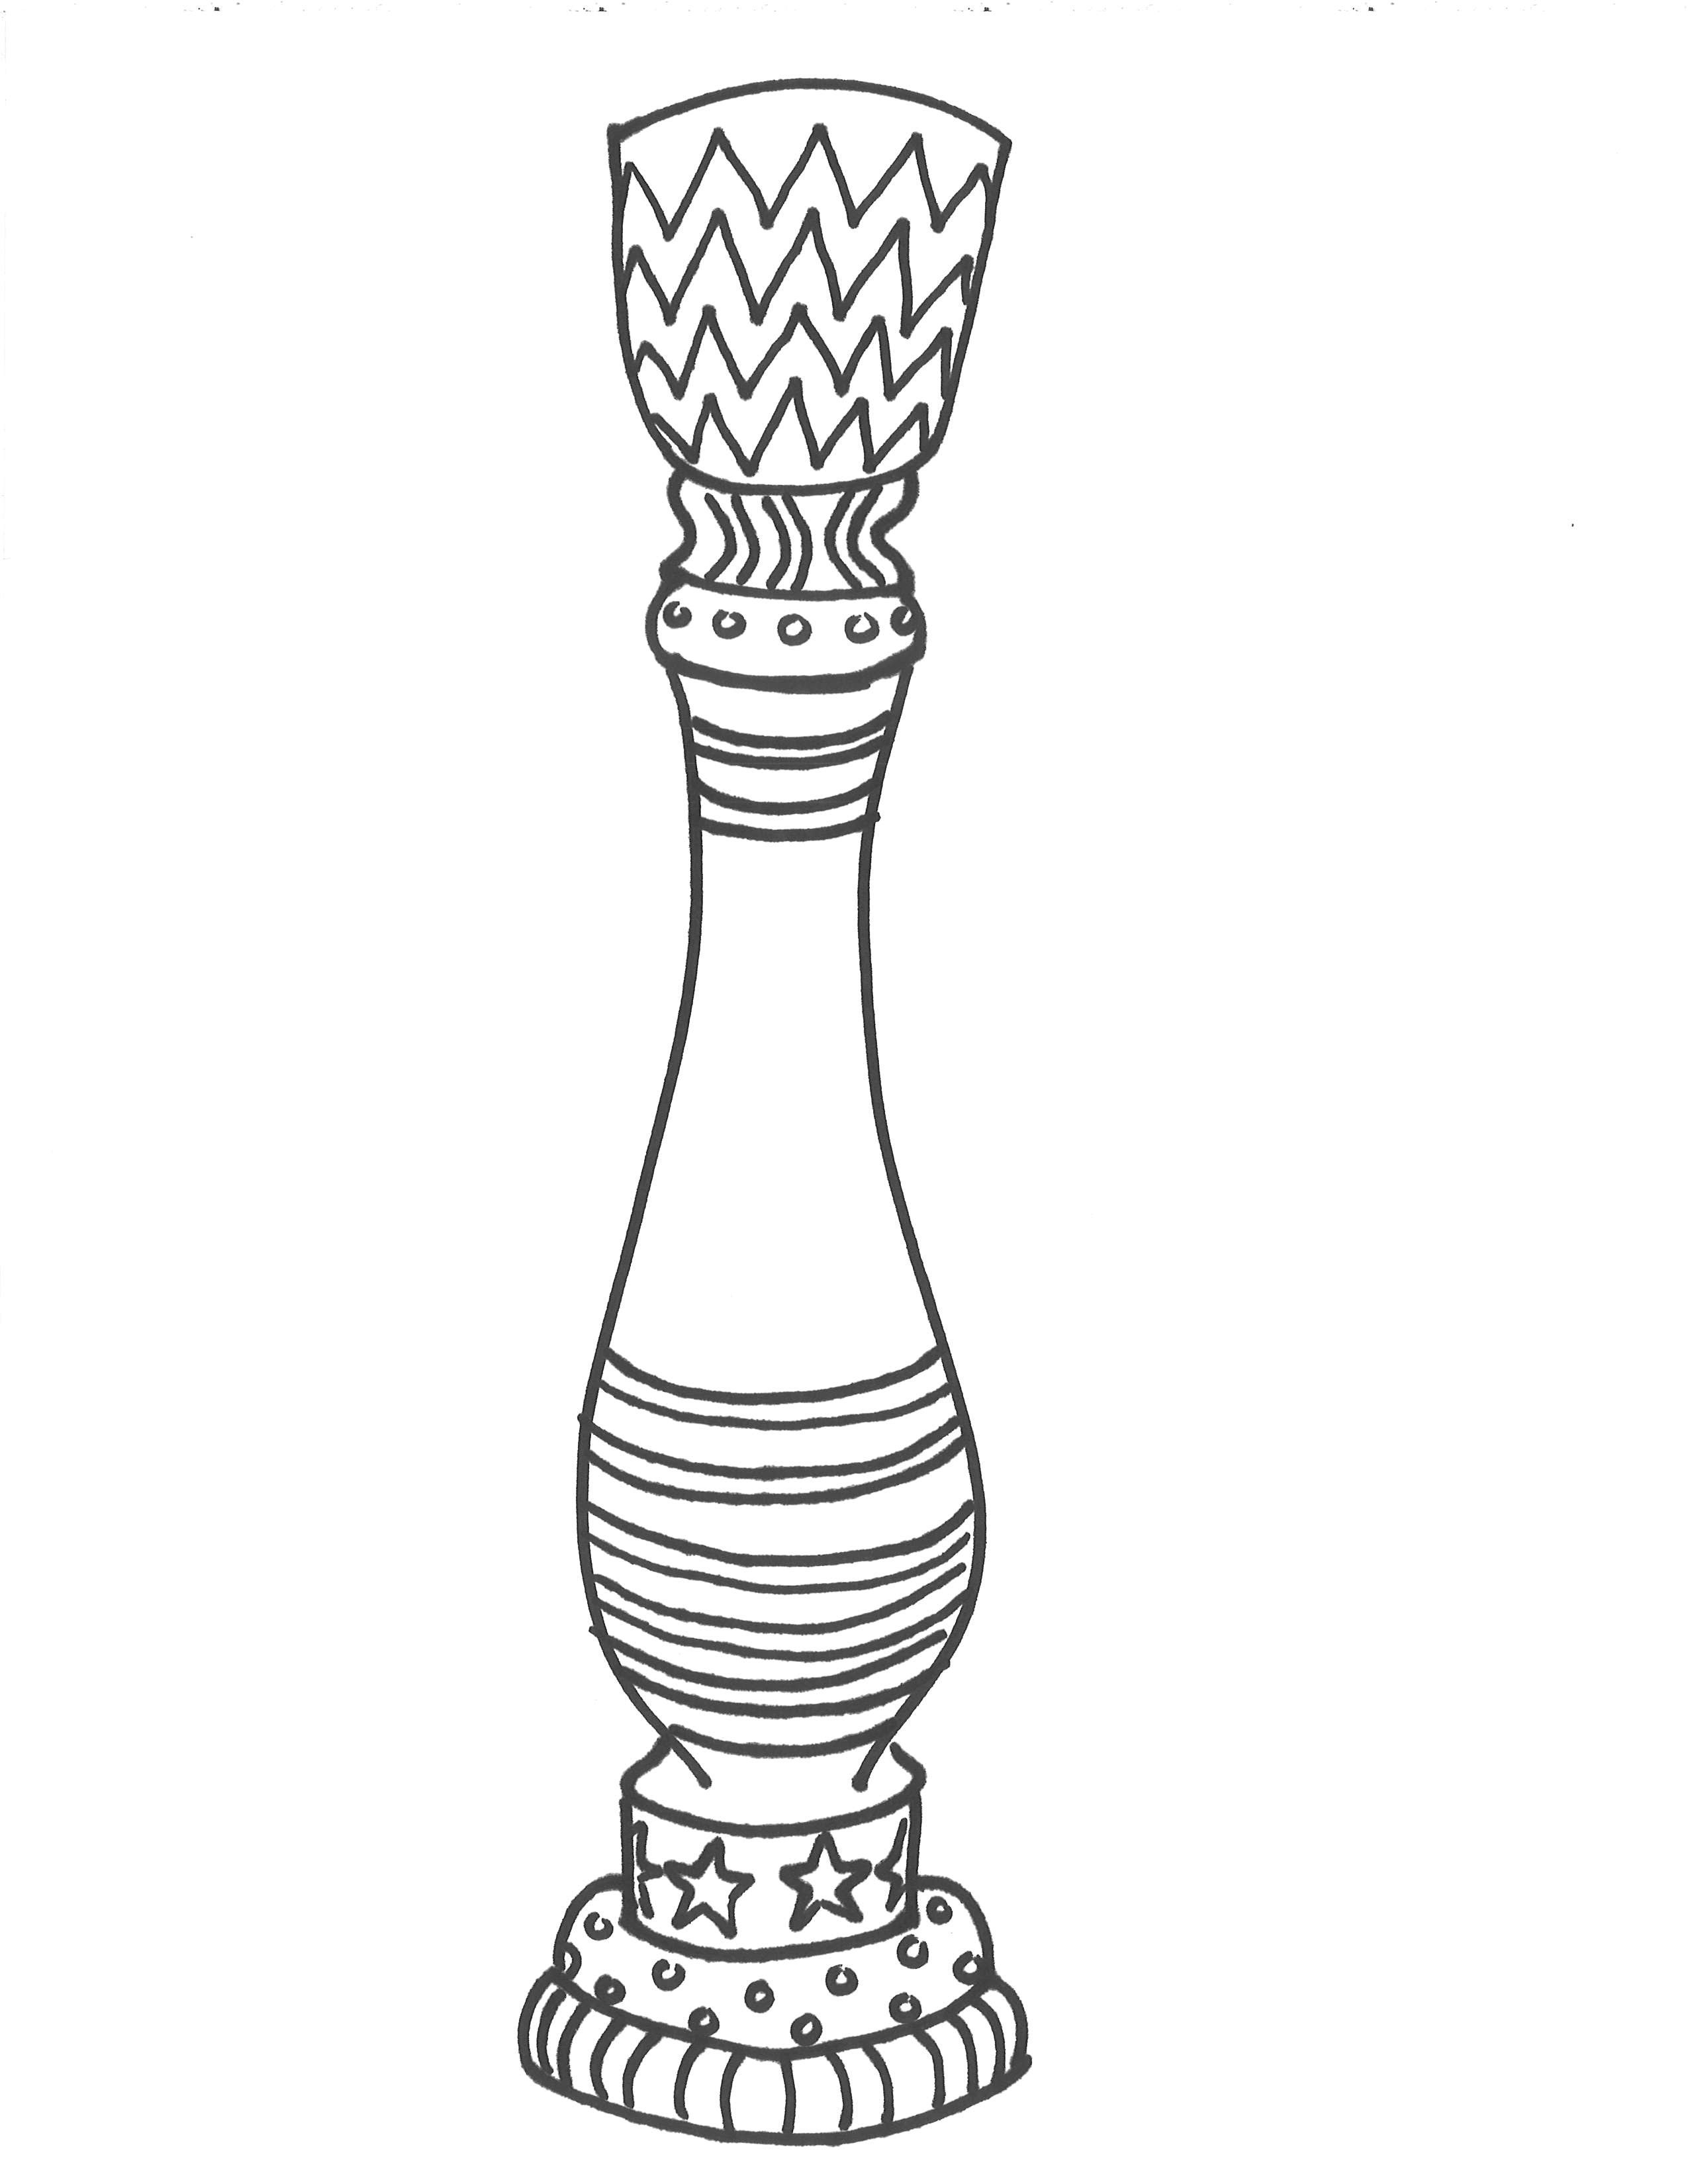
Pumpkin Face Pattern