Pearly Pink, White, and Green Fall Wreath
Posted by DecoArt on Oct 5th 2020
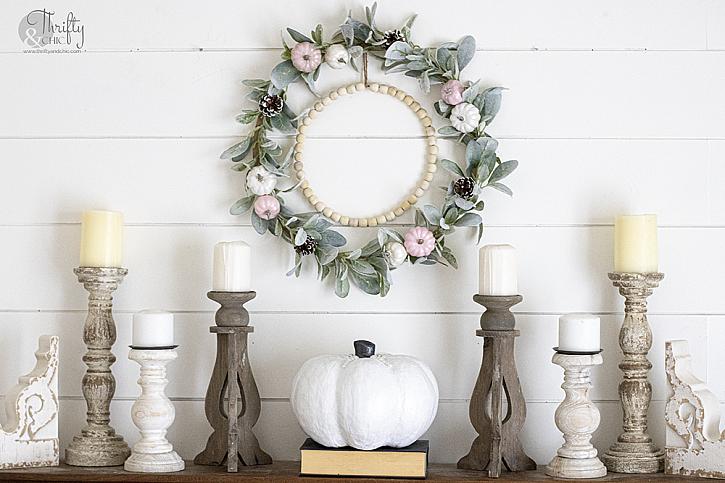
Fall is here! Are you team traditional fall decor or do you try to change it up a little bit? I came across my favorite fall combo a couple of years ago, pink and green. It's definitely a little different than what you expect, but I love the combo especially paired with white!
Today I'm going to share with you a perfect fall wreath full of my favorite fall colors with the best pearly shimmer thanks to DecoArt's Americana® Pearls™. I'll also be showing a quick way to update a larger craft pumpkin to help complete the look!
Items Needed:
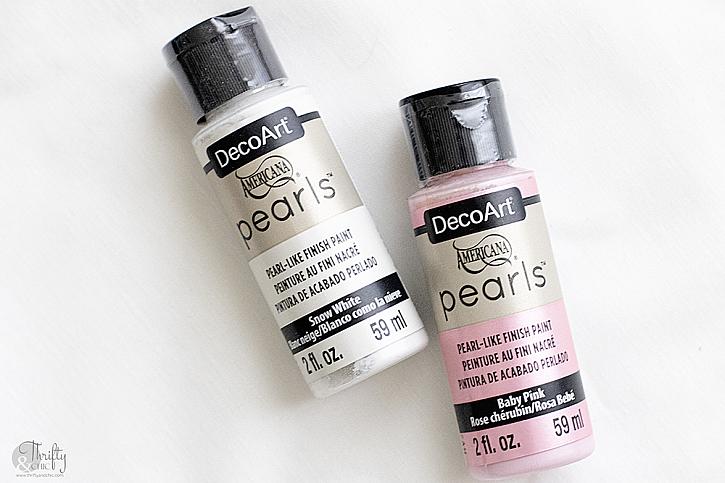
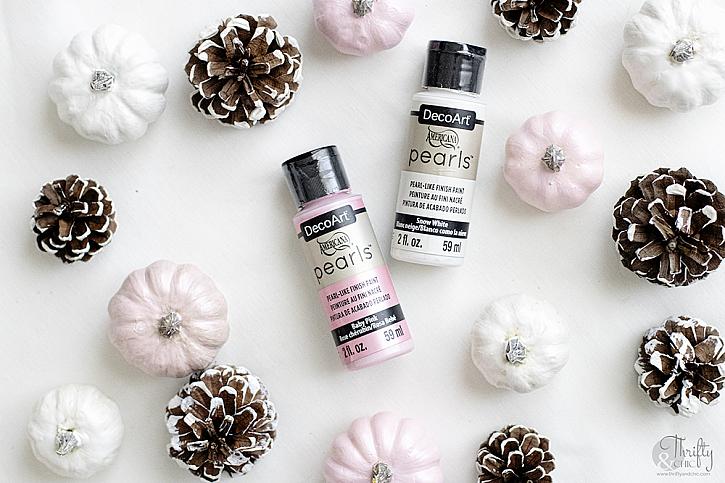
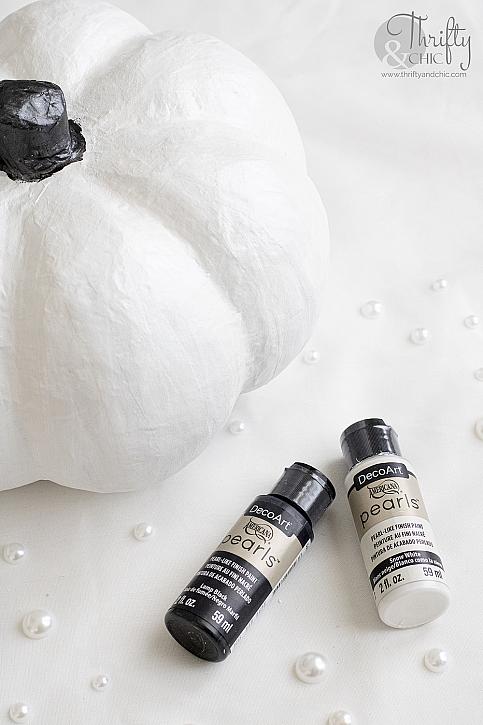
- Americana Pearls 2oz - Snow White (DAPO1-30)
- Americana Pearls 2oz - Baby Pink (DAPO31-30)
- Americana Pearls 2oz - Lamp Black (DAPO67-30)
- Small Craft Pumpkins/acorns/pinecones
- Garland Swag
- Wreath Form
- Hot Glue
- Large Craft Pumpkin
- Flat Craft Pearls (for Big Pumpkin, Or Little Ones If You Wish!)
Instructions:
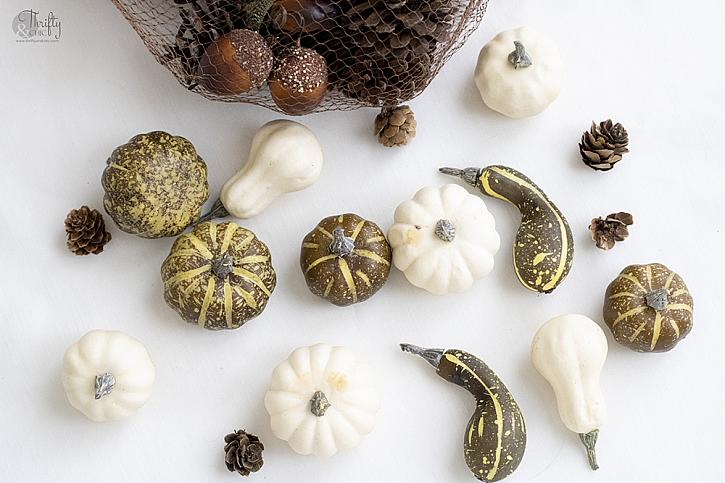
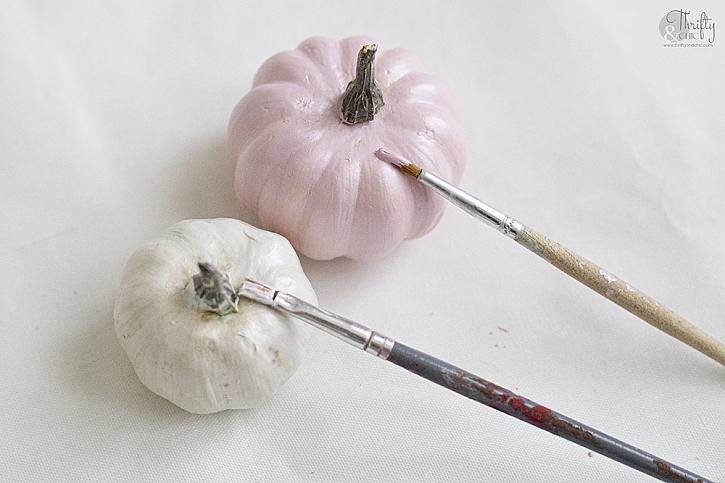
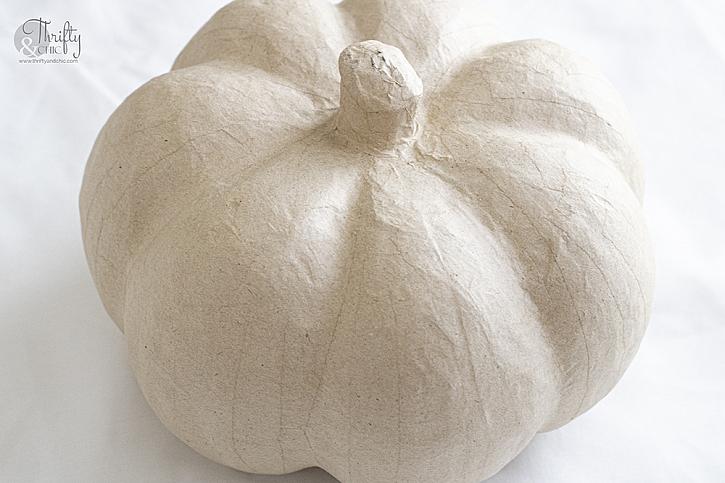
Here's a look at how these lovely craft pumpkins looked before adding the Americana® Pearls™.
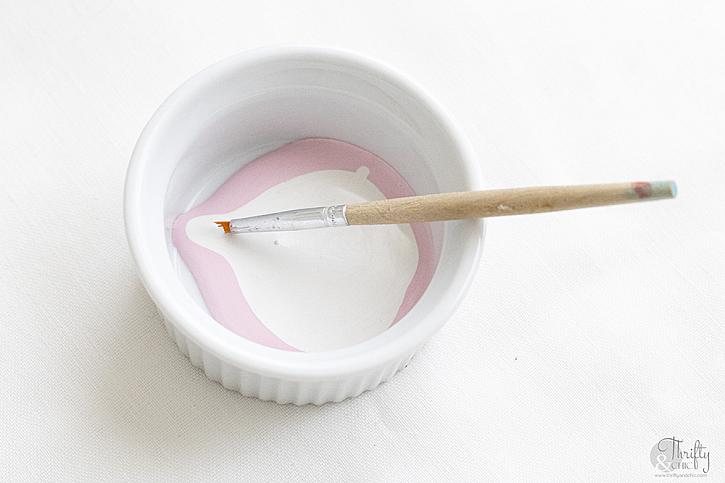
Step 1: For the wreath, I decided to make the pumpkins white and pink. For the white I used the Pearls™ in Snow White. For the pink, I wanted a softer pink so I mixed 1 part Baby Pink to 1 part Snow White to get my new color
Step 2: I painted 4 of the pumpkins with my new "snowy pink", and the other 4 Snow White. I used about 3 coats for full coverage which helped bring out the pearl shimmer even more.
Step 3: I then took the Snow White and lightly brushed down the sides of 4 small pinecones.
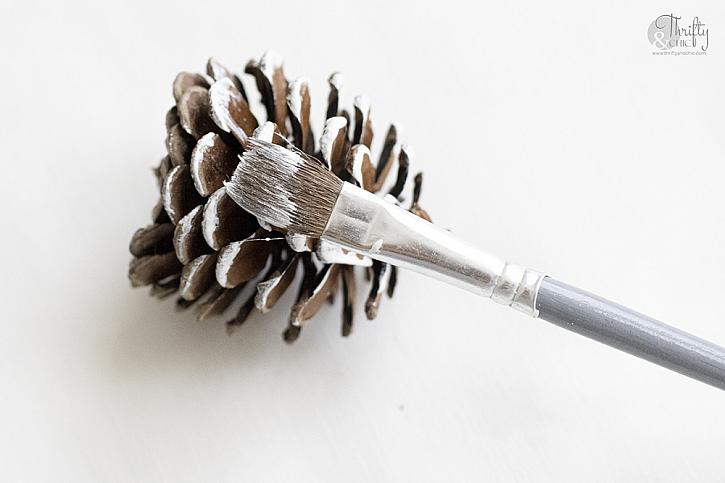
This color combo worked out beautifully!
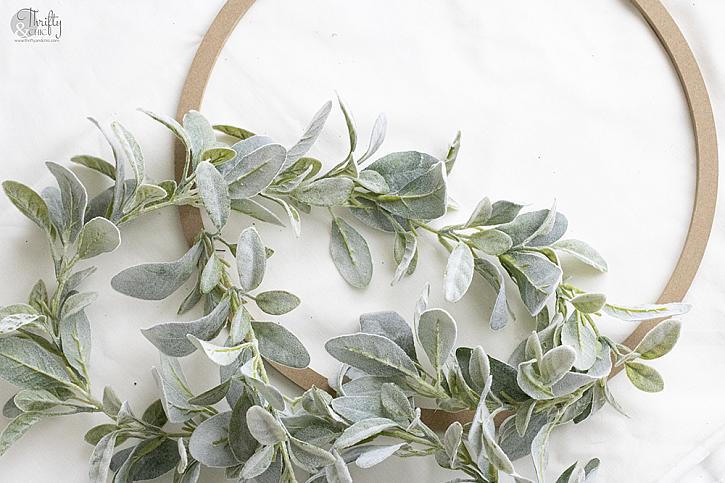
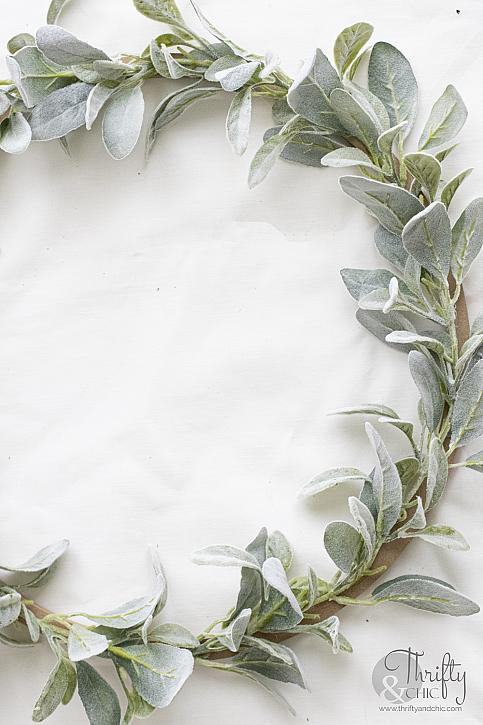
Step 4: While the paint dried, I used the hot glue and glued the lambs ear garland onto the wreath form.
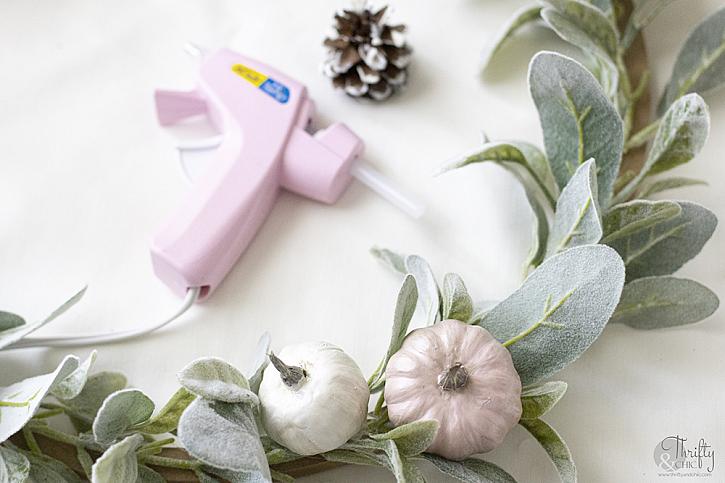
Step 5: I then positioned where I wanted the pumpkins and the pinecones. I decided to bunch differing colors and sizes of pumpkins, one small and one big with one pink and one white. I then placed the pinecones between the pumpkins.
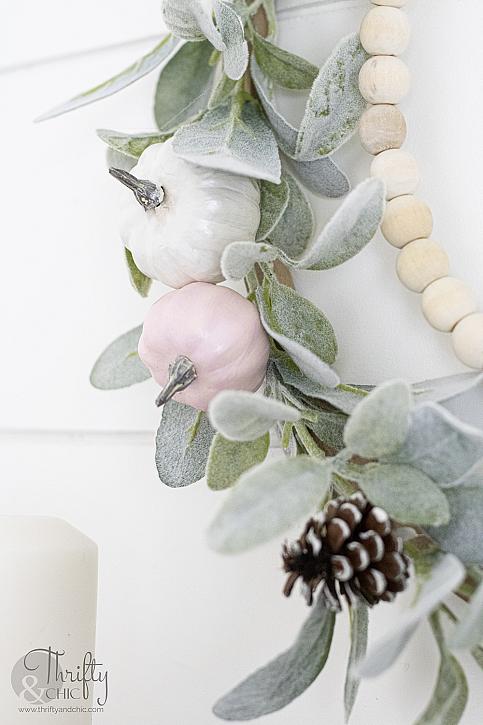
And that's it for the wreath! I did add a little extra middle wreath I found at the craft store. I simply tied this on with some jute.
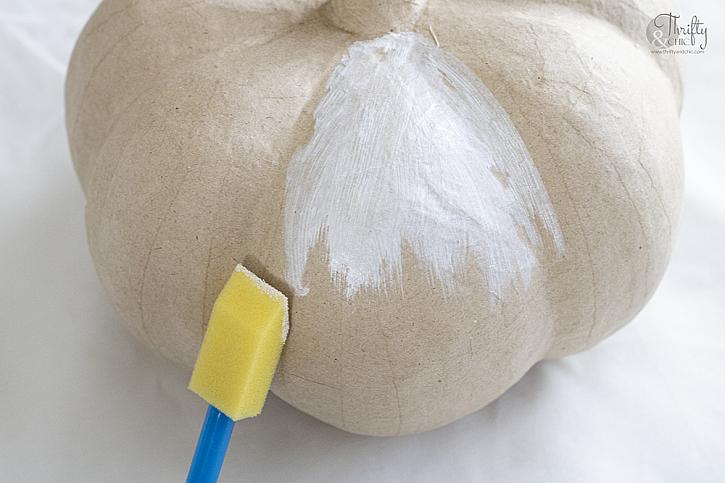
Now for the pearl pumpkin! It started off perfect just asking for some paint!
Step 1: I used two coats of the Pearls™ in Snow White.
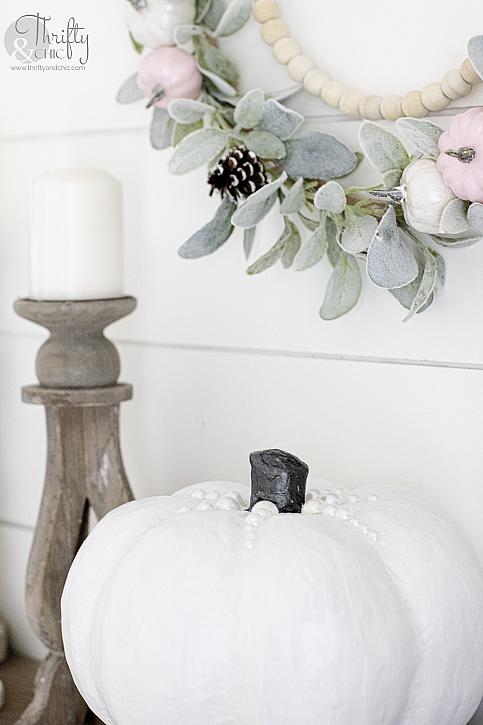
Step 2: For the stem, I brushed on Pearls™ in Lamp Black. This had excellent coverage and only required one coat.
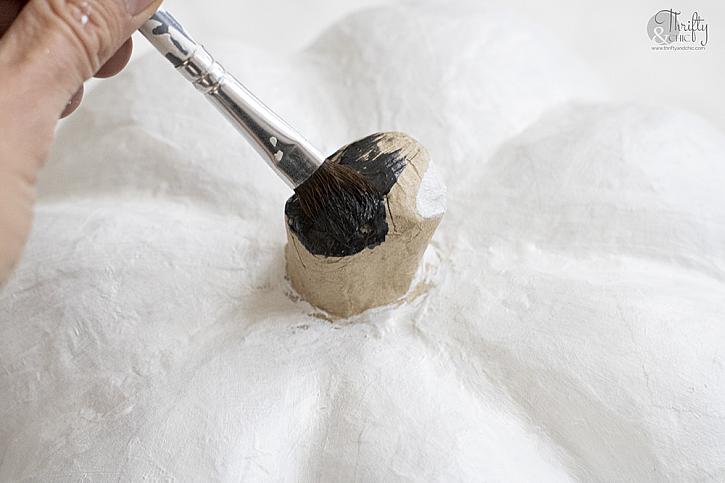
These two colors are simple but made the pumpkin beautiful!
Step 3: I decided to add some faux craft pearls to the pumpkin. I simply glued them on with some hot glue.
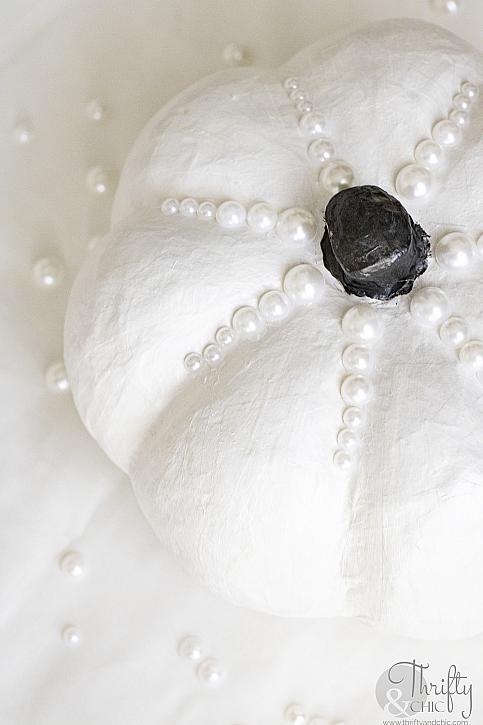
I love how this turned out. The Pearls™ paint gave these pumpkins the perfect shimmer and a little glam. Definitely not your average traditional pumpkins!
Hope you all have a wonderful fall!