Science Notebooks
Posted by DecoArt on Sep 4th 2019
September is back-to-school month where I live, so I thought a school-themed project appropriate. I taught science for decades, from grade 6 up through college, and have many fond memories of my students and teaching adventures. My main responsibility was teaching the Earth Sciences, so when I decided to alter a couple of notebooks, I pulled out fossil designs to use. Every year, I used to personalize my Teacher Planner, and often a couple of notebooks. I am retired from teaching, but I use small notebooks all the time to keep my creative work organized and take notes from classes, so these will be useful. Why not alter a notebook or two for yourself, or to give as gifts?
Items Needed:
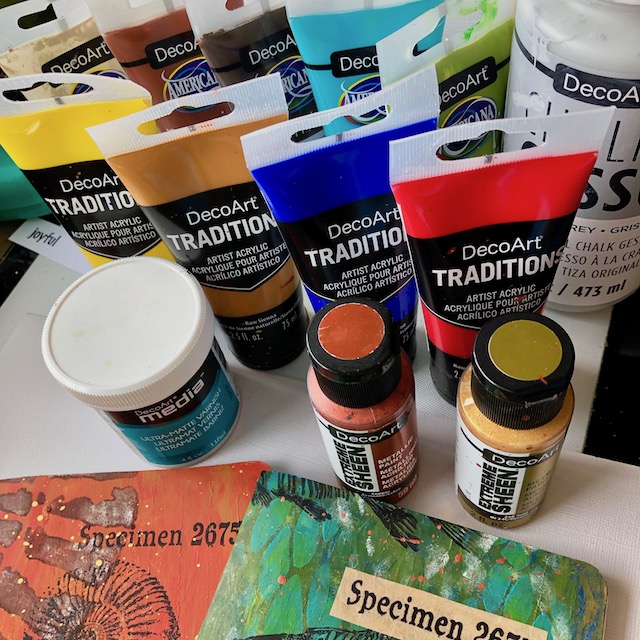
- DecoArt Extreme Sheen 2oz - 24K Gold (DPM04-30)
- DecoArt Extreme Sheen 2oz - Copper (DPM10-30)
- DecoArt Media Mediums and Specialty Products - Clear Matte Medium (DMM20-71)
- DecoArt Media Varnishes - Ultra-Matte Varnish (DMM24-71)
- Andy Skinner Stencils 8x8 - Fossil (ANDY111-K)
- DecoArt Chalky Gesso 16oz - Grey (CG27-65)
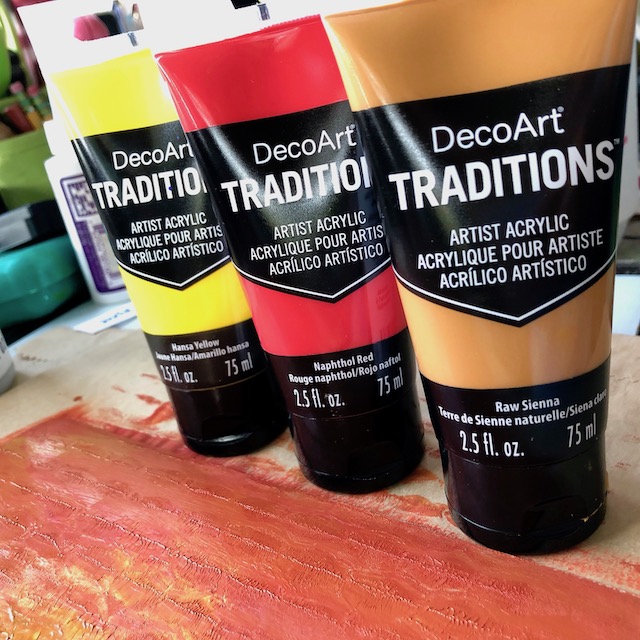
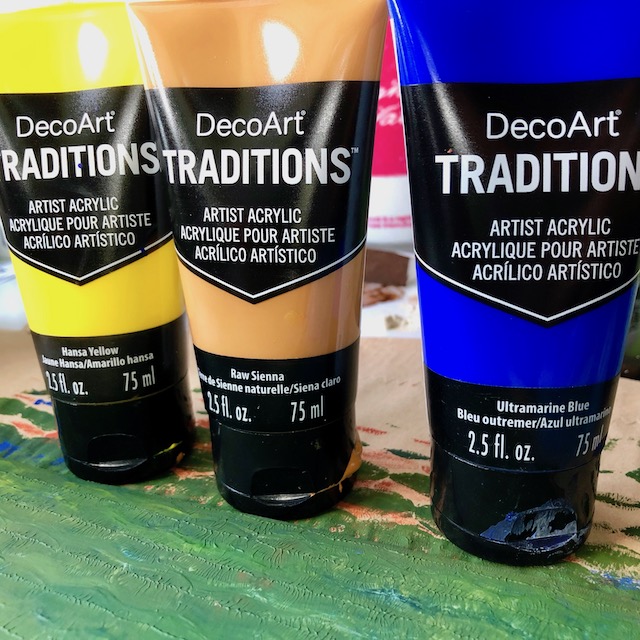
- DecoArt Traditions Artist Acrylics - Hansa Yellow
- DecoArt Traditions Artist Acrylics - Raw Umber
- DecoArt Traditions Artist Acrylics - Ultramarine Blue
- DecoArt Traditions Artist Acrylics - Naphthol Red
- Stamps
- Black Stamping Ink
- Moleskine Lined Journals 13x21cm
- 1/2 Inch Flat Brush
- Heat Tool
- Cosmetic Sponge
- Baby Wipes
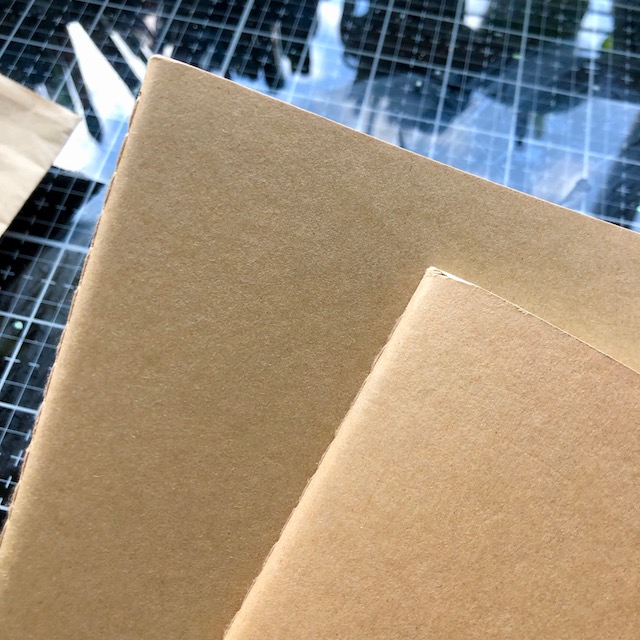
- Paper Bag Or Kraft Paper
- Toothbrush Or Splatter Brush
- Plastic Packaging Wrap
- Scissors
Instructions:
Step 1: Brush on a fairly thick coat of Grey Chalky Gesso to both covers. Let dry completely, or speed up the heating with a heat tool.

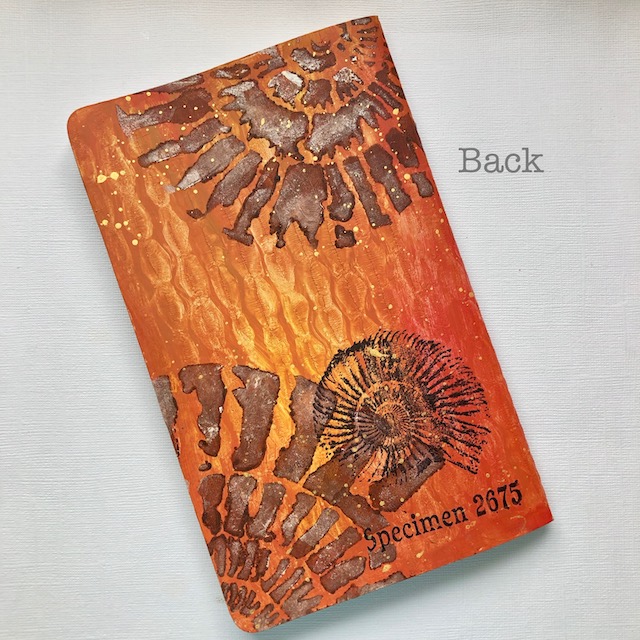
Step 2: Brush on a thick layer of DecoArt Traditions Hansa Yellow, Naphthol Red, and Raw Umber, blending the colors as you brush. While the paint is wet, lay the packaging material (similar to bubble wrap) into the paint, lift and repeat across the covers. Let dry.
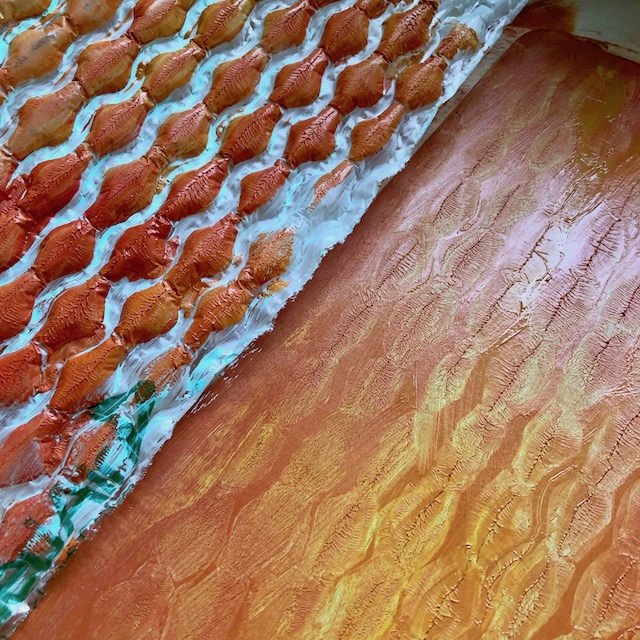
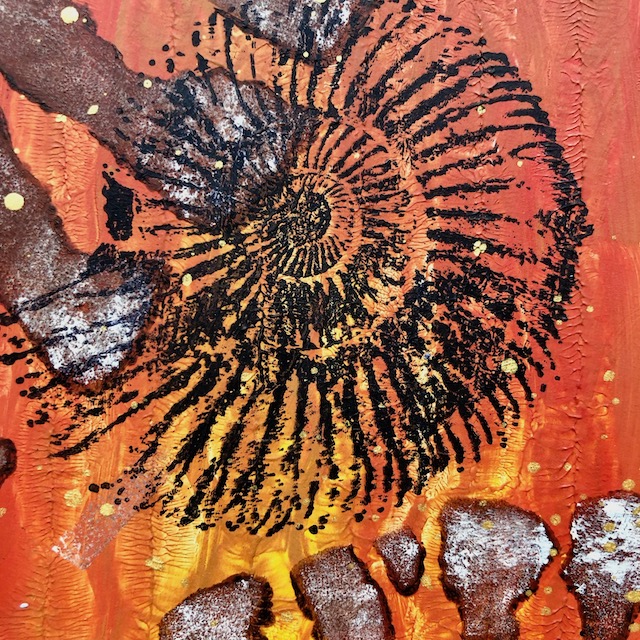
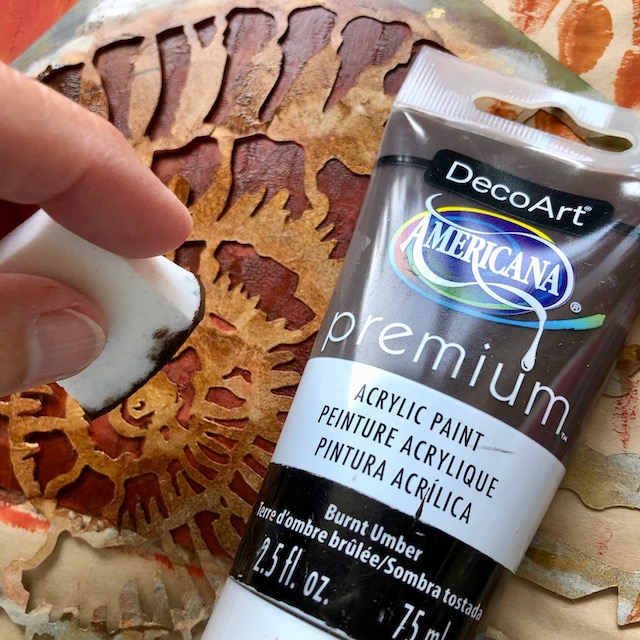
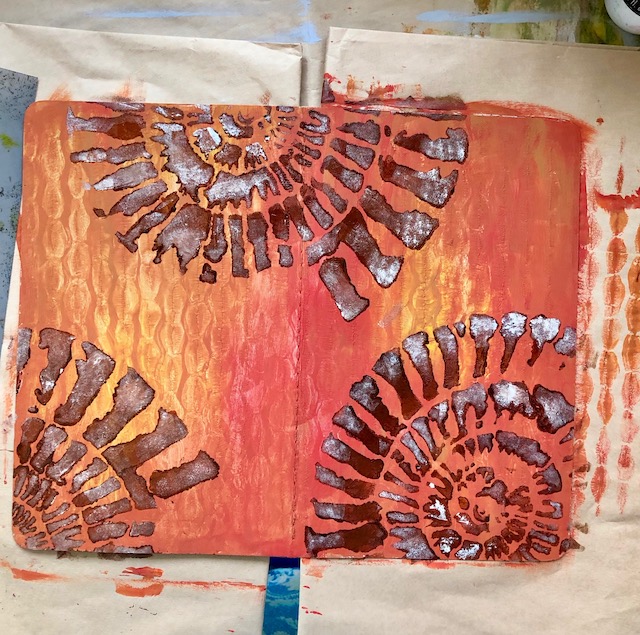
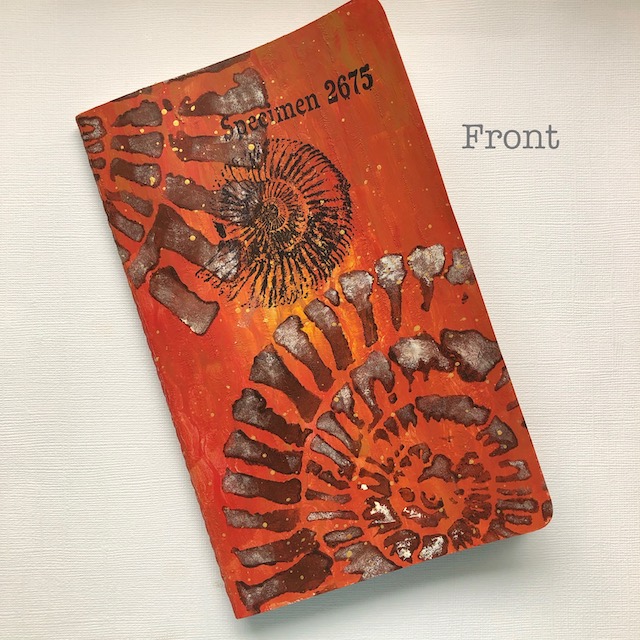
Step 3: Lay the large fossil stencil in several areas across the cover. Use a cosmetic sponge, and blend, starting with the Burnt Umber, then Burnt Sienna, and touch it a bit with Titan Buff. Be sure to wipe off, or wash your stencil right away before the paint dries.

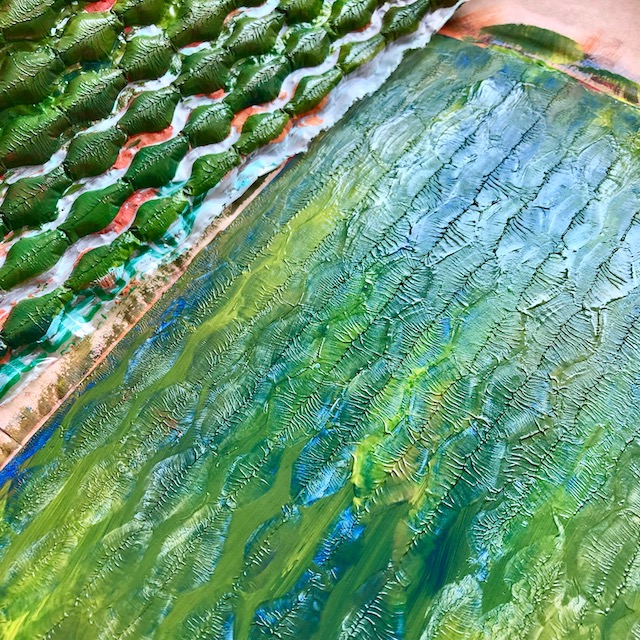
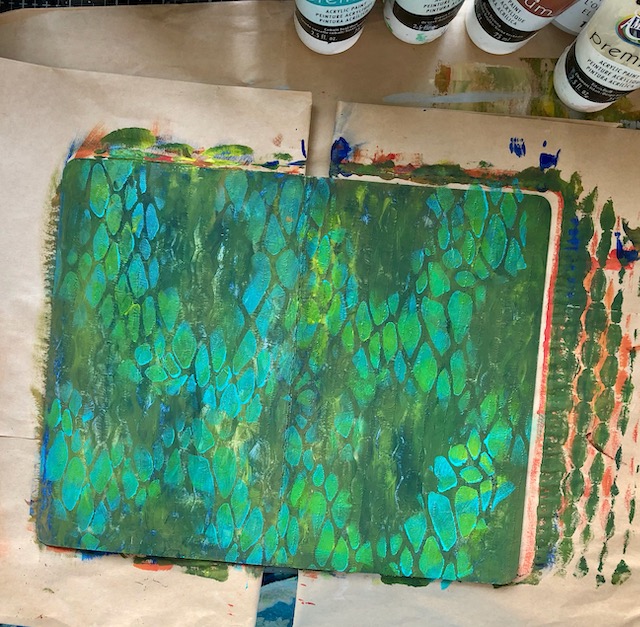
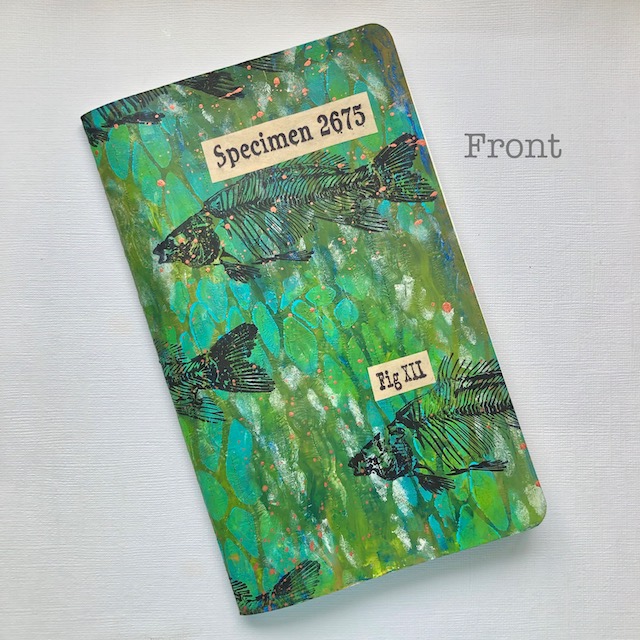
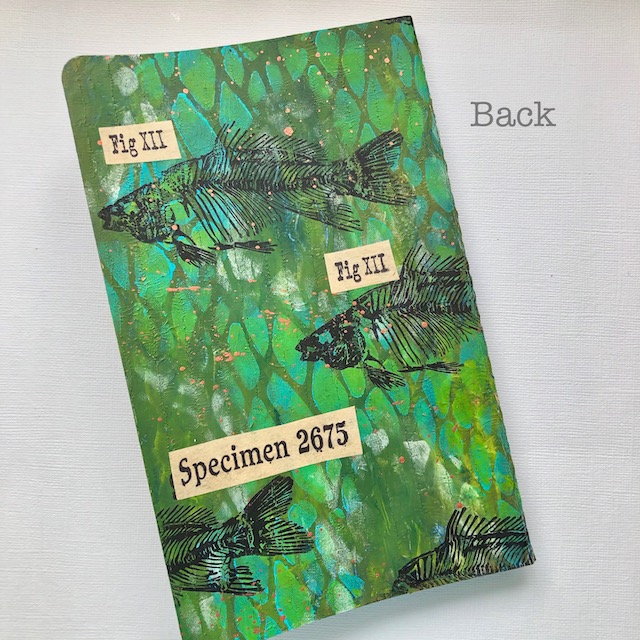
Step 4: On the second notebook, blend a mix of Traditions Hansa Yellow, Ultramarine Blue and Raw Umber in a thick layer. Take the packaging material and press it into the paint, repeating across the cover. Let dry.
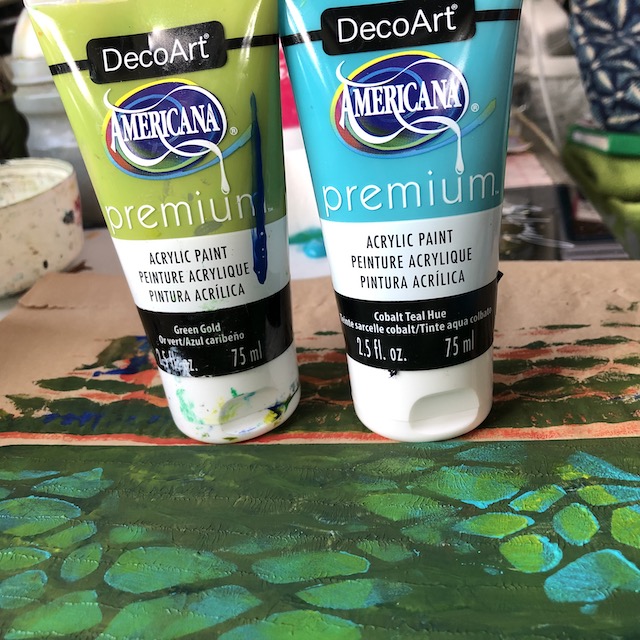
Step 5: Use the Snake’s Web stencil, a cosmetic sponge, and DecoArt Americana Premium Cobalt Teal Hue and Green Gold, and randomly stencil the pattern, leaving some areas open.
*Note - In my attempt to keep paint off the insides of the notebook, I’ve stuck a couple of shopping bags under the cover to keep it neat.
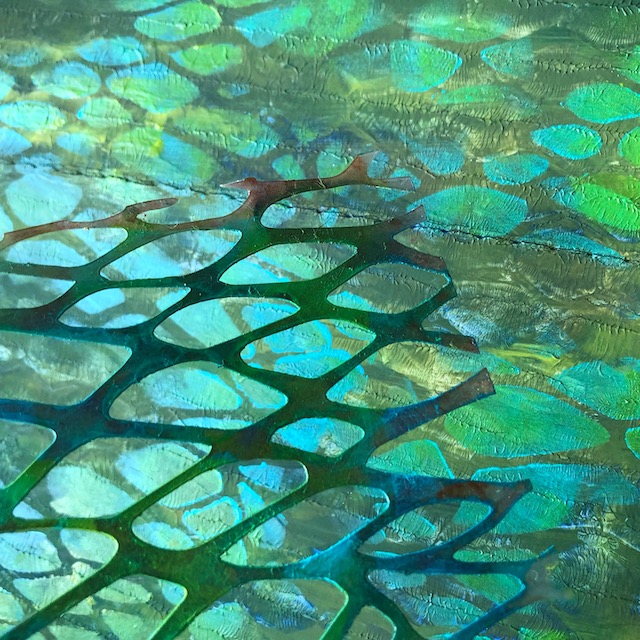
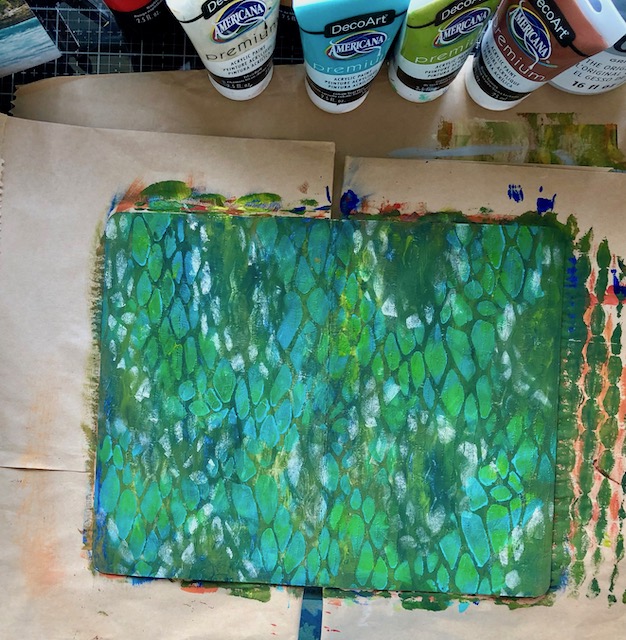
Step 6: Repeat step 5 with the Snake’s Web stencil, using the Titan Buff.

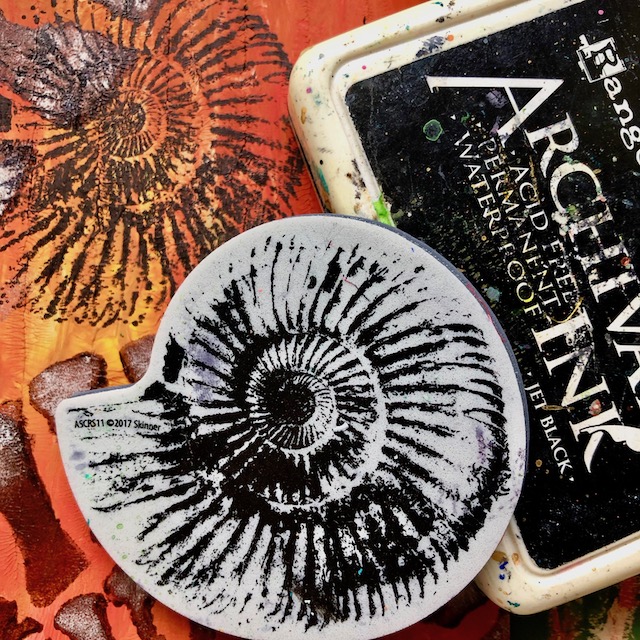
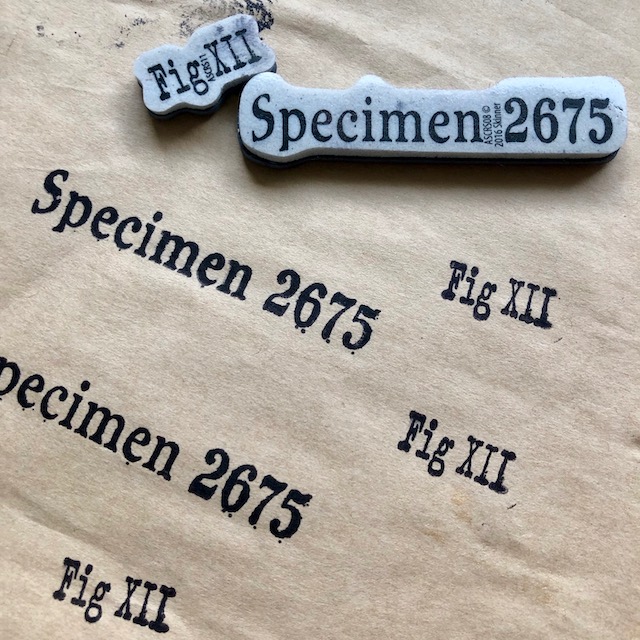
Step 7: On the first notebook, randomly stamp some fossils, using archival black ink. I heat set it, just to be sure I would not smudge it.
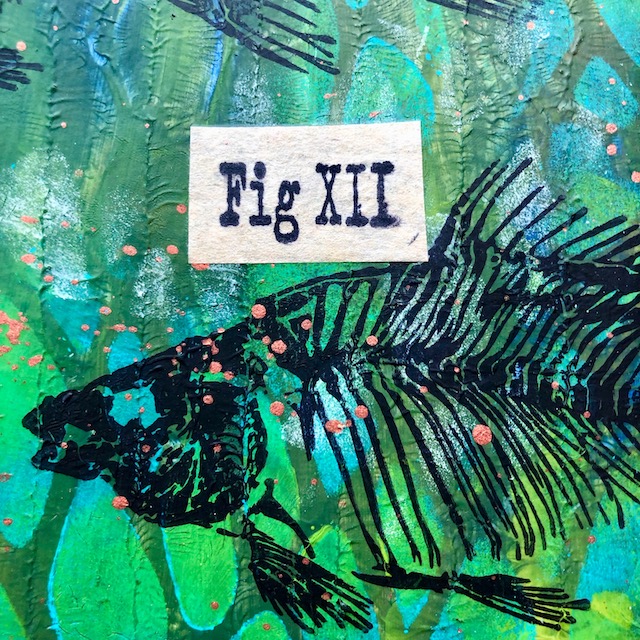
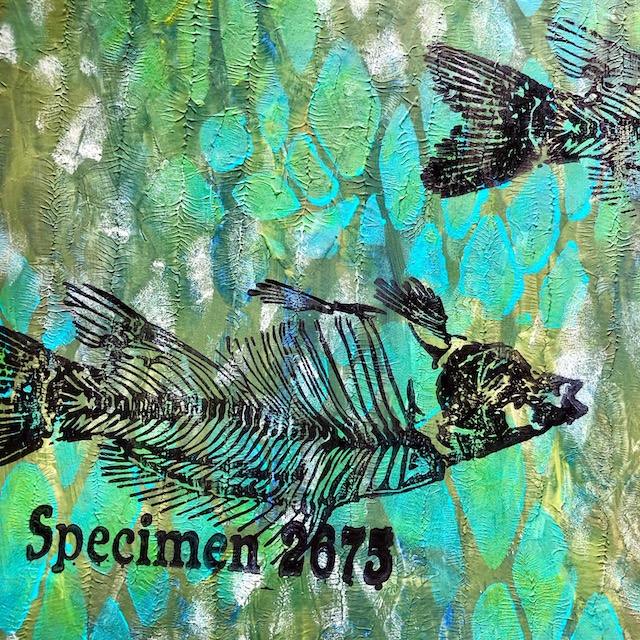
Step 8: On the second notebook, stamp the fossil fish randomly across the cover with the archival ink, and heat set it. After I had finished the entire cover, I realized I had stamped all the fish upside down! But, I fixed that mistake by turning the notebook upside down, and stamping the words and numbers on my paper bag, cutting them out and adhering them right over the other images with gel medium. It will work.
Step 9: Now that the covers are completed and dry, splatter on some Extreme Sheen Gold on the first notebook, and Extreme Sheen Copper on the second notebook. (I blend it with a bit of water and you can use a toothbrush or splatter brush to get the drops.) Dry. Brush on a thin layer of Ultra-matte Varnish to protect the notebooks. Let dry.
I love having little notebooks handy, and when they are personalized with your own work, they are so much fun to use. DecoArt’s acrylic paints make it so easy to paint your own notebook covers. Get ready for school this year (or class, or…), and make your own notebooks! I hope you have lots of fun creating your own personal notebooks. Maura.
Details: