
Spooky Halloween Food Dish Markers
Posted by DecoArt on Aug 31st 2015
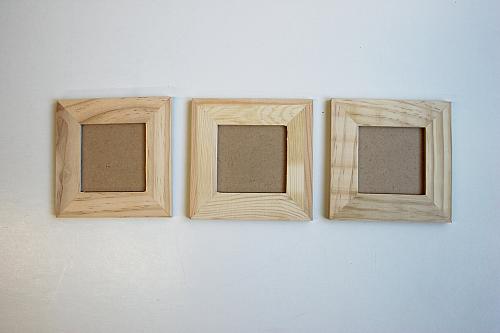
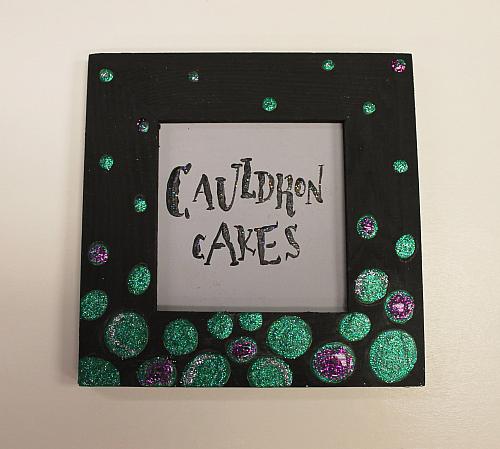
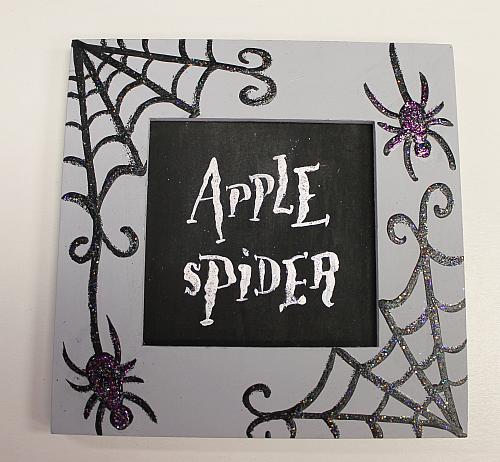
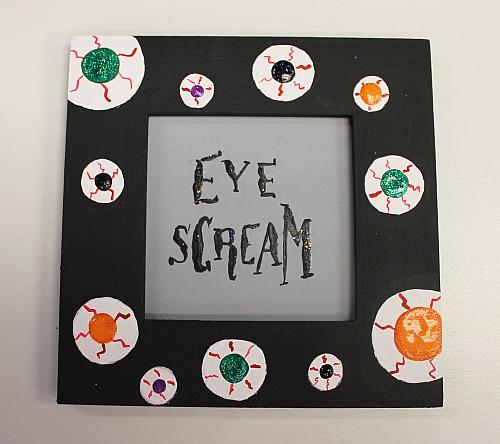
Take simple wooden frames and turn them into these clever dish markers for your next Halloween party.
SUPPLIES
- water container
- palette or plastic plate
- paper towels
- transfer paper
- sandpaper
- #3 round brush
- 1" flat brush
- #0 liner brush
- wooden frames
INSTRUCTIONS
NOTES:
Let dry completely between painting steps.
- Sand any rough edges of the wooden frames. Remove the wooden backing and wipe all surfaces with a damp paper towel to remove any sanding dust.
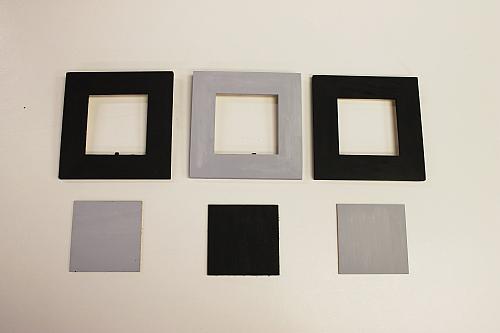
- Paint two frames and one center piece Lamp Black. Paint the remaining frame and backing in a mix of Snow White with a small amount of Lamp Black.
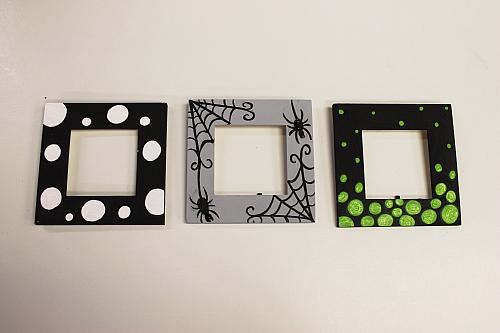
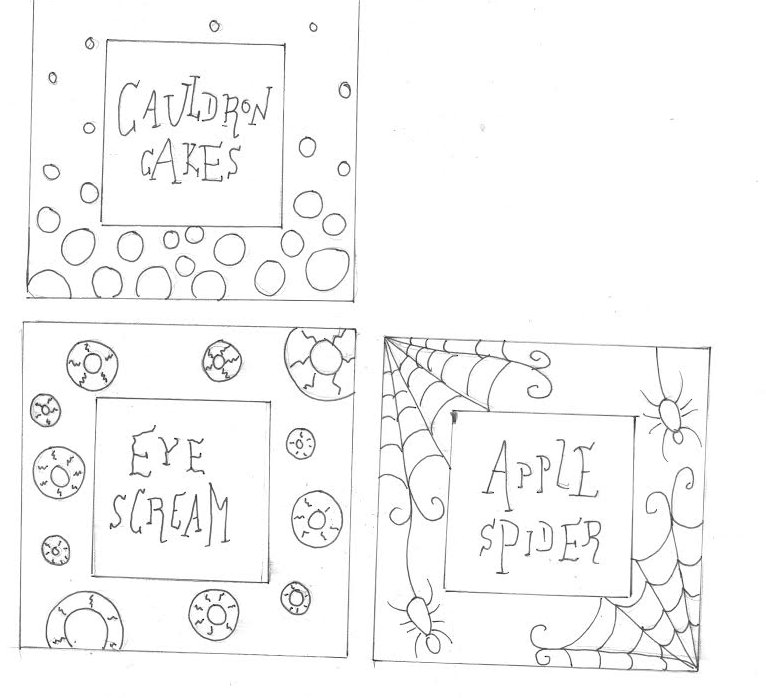
- Transfer the patterns onto the frames and backing pieces. Paint the eyeballs in Snow White with a #3 round brush. Paint the spiders and webbing in Lamp Black with #3 round and #0 liner brushes. Paint the bubbles in Holly Green with a #3 round brush; use the handle end of the brush for the smaller bubbles.
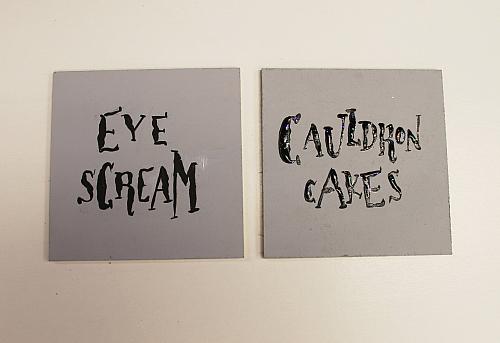
- Using a liner brush, paint the lettering of the Snow White/Lamp Black pieces in Lamp Black. (Purposefully make jagged edges and some areas thicker than others.) Let dry, and once dry, paint over the lettering with Black Craft Twinkles. Paint the lettering of the Lamp Black-backing piece in Snow White. Once dry, go over the lettering with a Silver Craft Twinkles Writer.
- Using a #3 round brush, fill in all bubbles in Christmas Green Craft Twinkles. Once dry, add Purple Princess and Silver Craft Twinkles to random bubbles. (See photo for color placement.) Once completely dry, insert the backing.
- Using a liner brush, paint over the webbing and spiders in Black Craft Twinkles. Add Purple Princess to the body of the spiders. Once completely dry, add the backing into the frame.
- In the centers of the eyeballs, basecoat pupils Lamp Black, Purple Rain, Holly Green, and Spiced Pumpkin. Using a liner brush, add veins randomly to the outer eye in Cherry Red.
- Once pupils are dry, paint with coordinating glitter paint colors: Christmas Green over Holly Green, Tiger Orange over Spiced Pumpkin, and Purple Princess over Purple Rain. Once completely dry, insert the backing into the frame.