
Upcycled Rainbow Glitter Vases
Posted by DecoArt on Sep 8th 2020
Create a rainbow grouping of vases with DecoArt® Holographic Illusions™.
SUPPLIES
- palette or plastic plate
- scissors
- pencil
- old book pages
- fan brush
- glue
- 3/4" flat brush
- ruler
INSTRUCTIONS
NOTES:
You can mix paint colors with Glitter Basecoat to save a step.
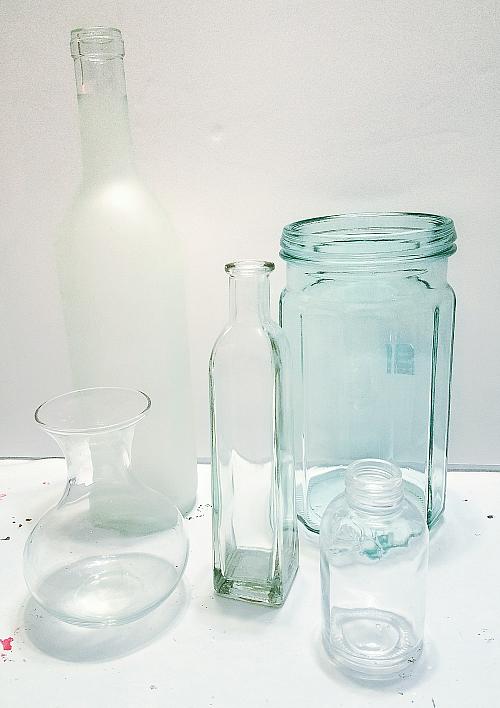
- Gather random sized jars, bottles, and vases to group together. (The ones I found were glass, but any type of material would work.)
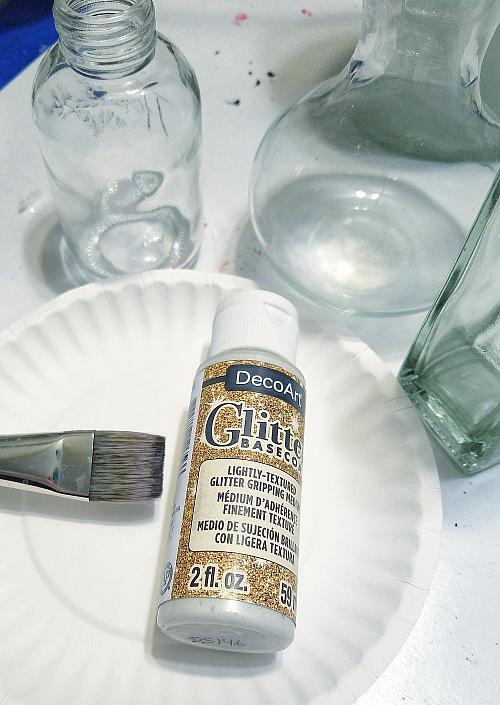
- Gather the 3/4" flat brush, bottles/vases/jars, and Glitter Basecoat.
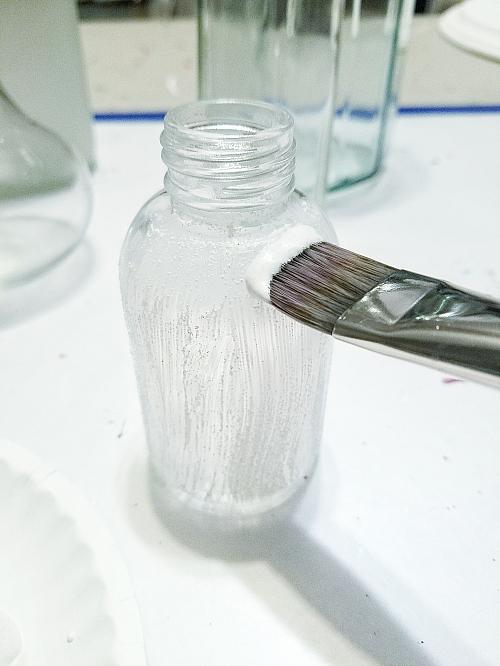
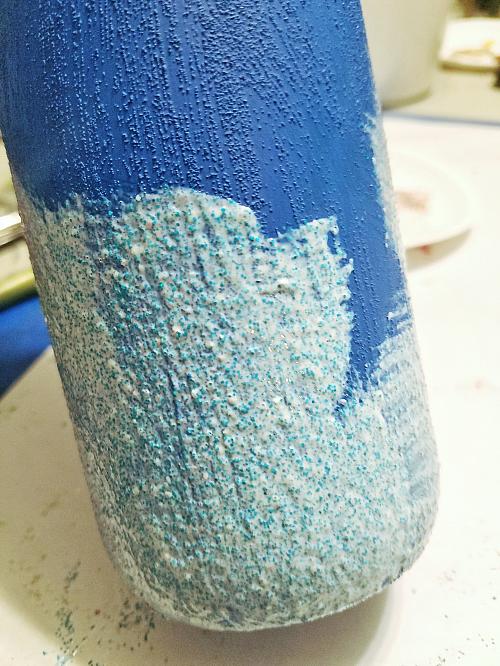
- Paint Glitter Basecoat onto the entire surface of each bottle/vase/jar with a flat brush. Allow to dry completely.
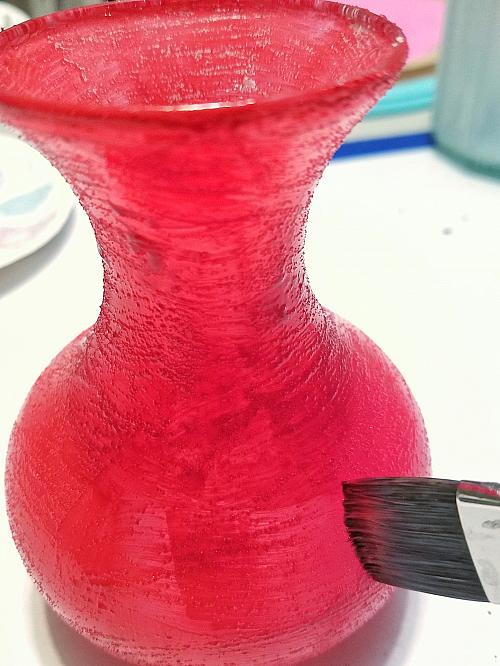
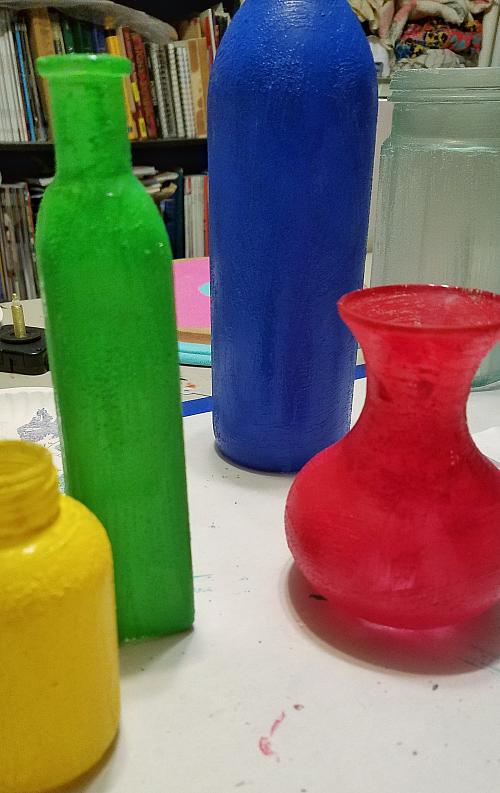
- Paint Berry Red over the entire surface of one jar/vase/bottle. Allow to dry.
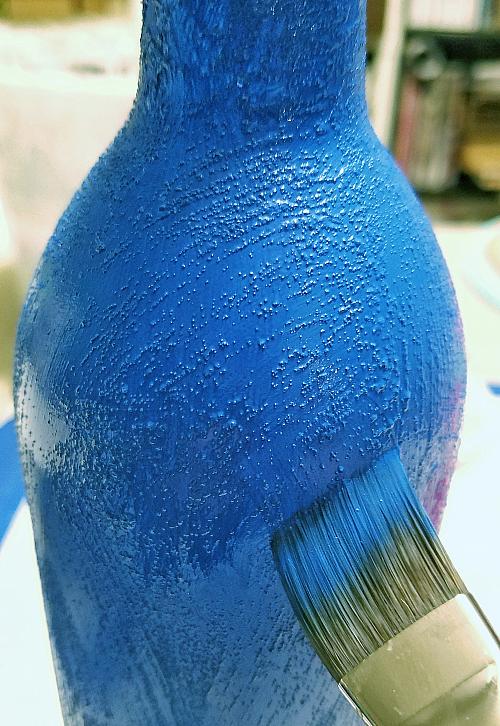
- Paint True Blue over the entire surface of one jar/vase/bottle. Allow to dry.
- Paint Primary Yellow and Festive Green over the entire surfaces of two of the remaining jars/vases/bottles. Allow to dry.
- Paint Lavender over the entire surface of a jar/vase/bottle. Allow to dry.
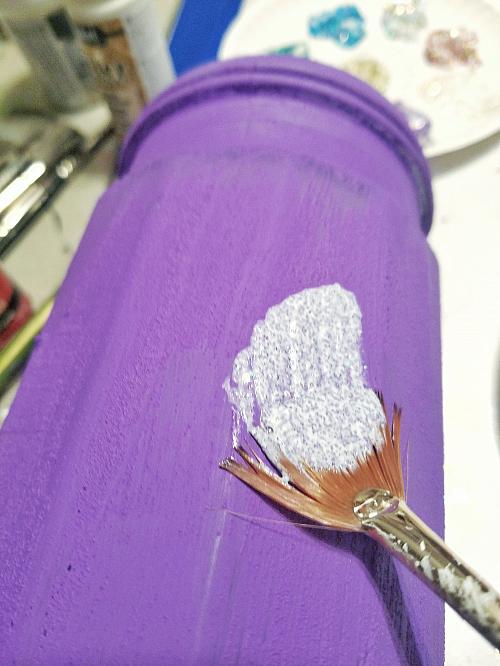
- On the Lavender jar/vase/bottle, paint on Divine Purple with a fan brush, coating the entire surface. Allow to dry. Apply another coat, paying attention to any areas that need more glitter. Allow to dry completely.
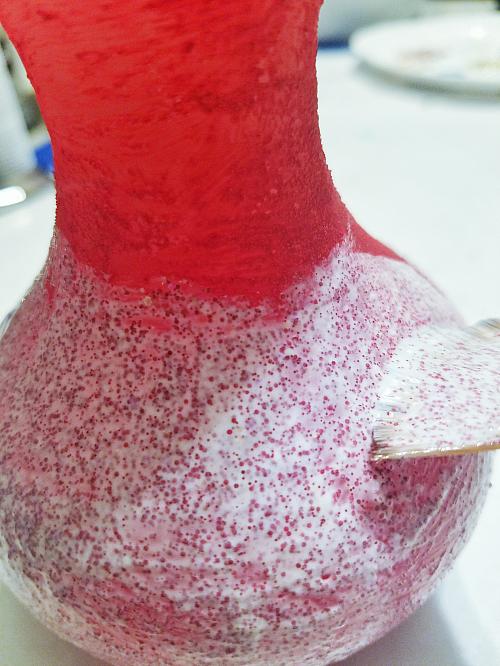
- On the Berry Red jar/vase/bottle, paint on Bewitching Red with a fan brush, coating the entire surface. Allow to dry. Apply another coat, paying attention to any areas that need more glitter. Allow to dry completely.
- On the True Blue jar/vase/bottle, paint on Enchanted Blue with a fan brush, coating the entire surface. Allow to dry. Apply another coat, paying attention to any areas that need more glitter. Allow to dry completely.
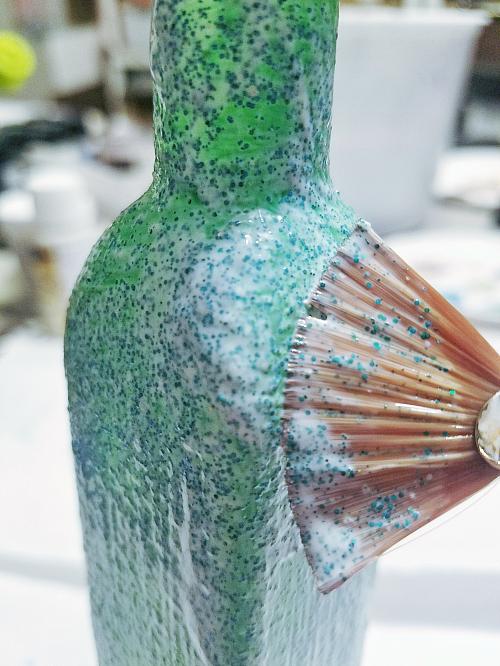
- On the Festive Green jar/vase/bottle, paint on Green Potion with a fan brush. For the Primary Yellow jar/vase/bottle, paint on Magic Gold with a fan brush. Allow to dry completely. Apply second coats, paying attention to areas that need more glitter. Allow to dry.
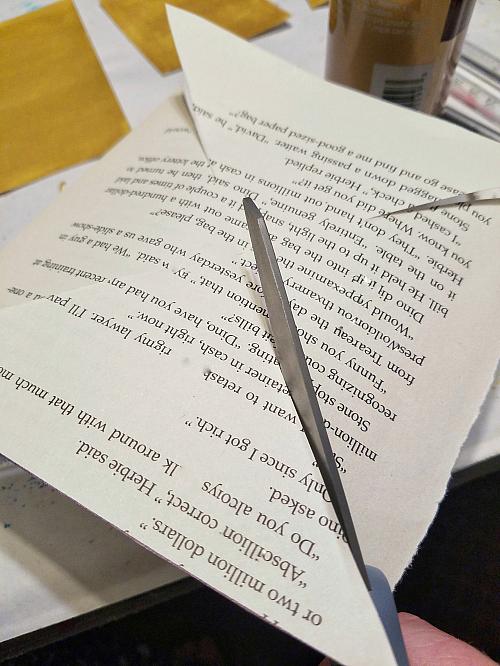
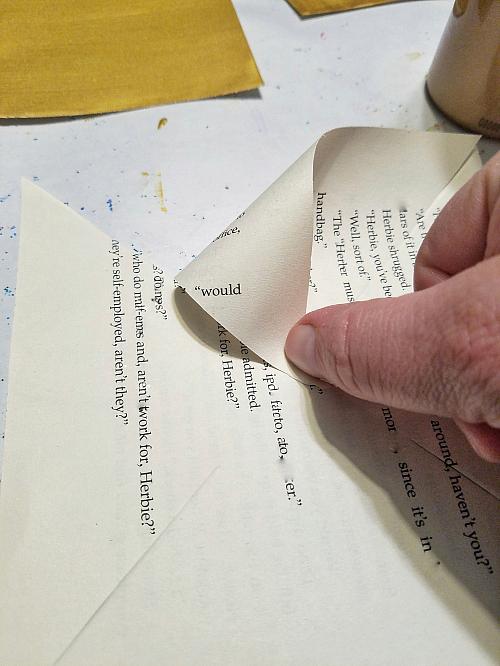
- Optional: To add another element to the glittered grouping, create some decorative pinwheels from old thrift store book pages. Use the provided pattern or measure out a square and cut into the square from each corner evenly.
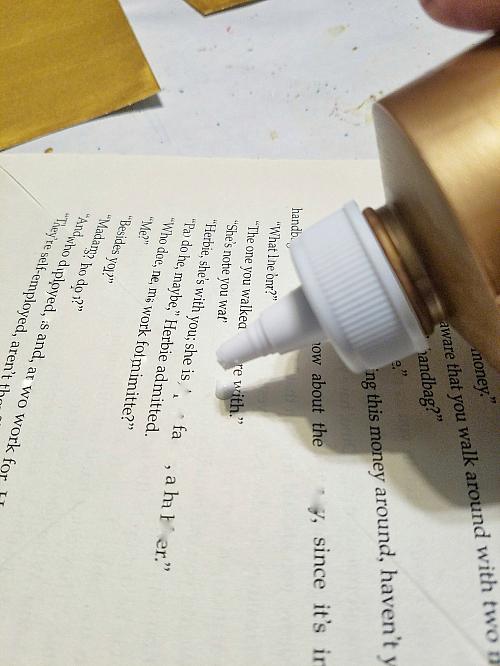
- Place a small spot of glue in the center of the square. (Tip: Less glue means the pinwheel will stick better and adhere faster.)
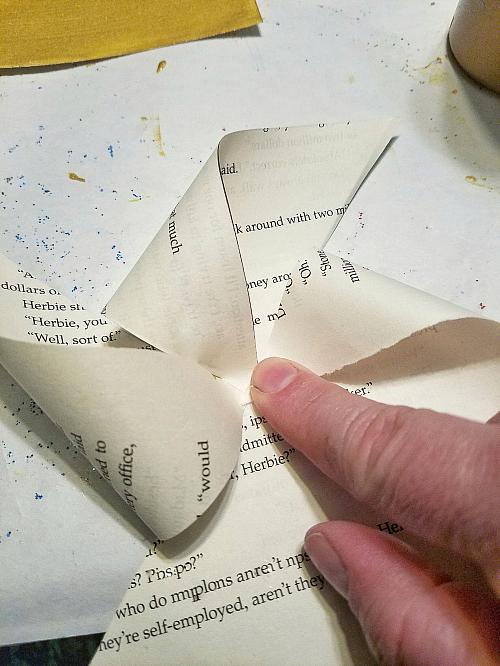
- Fold over one edge of the triangle and stick to the center.
- Continue to fold over edges of triangles and stick in the center with glue.
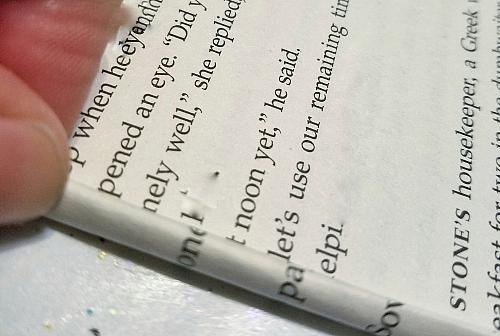
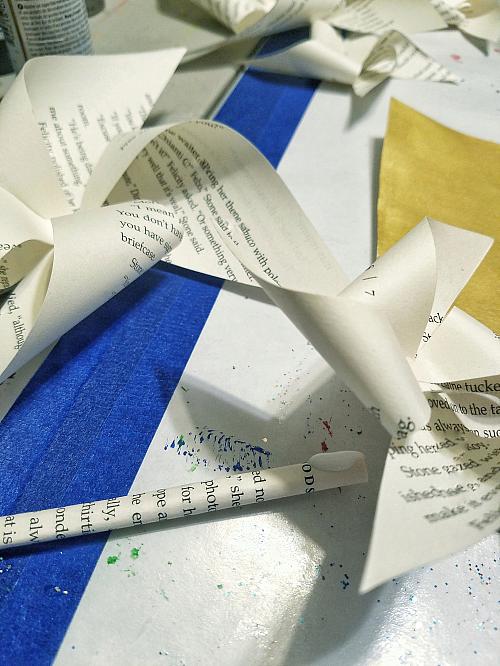
- For the stem of the pinwheels, roll book pages tightly with a light amount of glue as you go.
- Glue the pinwheel to the stem with a dab of glue.
