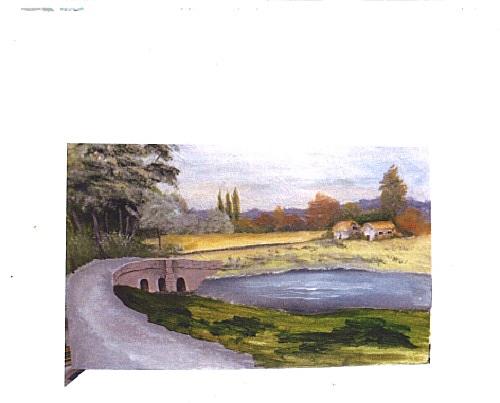
View of the Bridge Canvas
Posted by DecoArt on Oct 24th 2016
Soothe your soul while painting this delightful scene of a country road and bridge.
SUPPLIES
- water container
- palette or plastic plate
- paper towels
- 1" flat brush
- #4 flat brush
- stylus
- canvas
- #2 fan brush
- dark graphite paper
- #1 bristle flat brush
- #2 bristle flat brush
- #4 bristle flat brush
INSTRUCTIONS
NOTES:
Use the appropriate-sized brush for the area you are working on.
- Seal the canvas with the Multi-Purpose Sealer. Let dry. (The canvas should be smooth when dry. Apply two coats of Multi-Purpose Sealer if needed.) Let dry completely.
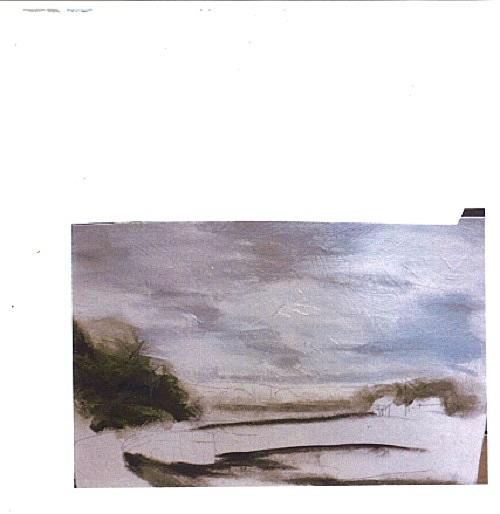
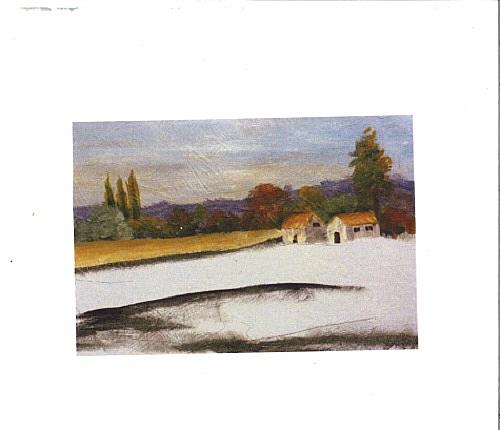
- Applying landmarks: Dab a flat bristle brush in Raw Umber, Red Violet, Pine Green, Carbon Black, and a little Extender & Blending Medium and dab into the landmark areas. (See step-out.) Rub off the edges with a finger or a clean brush.
- For the sky, use the #4 bristle flat brush to dab in Cerulean Blue, Raw Umber, a touch of Titanium White, and a little Extender & Blending Medium. (This should create a soft blue for the sky; adjust the mix if you need to.) Blend and soften with the brush or your finger.
- Apply the sky-brushed color in patches around the sky area.
- Add Titanium White to the dirty brush and fill in the empty areas of the sky. Blend and soften with the brush or your finger.
- Wipe the brush and add Raw Sienna, adding this along the lower sky area. Do not rinse brush; wipe the brush with a paper towel and add a touch of Red Violet and Raw Umber to the brush and slip-slap it here and there in the sky. Blend and soften with the brush or with your finger.
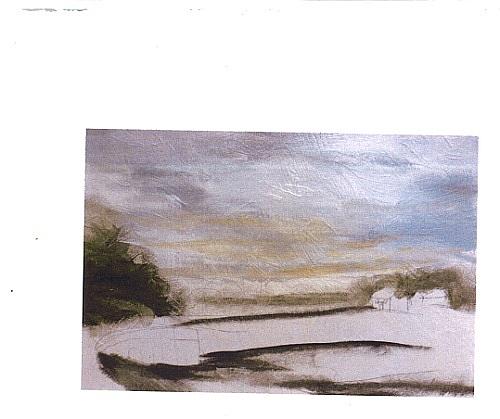
- The hills in the background are brushed on by dabbing the brush into Cerulean Blue, Raw Umber, Red Violet, and Titanium White, with just a touch of Carbon Black. (See step-out below or picture above for color you are looking for.) Using a brush, push up a little to break the hard line at the top of the hills.
- Dab in the back bushes with Cerulean Blue, Pine Green, Raw Umber, Carbon Black, and a little Extender & Blending Medium. Add Raw Sienna to the dirty brush for the mid-value.
- The highlight is done with the dirty brush and a little Yellow Oxide, Naphthol Red Light, or Red Violet. Use a little Indian Yellow for the look of sun shining on the bushes.
- Pick up a little Cerulean Blue and Titanium White on a dirty brush to add the light on the left side of the bushes and trees.
- The ground in front of the trees and bushes is Yellow Oxide and Burnt Sienna on a brush with a little Extender & Blending Medium. (Look at the photo for color value you should have.) Add a little more Yellow Oxide and Titanium White to the dirty brush for the front bottom of this area.
- The buildings are painted with Titanium White for the side walls and Burnt Umber for the darker walls and shadows. The roofs are painted with Yellow Oxide with a little touch of Raw Sienna in a soft #4 flat brush.
- The house edges are highlighted with Titanium White added to the dirty brush.
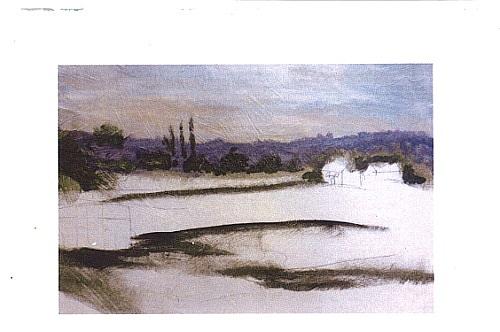
- The bushes against the houses are painted by dabbing the bristle brush into Pine Green and Cerulean Blue. The lighter highlighted areas are Yellow Oxide and Titanium White, or Naphthol Red Light.
- The tree trunks are dabbed in with Burnt Umber and Raw Umber. The highlights on the trees are a wash of equal mixes of Yellow Oxide and Titanium White.
- Use the dirty brush with Raw Sienna for the foliage on the trees.
- The foliage on the trees is done by dabbing the small fan brush into Pine Green and Raw Umber for the middle value. The lighter values on the trees are done using the dirty fan brush dabbed in Cerulean Blue and Titanium White.
- The lightest value on the trees is done with the small dirty fan brush dabbed in with Titanium White, Cerulean Blue, and Carbon Black.
- The darkest shadows of the trees are dabbed in with Pine Green and Carbon Black.
- The water is painted in by loading Cerulean Blue, Raw Umber, and a touch of Titanium White onto the bristle brush. The highlights on the water are made with the dirty brush dipped back into Titanium White. Chisel edge the other Titanium White highlights.
- The path is based by dabbing in Cerulean Blue, Carbon Black, Raw Umber, and Titanium White loaded on the brush. The highlight on the path is Titanium White in the dirty brush.
- Add some Titanium White to the brush for the center area of the path. Add Burnt Umber to the dirty brush for the very center of the path.
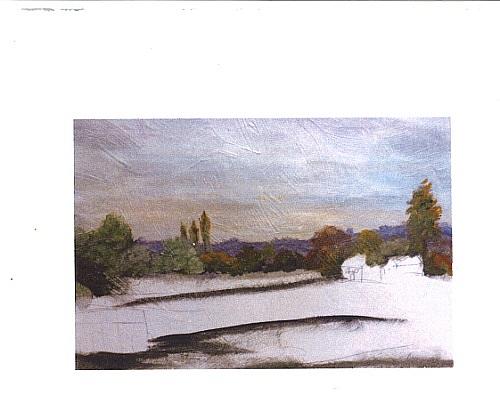
- The bridge is based by dabbing the brush in Titanium White, Raw Sienna, Naphthol Red Light, Red Violet, and Burnt Umber for the walls of the bridge.
- The shadows and shading on bridge are created using Cerulean Blue, Carbon Black, Raw Umber, and Titanium White loaded on the brush. Lightly add these to the bridge in the shaded/shadowed area. The deep darker shadows are Raw Umber loaded onto the dirty brush.
- The front ground area is based with Raw Sienna, Raw Umber, and Pine Green dabbed in with the bristle brush. Add more Raw Umber and put in the shadows here and there.
- The grasses are pulled in with the fan brush using Raw Umber. Add Yellow Oxide and Titanium White to the dirty brush and pull in the next grasses. Again add Cerulean Blue and Titanium White to the dirty brush and pull in the next grasses. Add more Titanium White and Yellow Oxide to the dirty brush for the last of the grasses.
- Wipe the brush; add more Yellow Oxide and Titanium White, placing more grass as needed.
- The flowers are dabbed in with Red Violet, Naphthol Red Light, and Titanium White all stacked up on the fan brush. Let dry completely.
- If desired, add one last coat of Satin Varnish.