Bright Mid Century Canvas Wall Art
Posted by DecoArt on Jun 6th 2022
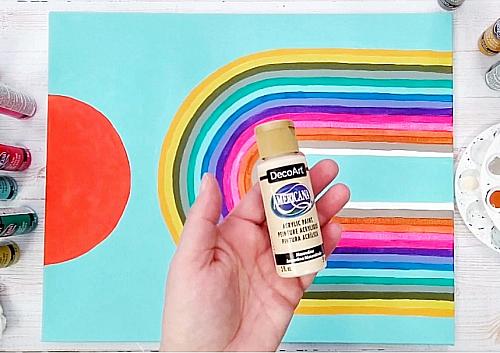
Paint a bright and colorful mid century modern painting using Americana Acrylics and a DecoArt printable template!
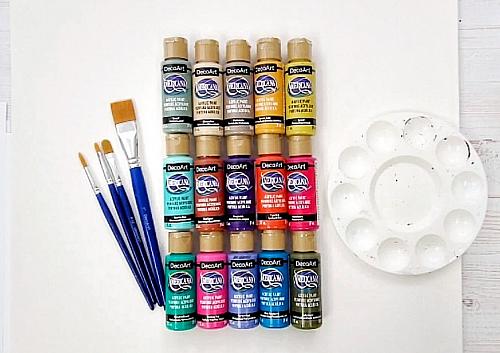
SUPPLIES
- Basecoat Set (DABK39-K)
- Almondine (DA403-3)
- Portobello (DA411-3)
- Red Spice (DA404-3)
- Tiger Lily (DA415-3)
- Strawberry (DA416-3)
- Sunset Gold (DA405-3)
- Sprout (DA406-3)
- Laurel (DA407-3)
- Lush Green (DA408-3)
- Paradise Green (DA414-3)
- Perfect Peri (DA410-3)
- Blue Raspberry (DA413-3)
- Purple Iris (DA412-3)
- Fuchsia Pop (DA417-3)
- Crystal Blue (DA409-3)
- tape
- graphite paper
- 16x20 canvas
- •pencil
INSTRUCTIONS
NOTES:
If you want to paint a larger version, print out a grid to create your template!
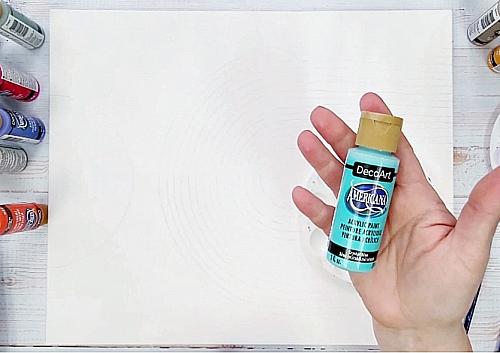
- Gather your supplies to begin.
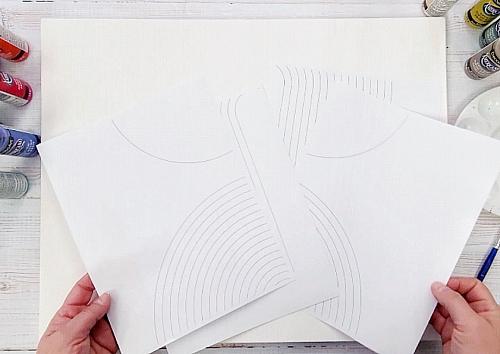
- Print out the template to fit your canvas size.
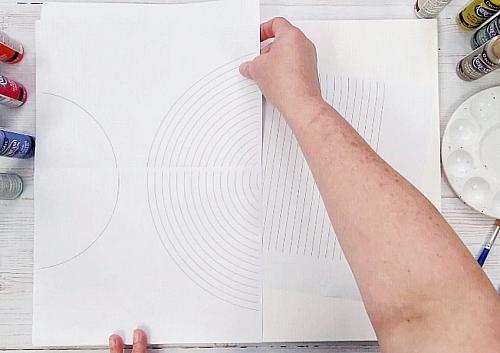
- If it is for a larger canvas and your template is in a grid, lay out the sheets and match up the lines.
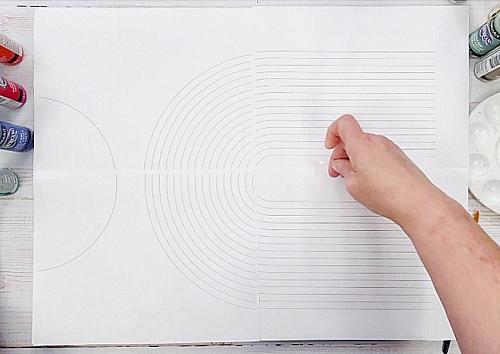
- Use clear tape to affix the sheets together so you can move at once.
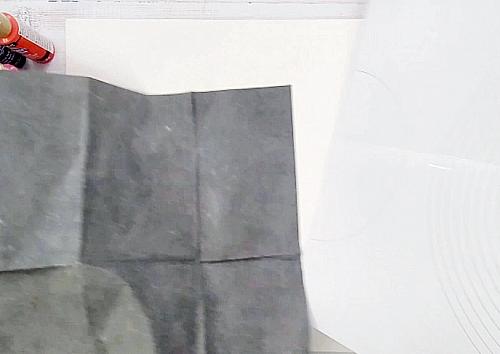
- Place the transfer paper/graphite paper on top of the canvas (graphite side to the canvas).
- Place taped template on top of the graphite paper.
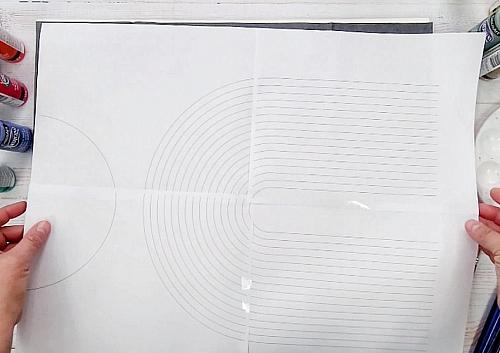
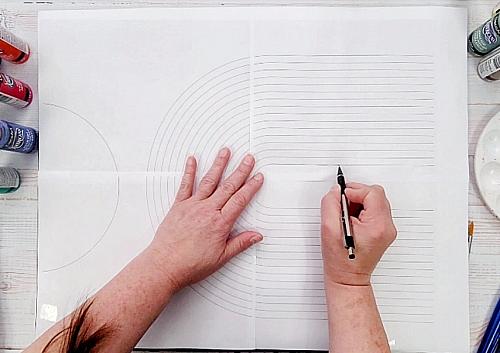
- Trace design using a pencil.
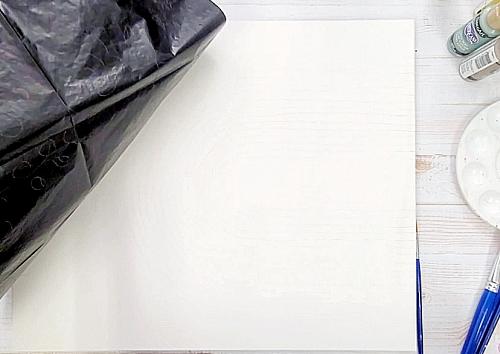
- Remove graphite paper and template. Touch up any lines with pencil.
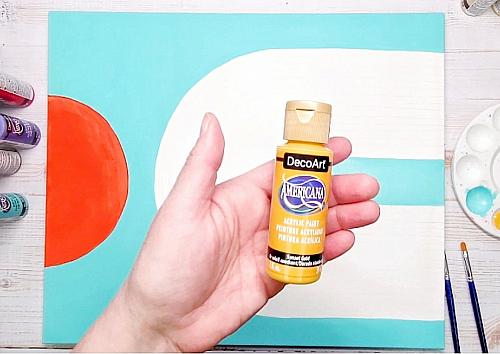
- Pick a color for your background. I chose Crystal Blue.
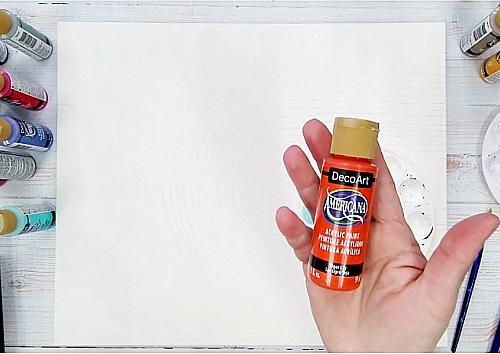
- Pick a color for the circular shape. I chose Tiger Lily.
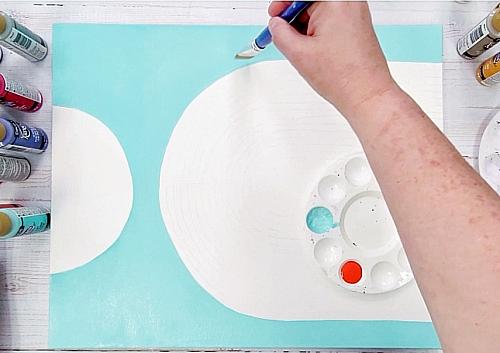
- Using a 3/4" flat brush, paint the background with Crystal Blue.
- Allow to dry. Apply second coat, if needed.
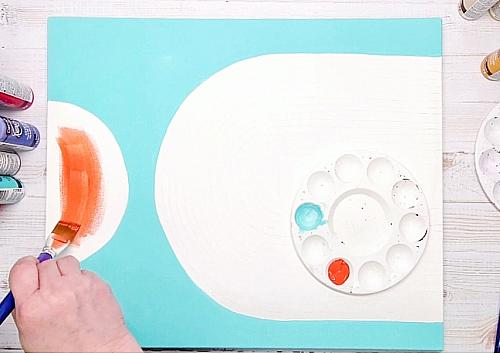
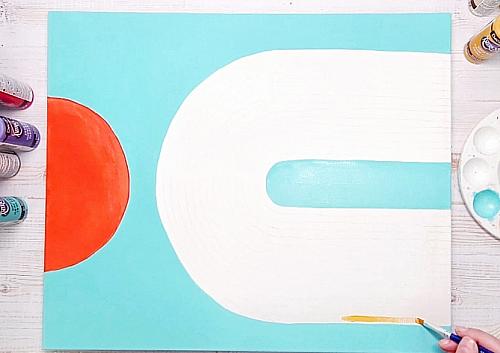
- Using the same brush, paint the circular shape with Tiger Lily.
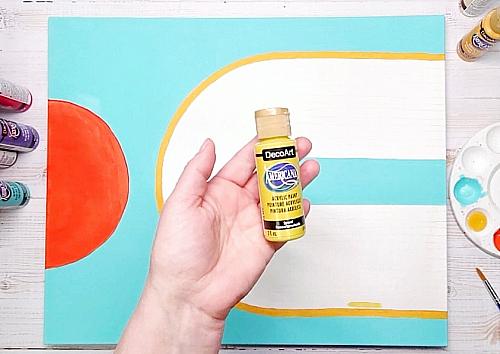
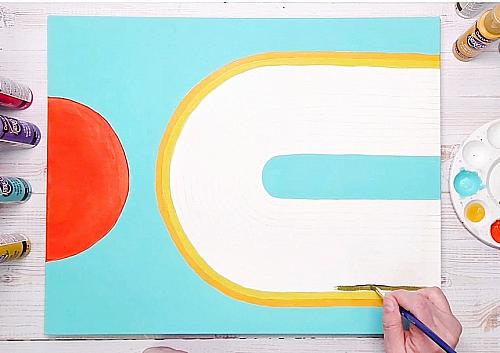
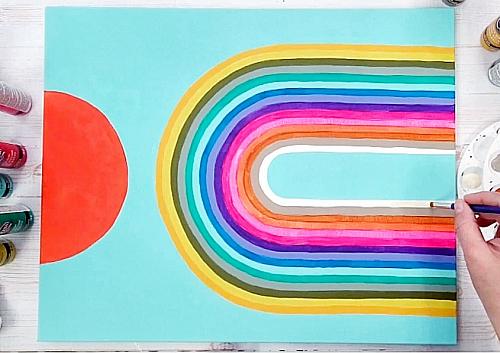
- I chose Sunset Gold for the first strip.
- Paint the first stripe with Sunset Gold using a small filbert brush. (TIP: Before painting the stripes, try different sized clean brushes on the stripes to see which one fits nicely inside the lines!)
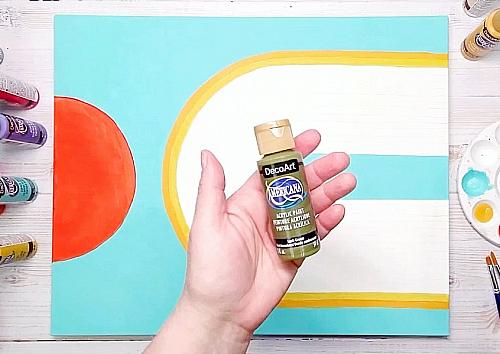
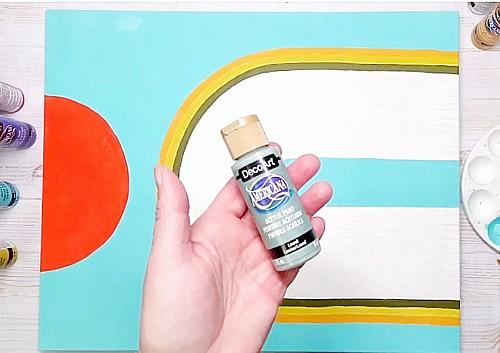
- I chose Sprout for the second stripe color.
- Paint the second stripe with Sprout using the same brush.
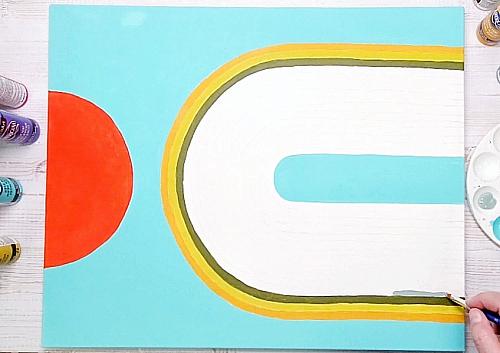
- The next color I chose to use is Lush Green.
- Use the small filbert brush to paint the next stripe.
- The next color I chose to use is Laurel.
- Use the small filbert brush to paint Laurel on the next stripe.
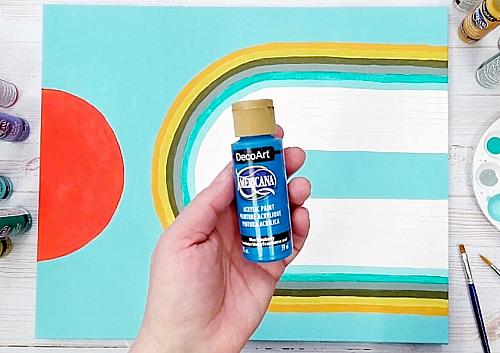
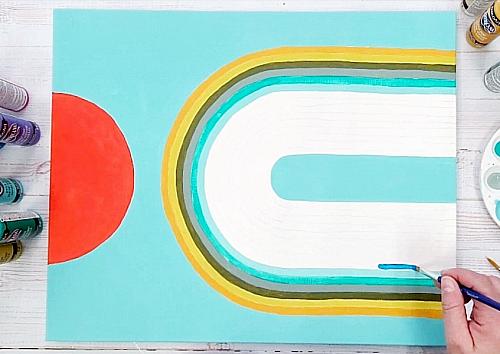
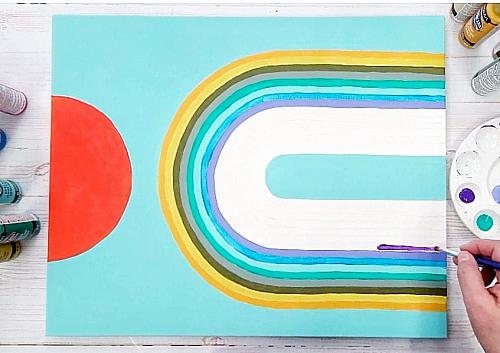
- The next stripe I painted with Crystal Blue. Then I chose to use Blue Raspberry.
- Paint Blue Raspberry using the same filbert brush.
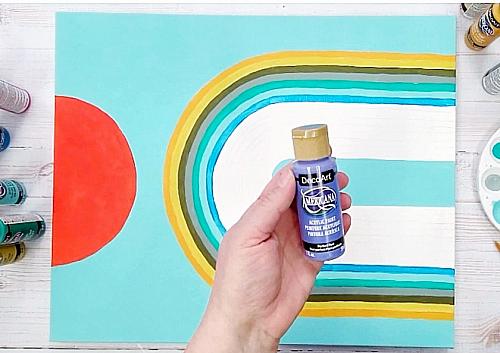
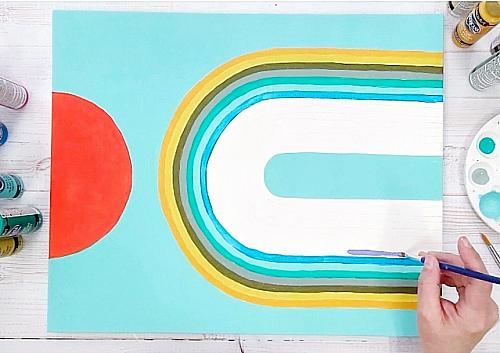
- Perfect Peri is the perfect color to use next.
- Paint Perfect Peri on the next stripe using the small filbert brush. (TIP: any order you choose to paint the colors on your piece will look beautiful!)
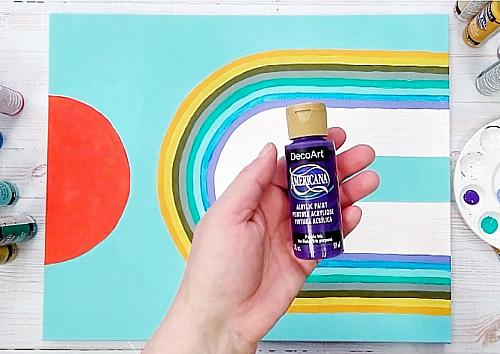
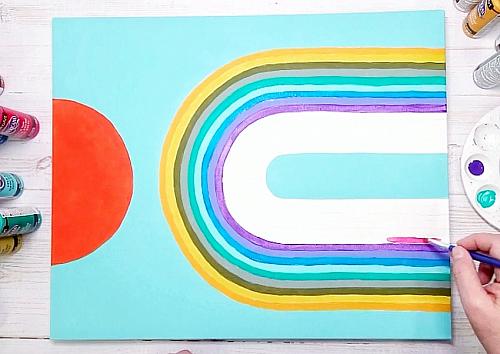
- Next, I chose to use Purple Iris.
- Use the filbert brush to paint the next line with Purple Iris. (TIP: if you want your colors to be slightly more opaque, mix in a touch of Titanium White.)
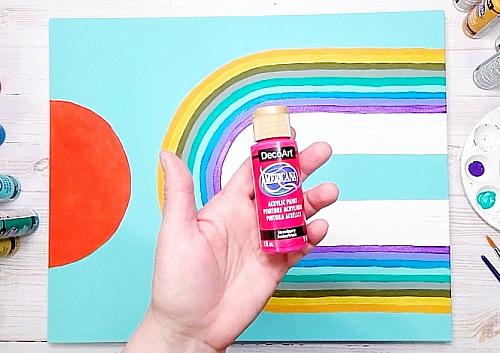
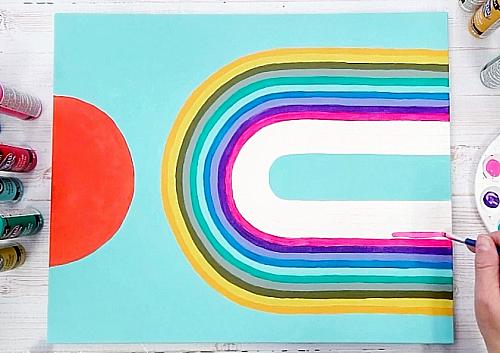
- I chose to use Strawberry next. It is a beautiful pink!
- Paint the next line with Strawberry using the same filbert brush.
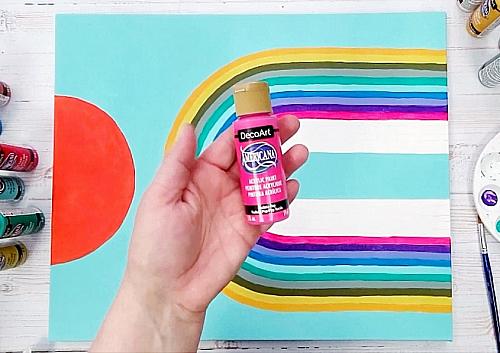
- The next color I chose to use was Fuchsia Pop.
- Paint Fuchsia Pop onto the next stripe using the same filbert brush.
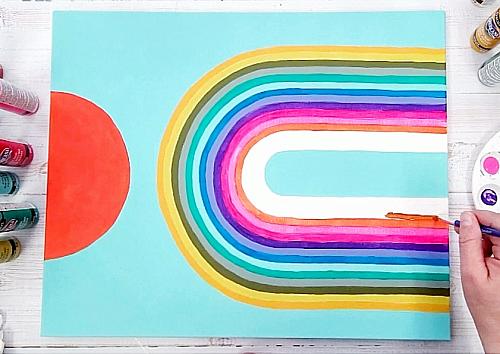
- The next stripe I painted with the previously used color Tiger Lily. Next, I chose to use Red Spice.
- Paint the stripe with Red Spice using the same filbert brush.
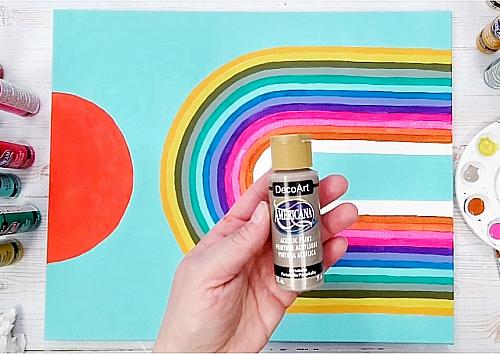
- The next color I chose to use is Portobello.
- Paint Portobello onto the next stripe using the same filbert brush.
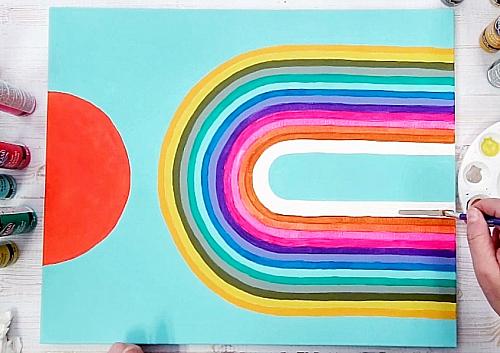
- The last color I chose to use is Almondine.
- Paint the last stripe with Almondine using the same filbert brush. Allow to dry. Add any additional coats to colors, if needed.
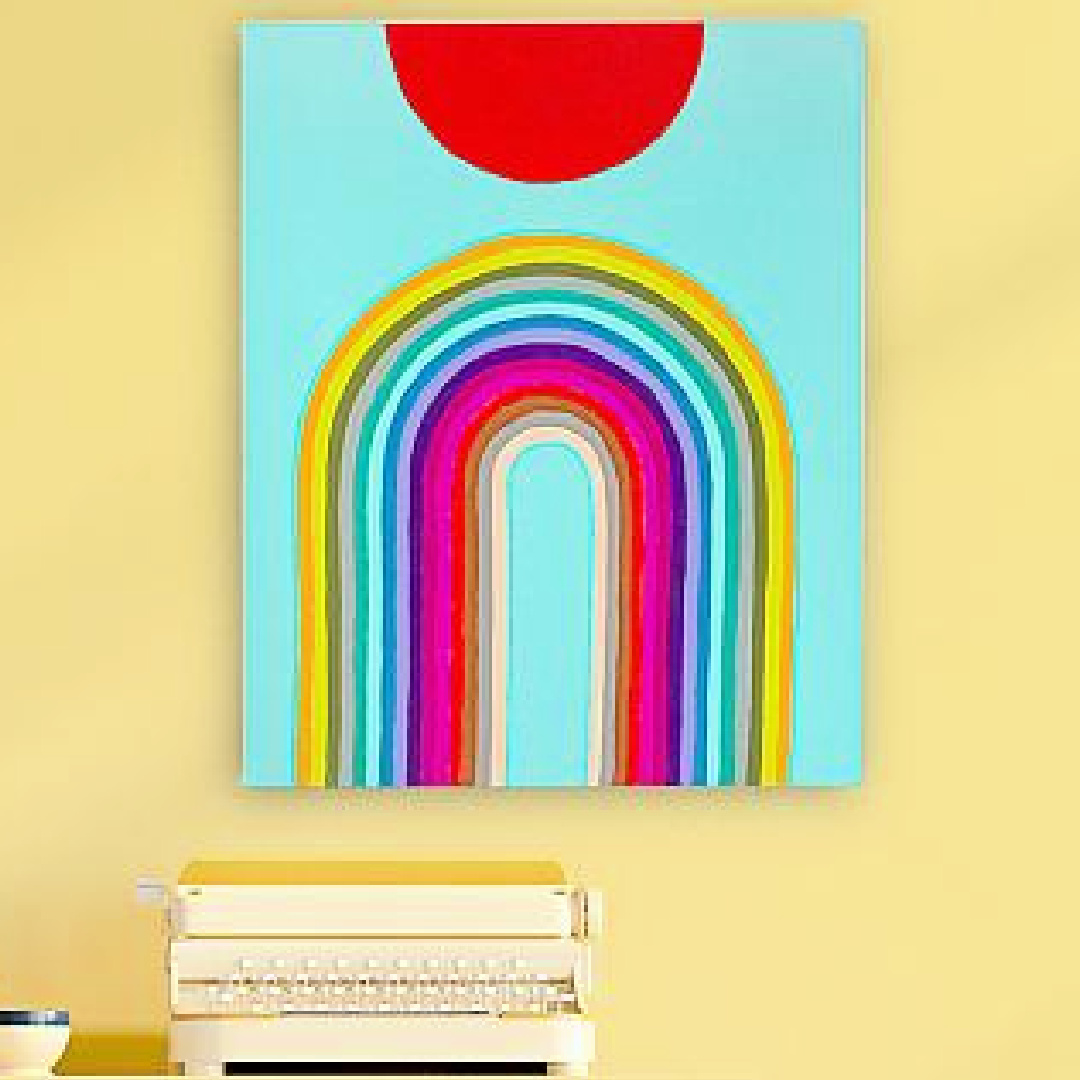
- This modern canvas painting with stripes and color blocking, is a beautiful way to express your creativity and brighten your space. Enjoy making this acrylic painting with friends and family or focus on mindfulness and self care painting it alone.
![Instruction #1](/content/blog-images/bright-mid-century-canvas-wall-art-instruction-6004-image-1.jpg)
![Instruction #2](/content/blog-images/bright-mid-century-canvas-wall-art-instruction-6004-image-2.jpg)
![Instruction #3](/content/blog-images/bright-mid-century-canvas-wall-art-instruction-6004-image-3.jpg)
![Instruction #4](/content/blog-images/bright-mid-century-canvas-wall-art-instruction-6004-image-4.jpg)
![Instruction #5](/content/blog-images/bright-mid-century-canvas-wall-art-instruction-6004-image-5.jpg)
![Instruction #6](/content/blog-images/bright-mid-century-canvas-wall-art-instruction-6004-image-6.jpg)
![Instruction #7](/content/blog-images/bright-mid-century-canvas-wall-art-instruction-6004-image-7.jpg)
![Instruction #8](/content/blog-images/bright-mid-century-canvas-wall-art-instruction-6004-image-8.jpg)
![Instruction #9](/content/blog-images/bright-mid-century-canvas-wall-art-instruction-6004-image-9.jpg)
![Instruction #10](/content/blog-images/bright-mid-century-canvas-wall-art-instruction-6004-image-10.jpg)
![Instruction #11](/content/blog-images/bright-mid-century-canvas-wall-art-instruction-6004-image-11.jpg)
![Instruction #12](/content/blog-images/bright-mid-century-canvas-wall-art-instruction-6004-image-12.jpg)
![Instruction #13](/content/blog-images/bright-mid-century-canvas-wall-art-instruction-6004-image-13.jpg)
![Instruction #14](/content/blog-images/bright-mid-century-canvas-wall-art-instruction-6004-image-14.jpg)
![Instruction #15](/content/blog-images/bright-mid-century-canvas-wall-art-instruction-6004-image-15.jpg)
![Instruction #16](/content/blog-images/bright-mid-century-canvas-wall-art-instruction-6004-image-16.jpg)
![Instruction #17](/content/blog-images/bright-mid-century-canvas-wall-art-instruction-6004-image-17.jpg)
![Instruction #18](/content/blog-images/bright-mid-century-canvas-wall-art-instruction-6004-image-18.jpg)
![Instruction #19](/content/blog-images/bright-mid-century-canvas-wall-art-instruction-6004-image-19.jpg)
![Instruction #20](/content/blog-images/bright-mid-century-canvas-wall-art-instruction-6004-image-20.jpg)
![Instruction #21](/content/blog-images/bright-mid-century-canvas-wall-art-instruction-6004-image-21.jpg)
![Instruction #22](/content/blog-images/bright-mid-century-canvas-wall-art-instruction-6004-image-22.jpg)
![Instruction #23](/content/blog-images/bright-mid-century-canvas-wall-art-instruction-6004-image-23.jpg)
![Instruction #24](/content/blog-images/bright-mid-century-canvas-wall-art-instruction-6004-image-24.jpg)
![Instruction #25](/content/blog-images/bright-mid-century-canvas-wall-art-instruction-6004-image-25.jpg)
![Instruction #26](/content/blog-images/bright-mid-century-canvas-wall-art-instruction-6004-image-26.jpg)
![Instruction #27](/content/blog-images/bright-mid-century-canvas-wall-art-instruction-6004-image-27.jpg)
![Instruction #28](/content/blog-images/bright-mid-century-canvas-wall-art-instruction-6004-image-28.jpg)
![Instruction #29](/content/blog-images/bright-mid-century-canvas-wall-art-instruction-6004-image-29.jpg)
![Instruction #30](/content/blog-images/bright-mid-century-canvas-wall-art-instruction-6004-image-30.jpg)
![Instruction #31](/content/blog-images/bright-mid-century-canvas-wall-art-instruction-6004-image-31.jpg)
![Instruction #32](/content/blog-images/bright-mid-century-canvas-wall-art-instruction-6004-image-32.jpg)
![Instruction #33](/content/blog-images/bright-mid-century-canvas-wall-art-instruction-6004-image-33.jpg)
![Instruction #34](/content/blog-images/bright-mid-century-canvas-wall-art-instruction-6004-image-34.jpg)
![Instruction #35](/content/blog-images/bright-mid-century-canvas-wall-art-instruction-6004-image-35.jpg)
![Instruction #36](/content/blog-images/bright-mid-century-canvas-wall-art-instruction-6004-image-36.jpg)
![Instruction #37](/content/blog-images/bright-mid-century-canvas-wall-art-instruction-6004-image-37.jpg)
![Instruction #38](/content/blog-images/bright-mid-century-canvas-wall-art-instruction-6004-image-38.jpg)