
Chalkboard Sign Tutorial
Posted by DecoArt on Sep 15th 2013
Items Needed:
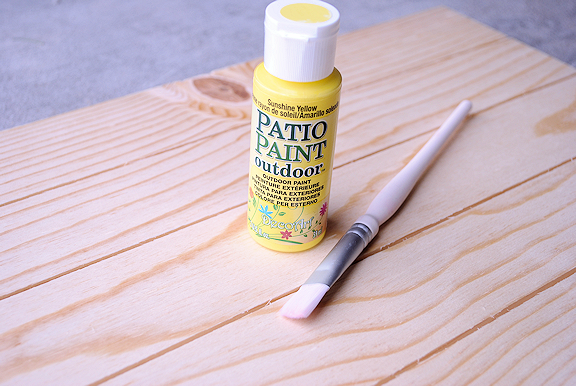
- Wood Board (mine Came From A Local Wood Store-The Wood Connection-but You Can Find Something At Any Hobby Store)
- 1-2 Pieces Of Glass From An Old Picture Frame
- Cosmetic Sponges
- Chalk
Instructions:
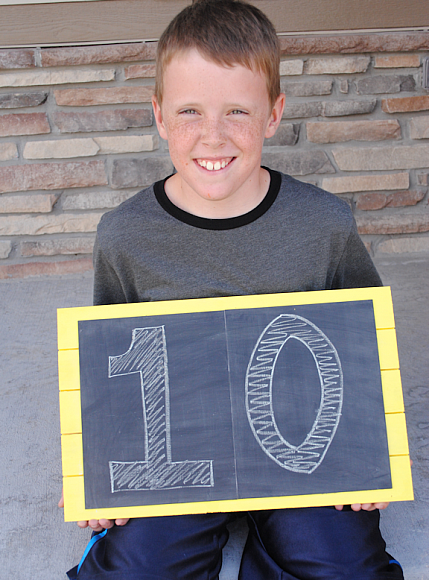
Well, the next time my boys do a stand they'll have a new and improved sign to use:

This sign is so fast and easy to make and could be used for anything really. How about taking a pic on the last day of school?
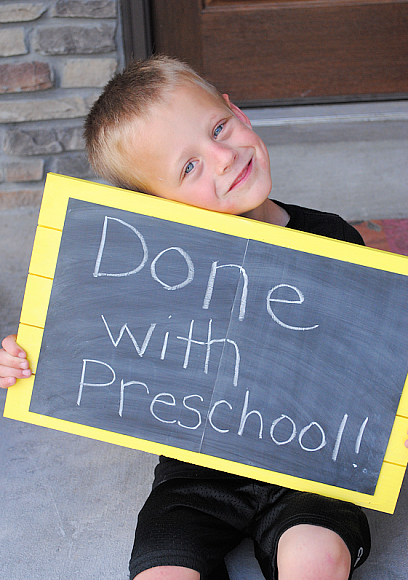
Or to show off your new age on a birthday? Or even for the kids to play school with. Really there are so many things you could do with it.
Simply paint your wood to your desired color. Let dry. I think I did 2 coats or so.
Paint your glass with your chalkboard paint. (I used 2 glass pieces to make the chalkboard area larger.) First paint going horizontally and allow it to dry, then do it again vertically. I REALLY recommend that you use cosmetic sponges to do this-they help it go on much smoother.
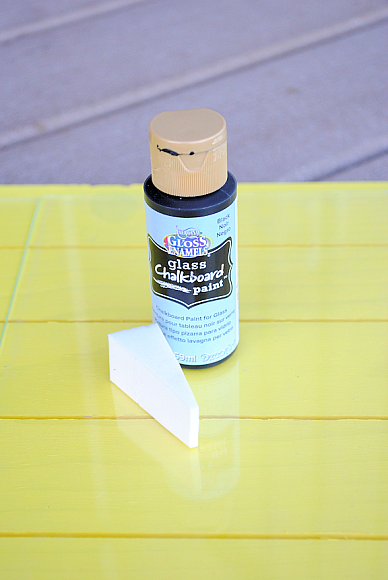
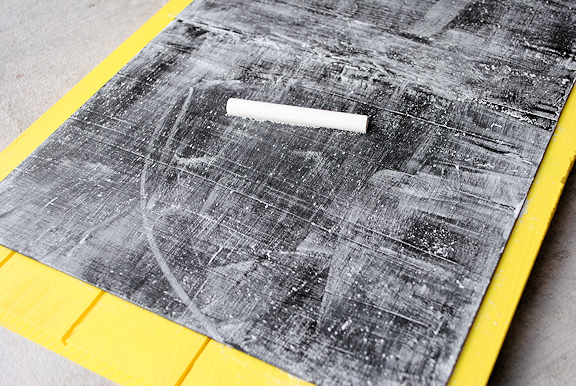
Once both pieces are dry, temper your chalkboard by rubbing it all over with chalk and then wiping it off.
Then simply hot glue your glass onto your board and you're done!
