DIY Marbled Easter Eggs
Posted by DecoArt on Nov 1st 2022
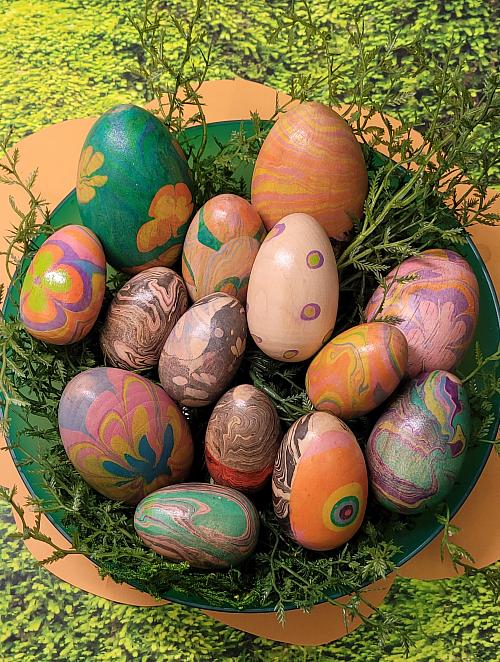
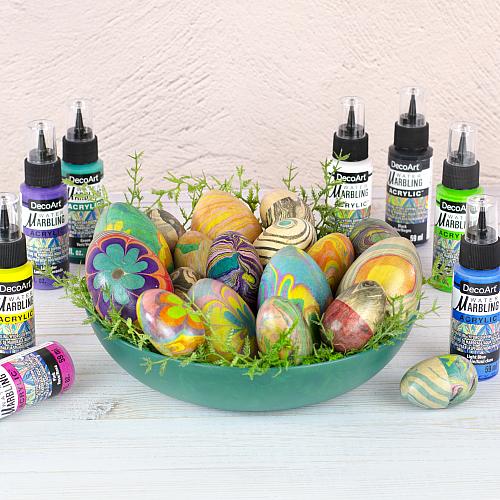
Transform some plain wooden eggs with a beautiful marbled surface
SUPPLIES
- 6 Filbert Brush (TB41-B)
- Water Marbling Object Surface Prep (DWM102-36)
- Magic Medium Water Prep (DWM100-36)
- Speciality Marbling Sticks (20pc) (DABK50-K)
- Water Marbling Premium Cleaning Paper (32pcs) (DAS278-K)
- Water Marbling Core Collection (BD20WMCC)
- paper towels
- freezer paper
- wooden eggs
- bowl
- paper clips
- -fine grit sandpaper
INSTRUCTIONS
NOTES:
Watch this project being made on our Instagram page!
Learn more about water marbling here: https://shop.decoart.com/welcome-to-water-marbling/
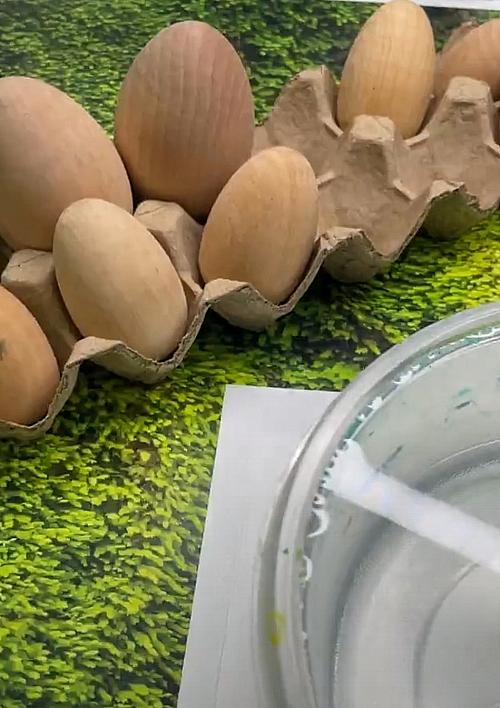
- Gather your supplies. Mix a batch of size with the Magic Medium Water Prep according to the label instructions.(Mix enough to fill your bowl) Your bowl does not have to be large, but should be wide and deep enough to fully submerge your eggs. Mix a batch of surface prep with the Water Marbling Object Surface Prep according to the label. Lightly sand your wooden eggs and wipe clean. Dip your eggs into the surface prep and allow to dry.
- Fill your bowl with the size mixture (Magic Medium Water Prep). Make sure to shake all paints you are going to use. Prepare your paint bottles (if new) by removing the protective seal under the cap. (TIP: keep paper towels and a paper clip close by to unclog and keep tips of bottles clean.)
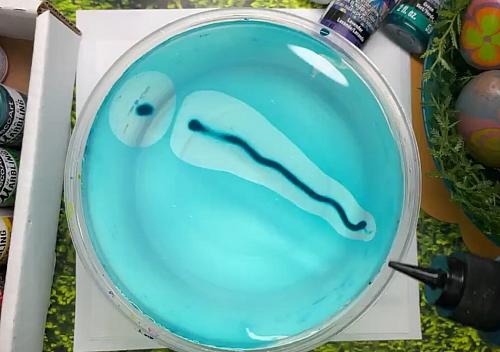
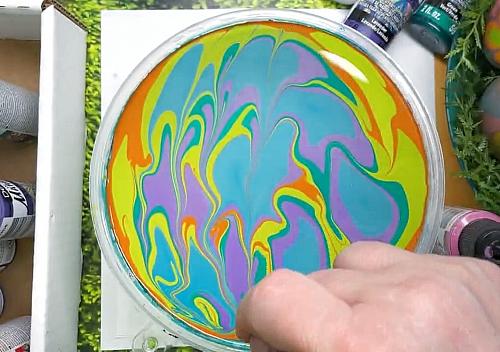
- I will show two examples, but use as many colors and patterns as you want! Begin this design by adding Tropical Blue Water Marbling paint to the surface of your size. Pour single lines of paint across the center to create a base of color. The paint will spread across the surface until it is completely covered.
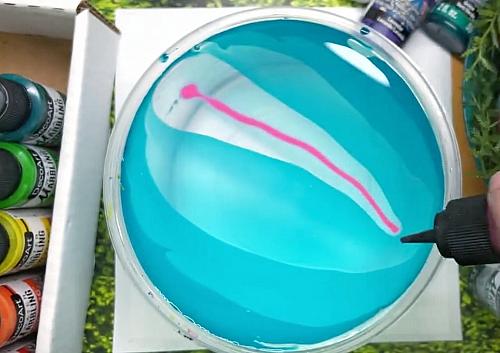
- Pour a line of Pink paint across the center. Allow the paint to disperse.
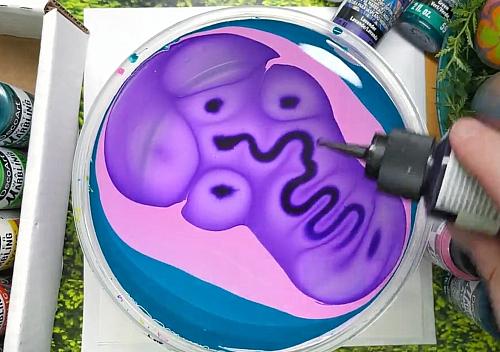
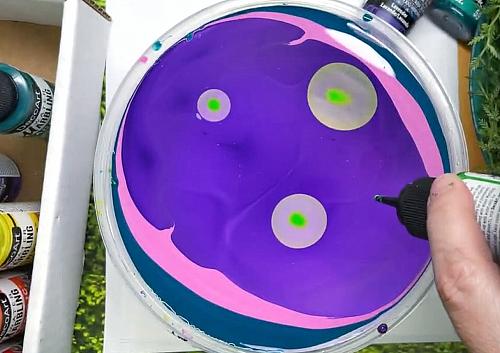
- Pour Violet paint across the surface of the bowl. Allow paint to disperse.
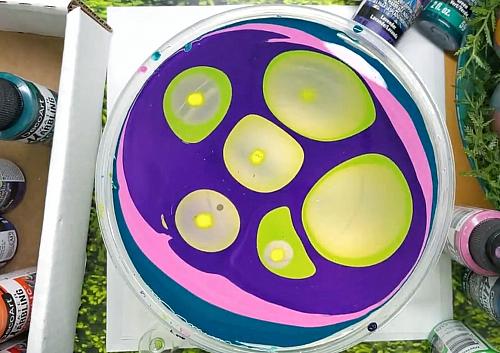
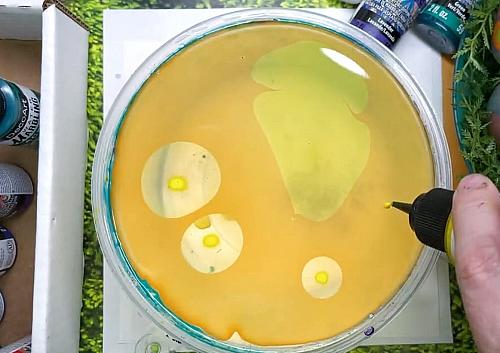
- Drip Chartreuse Water Marbling Paint onto the surface in random areas. These single circles are called "stones".
- After the paint disperses, add Yellow Water Marbling Paint to the center of the first set of stones.
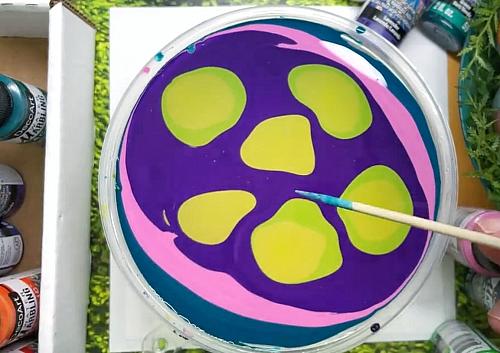
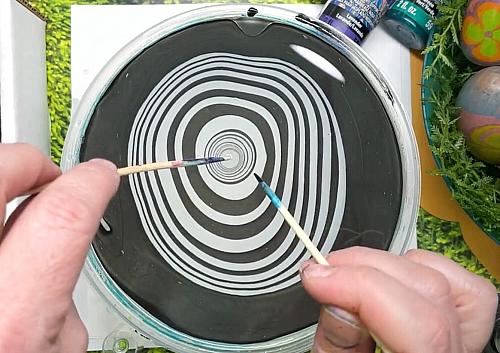
- The Specialty Water Marbling Sticks are a great way to add patterns to the paint's surface.
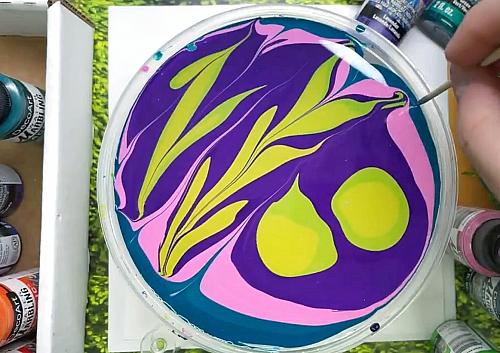
- To create a "gelgit" pattern, pull the tip of the Marbling Stick through the surface of the paint in one direction and then the opposite direction in a zig-zag motion.
- Pull the stick through in the opposite direction to create a smaller swirled pattern.
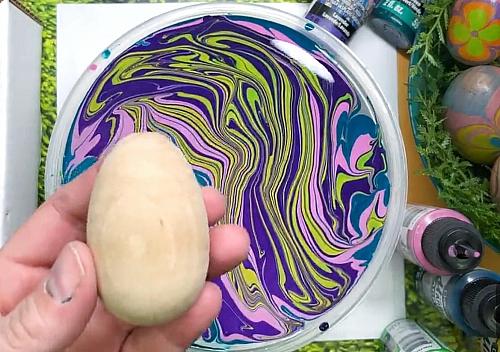
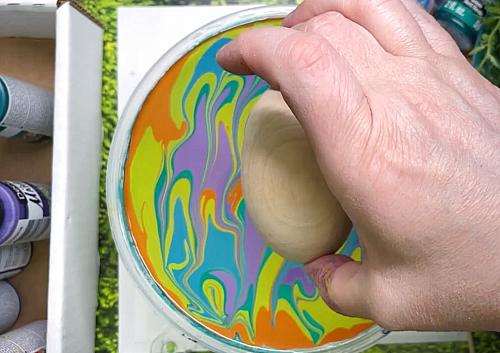
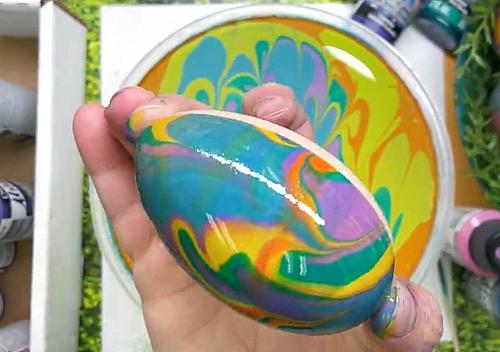
- Hold the wooden egg by the ends and dip slowly into the paint. Completely submerge the egg to allow the paint to cover the entire surface. Allow access size/paint to drip from egg and place on freezer paper (or non stick surface) to dry.
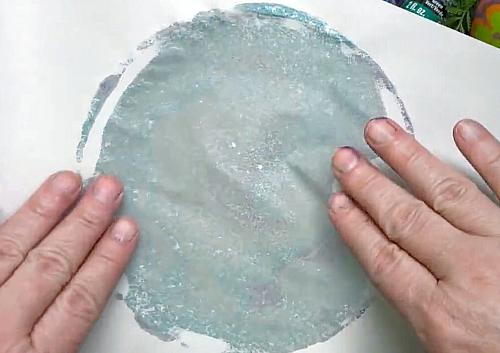
- Use a piece of the Premium Water Marbling Cleaning Paper to remove any leftover paint you don't want to use for your next egg. Just place paper on the surface of the size and pull across the surface until the remaining paint has been removed.
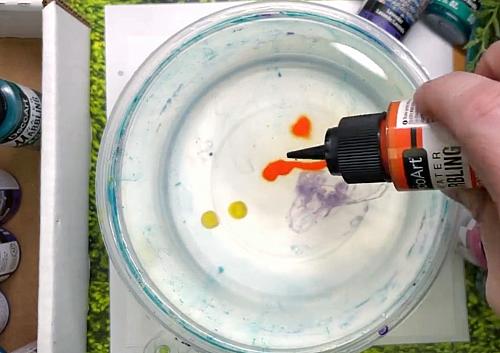
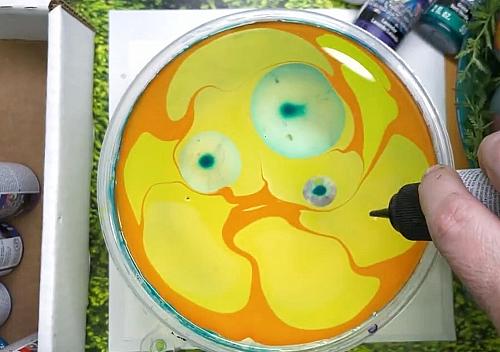
- Begin a new design by first dripping Orange Water Marbling Paint onto the surface. Allow paint to disperse.
- Drip Yellow stones onto the surface randomly.
- Add drops of Green paint onto the surface and allow paint to disperse.
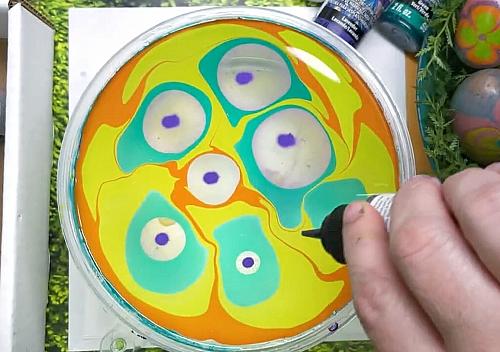
- Drip Lavender paint into the green stones. Allow paint to disperse.
- Drop Light Blue paint onto the surface.
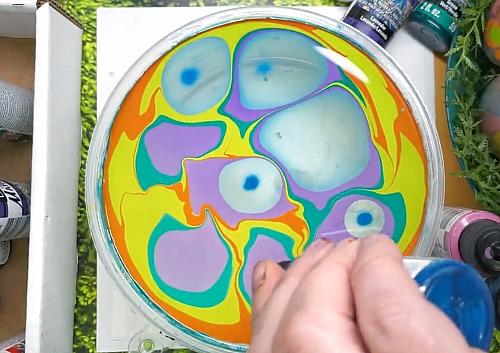
- Using the Marbling Stick, pull from top to bottom across the surface to create an "Arches" pattern.
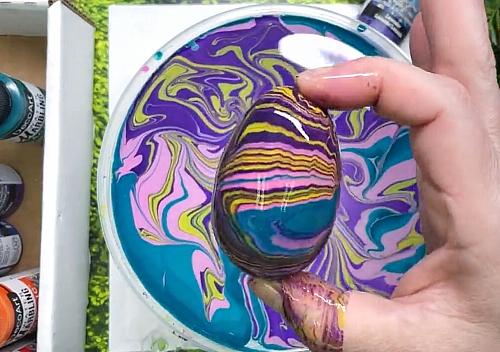
- Hold the wooden egg by each end to dip. This time, only dip in half of the egg to create a two-sided design.
- Set aside to allow the wet side to dry. Clean off the surface of the size using the Marbling Cleaning Paper.
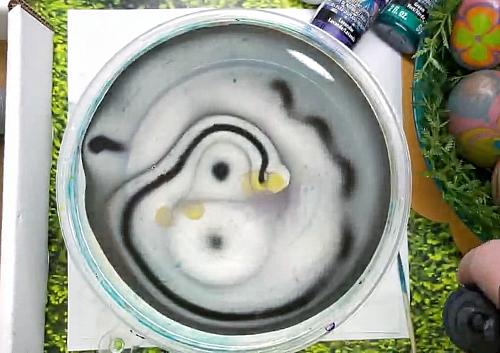
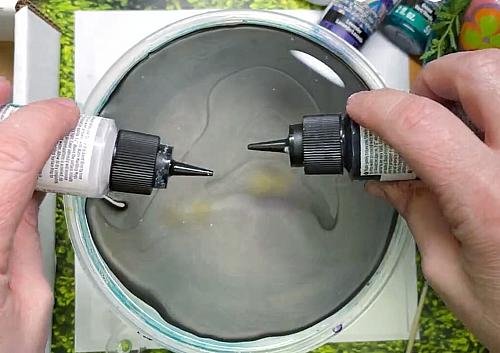
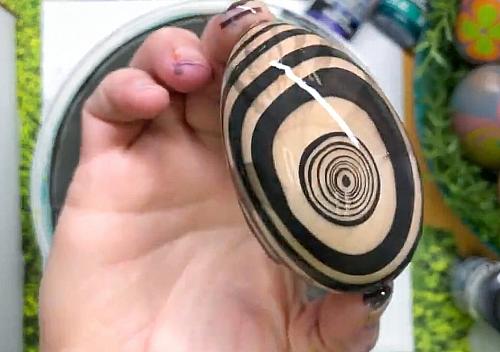
- For the next pattern, we will use the Japanese Suminagashi technique for inspiration. Firstly, add Black paint by pouring some onto the surface. Allow paint to disperse.
- Hold both Black and White paint bottles to be able to drip each right after the other.
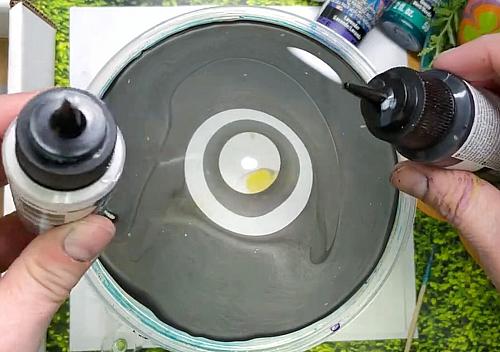
- Drip one color and then the other color into the stones created in the center. Build up concentric circles.
- To make even smaller stones in the center, pour a small amount of each paint onto a clean surface and dip the ends of the water marble sticks into the paint. Then dip the tips onto the surface of the size.
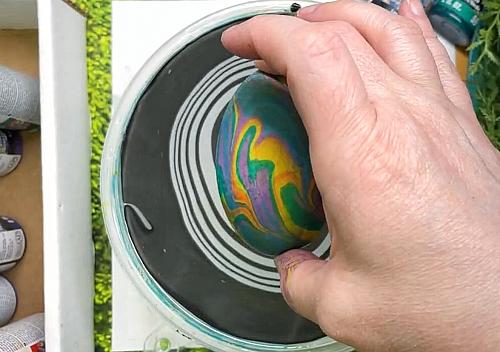
- Dip the blank side of the egg into the paint to pull the beautiful design!
- Allow to dry.
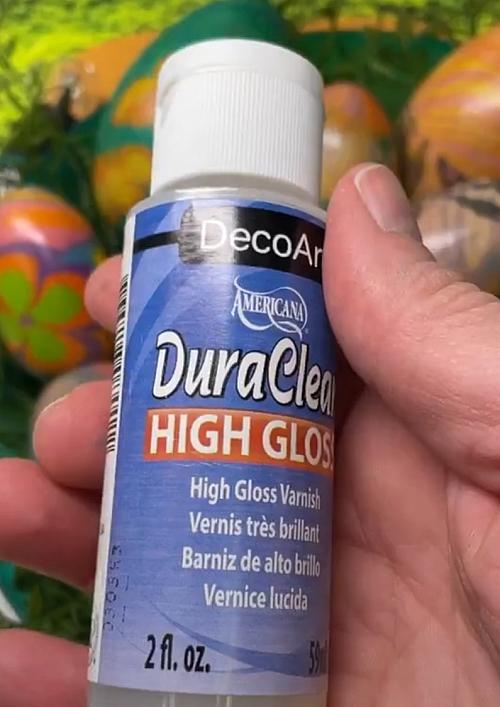
- Once all eggs have dried, paint each with a coat of High Gloss DuraClear Varnish for a durable finish using a soft brush. Place eggs on a clean sheet of freezer paper to dry.
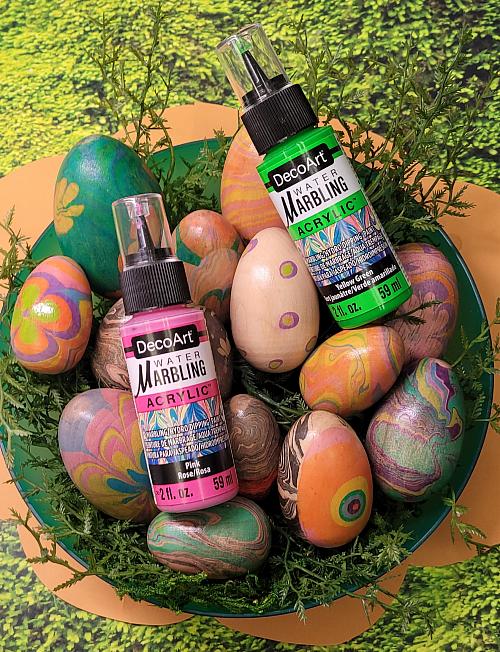
- This is a fun and easy way to spend time creating with family and friends!
- Place in a bowl or a basket for a beautiful spring-time display.