Getting Started with Media Modeling Paste
Posted by DecoArt on Aug 28th 2014
Modeling paste, sometimes called molding paste, is a thick substance filled with hard solids that produces a textured effect when applied to canvas or other surfaces. It is a versatile product that can be used to enhance not only acrylic paintings, but many other craft projects as well. Modeling paste can be mixed with acrylic paint while still wet to create a thick paint, or it is possible to add color over the top of dry paste too.
What You’ll Need
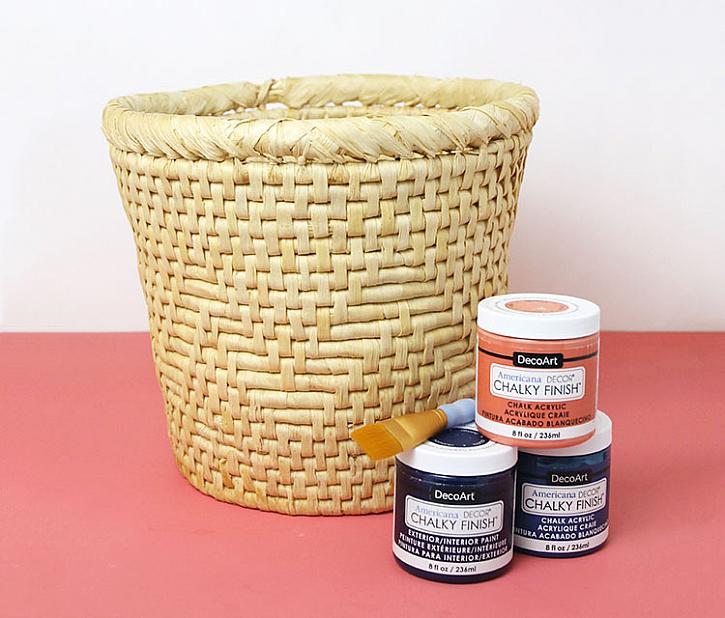
First, let’s begin with the basics. You’ll need to collect some materials before you begin experimenting with modeling paste. The paste can be purchased from the DecoArt online store, in the Fine Art and Mixed Media Texture section. You’ll also need a palette knife, acrylic paint, and a couple of different surfaces to work with such as canvas or white cardboard. In addition, you’ll want to collect a few household items to create various textures, such as:
-
Comb
-
Toothpicks
-
Plastic wrap
-
Tape
-
Sponge
START EXPERIMENTING
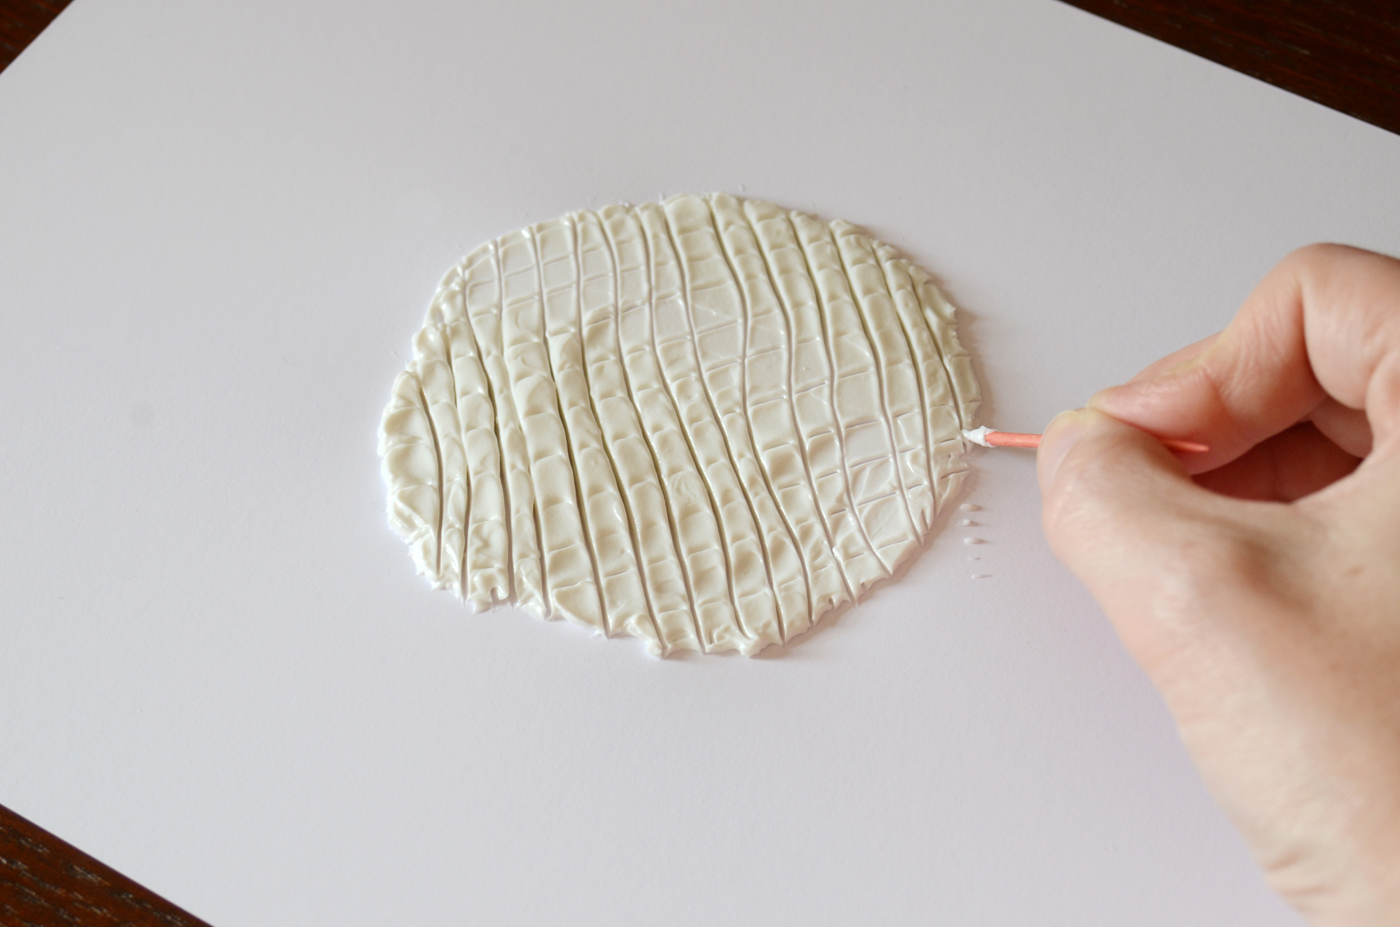
As with any other new endeavor, the best way to get started is to just dive right in and begin experimenting with the paste. Use your palette knife to scoop it onto the cardboard (or whatever surface you’ve chosen to use). Spread it around to get a feel for its texture and thickness. Try using a toothpick to draw horizontal lines in the paste, and then run back through them with a series of vertical lines to create the texture shown below.
A comb produces a different, more uniform appearance… you may want to drag it across the surface in a straight line as I have done, or you could also use a wavy motion to create curved lines.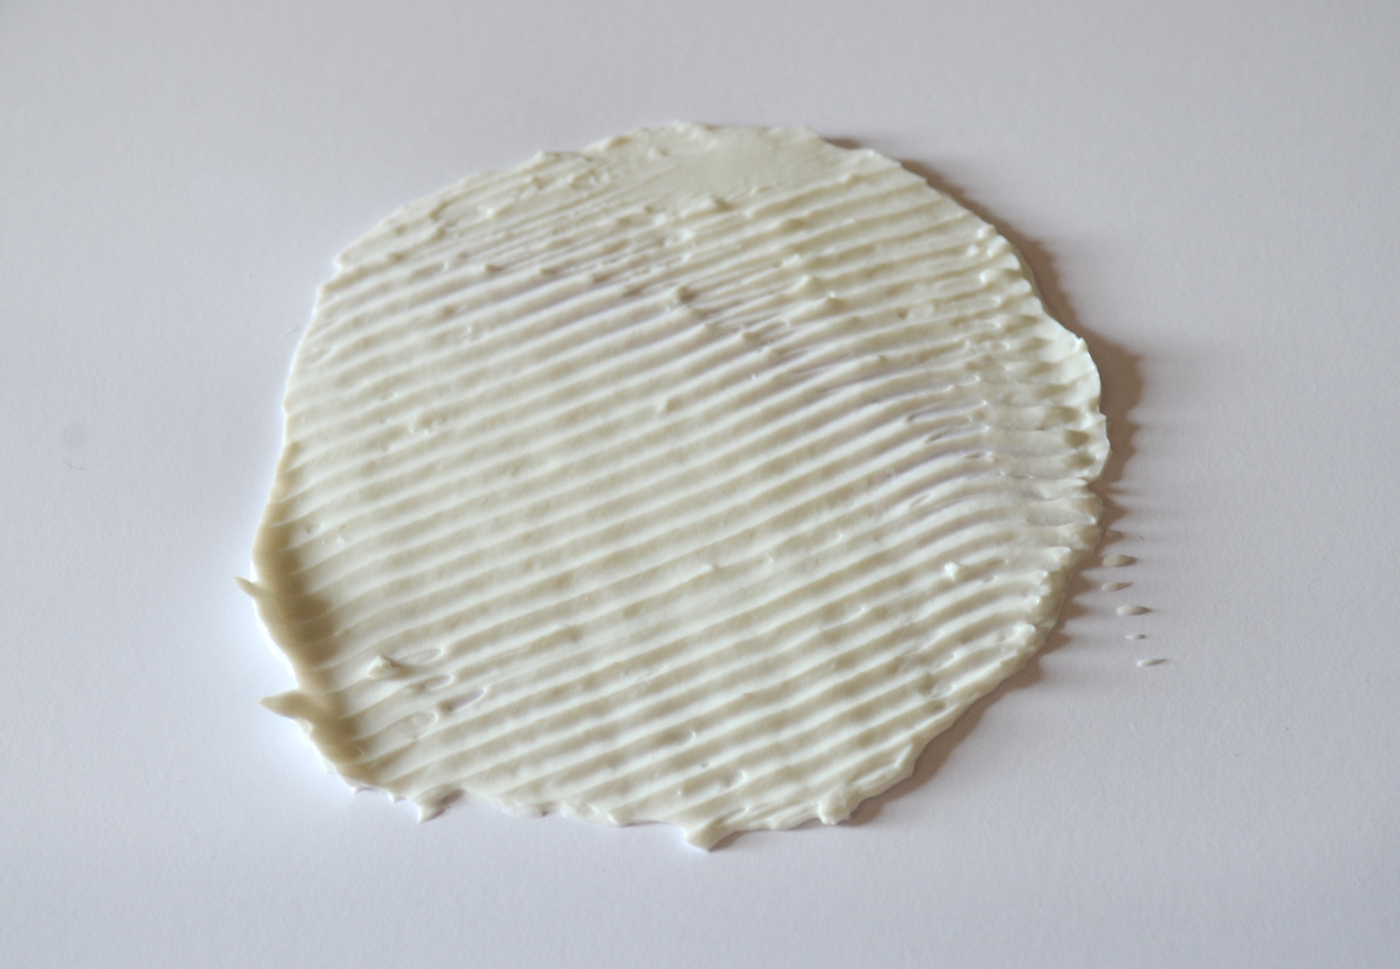
The palette knife itself can also create many different effects, limited only by your imagination! Here, I’ve pulled it across the modeling paste in a sweeping motion, forming a curved, wave-like design.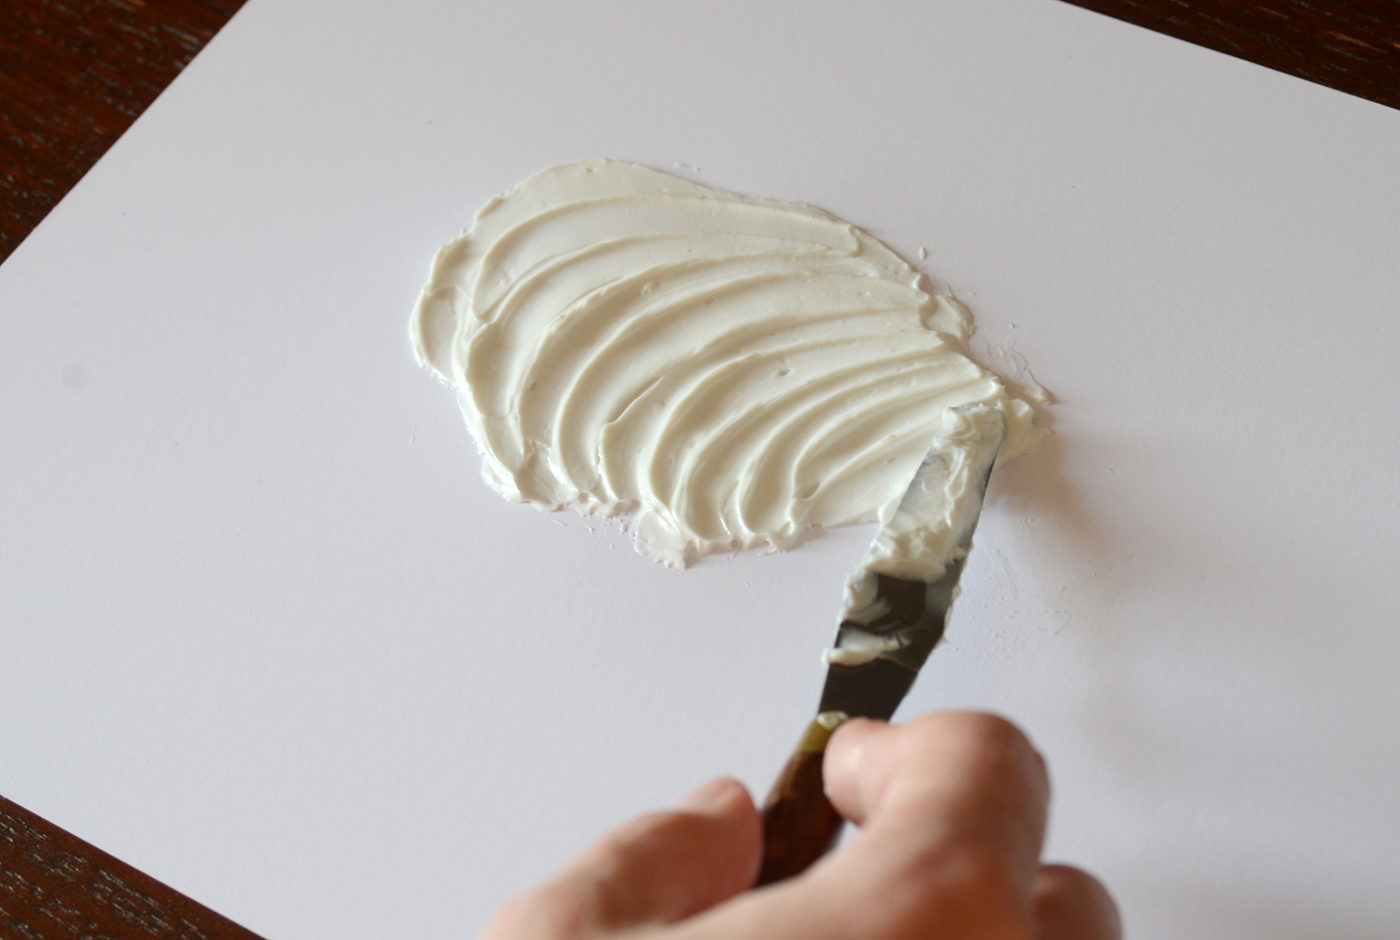
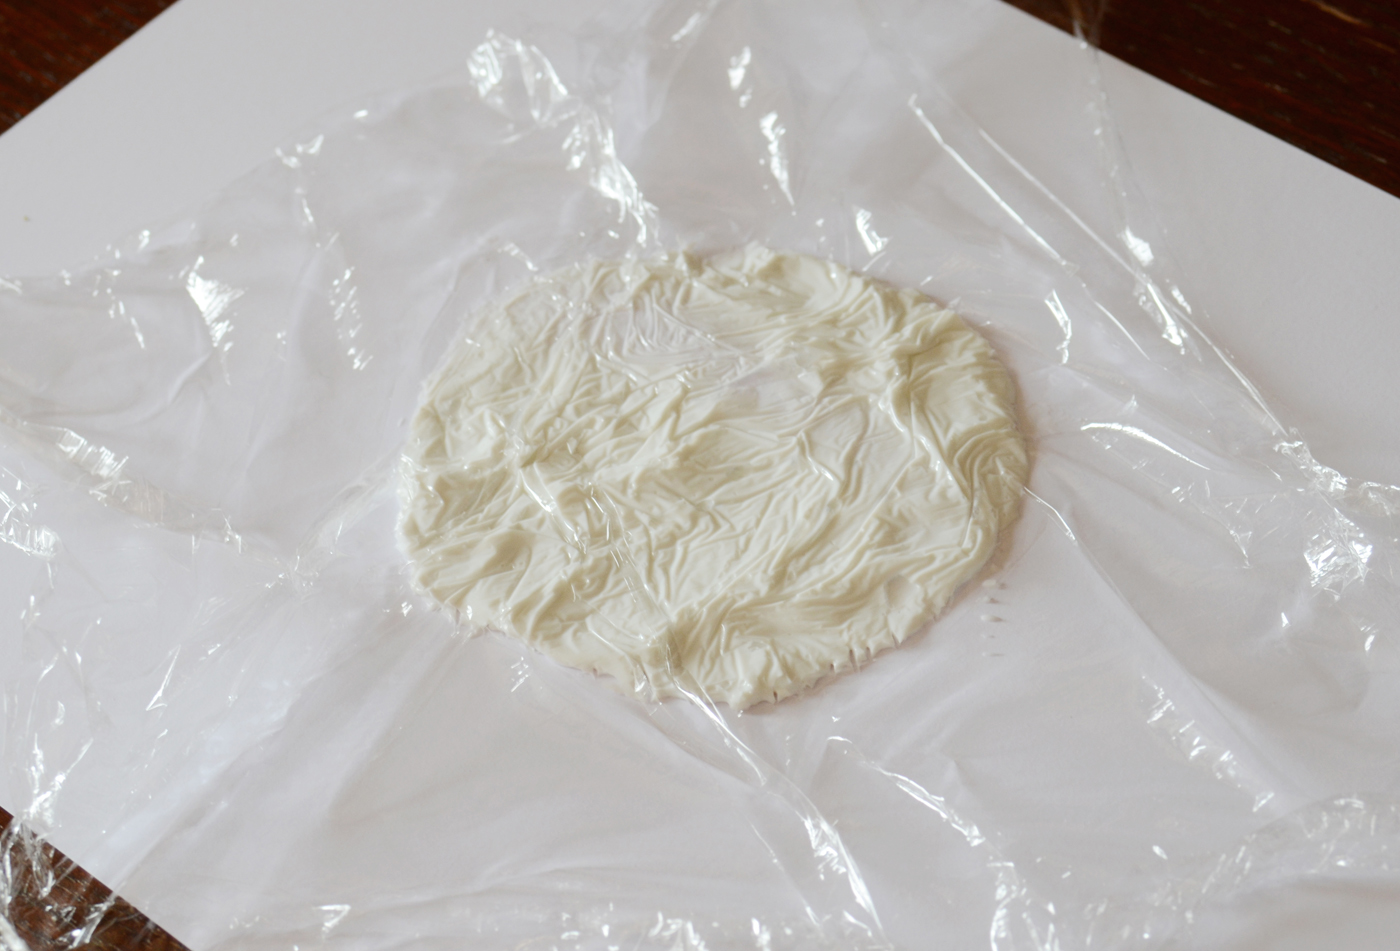
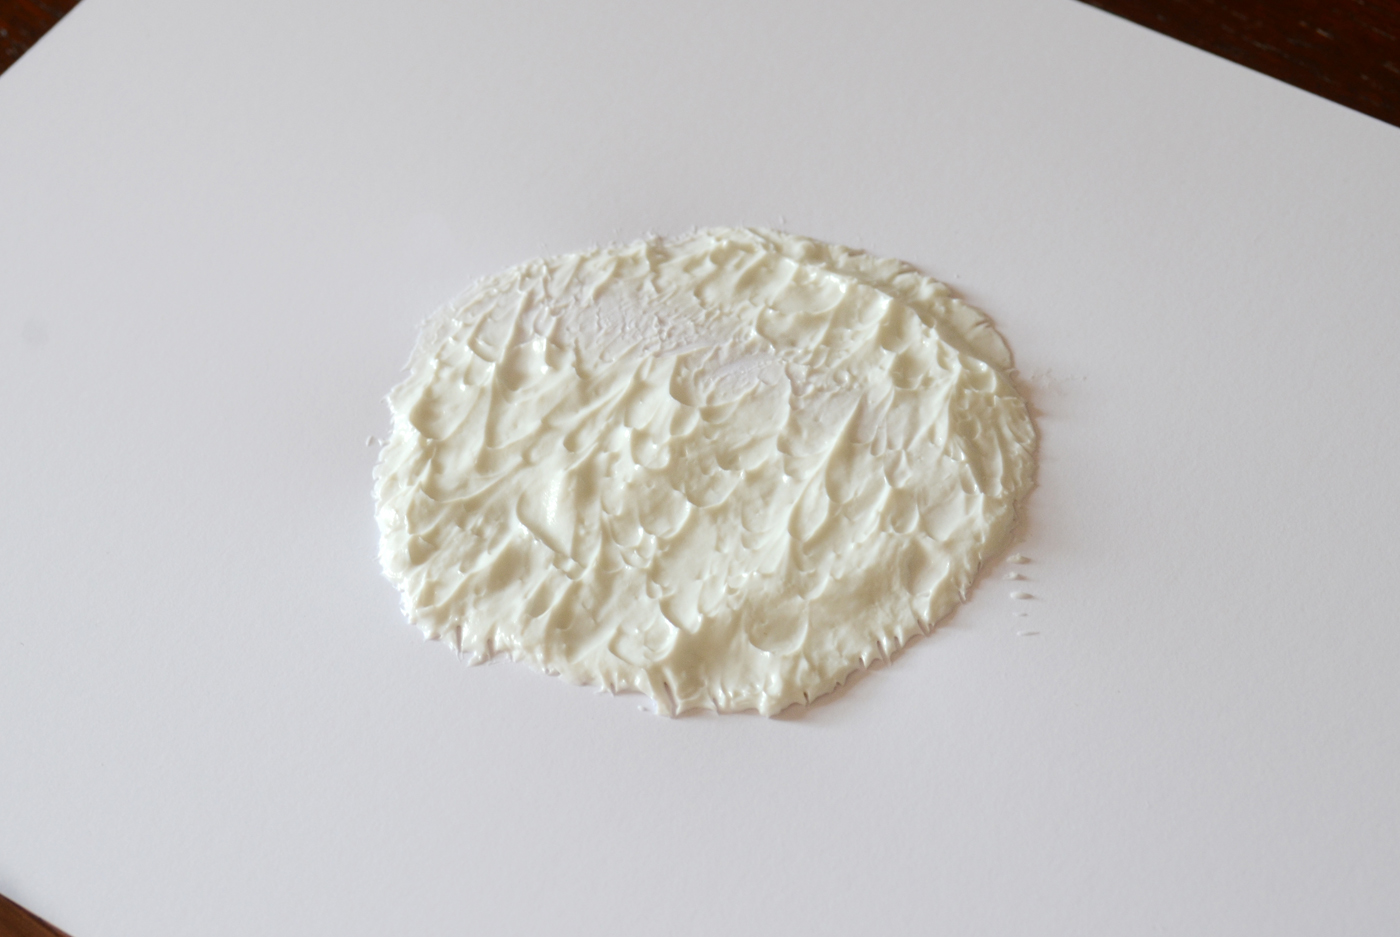
Plastic wrap, believe it or not, generated some of the most interesting outcomes. You might try placing a piece of plastic wrap flat across the paste and then swirling it around with your fingers; when you pull the plastic away, a crater-like, organic surface is left behind. I find that using a balled up piece of plastic wrap to poke at the modeling paste can also achieve a pleasing effect.
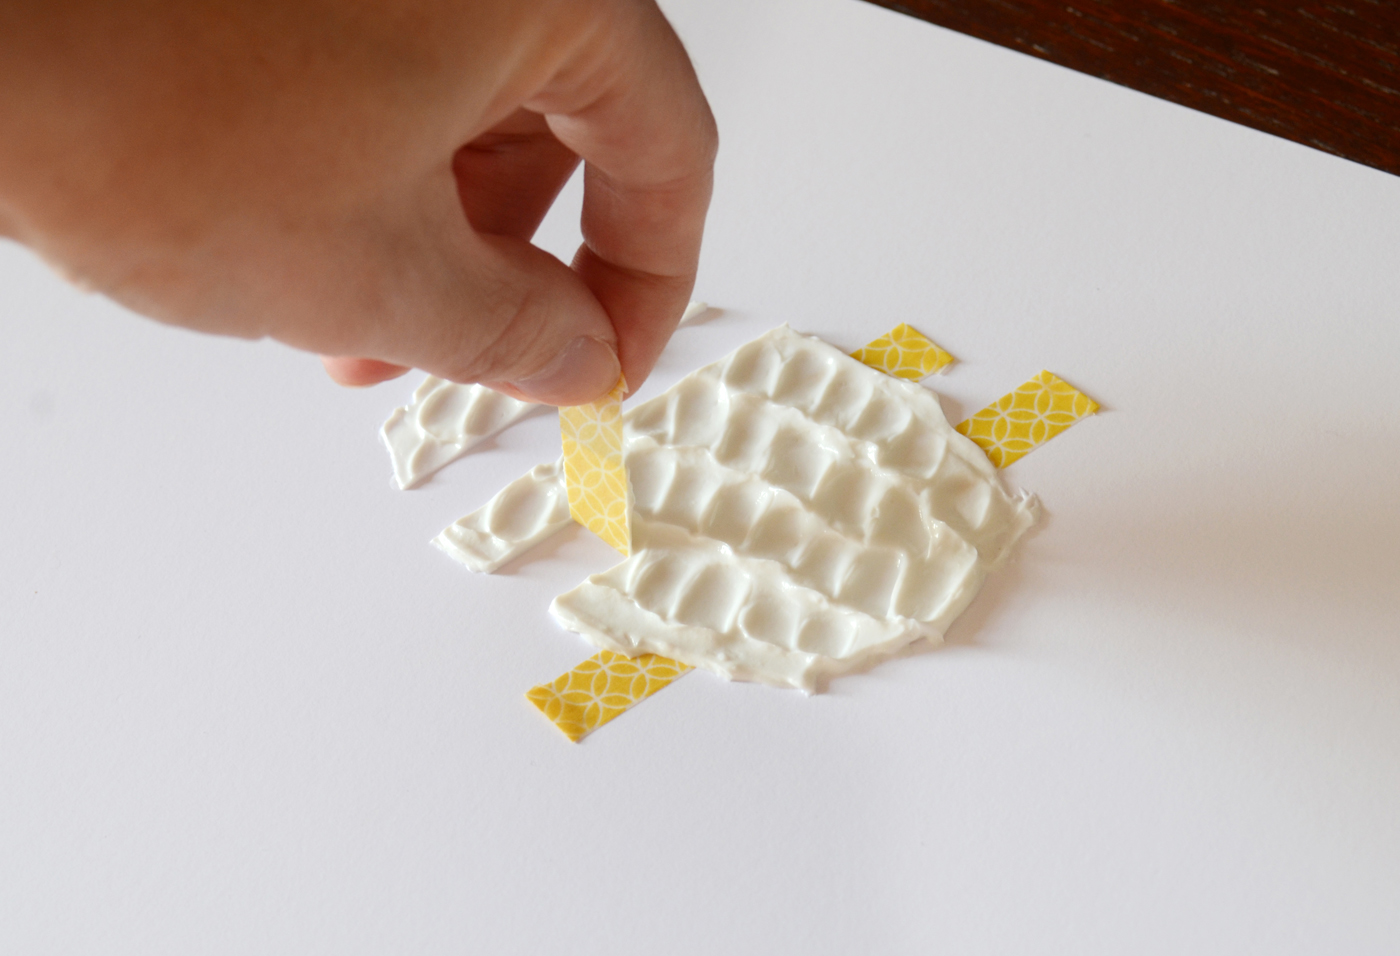
Tape can be used to keep certain areas paste-free. I used Japanese Washi tape, which worked quite well, but I would recommend experimenting with any kind of tape that you have on hand. In this case you will have to lay the tape down first, in any spots where you do not want any paste to appear in your final product. Then lay the paste over the tape with your palette knife (be sure to leave a bit of each piece of tape accessible). Peel the tape off and you’re left with areas of thick texture that contrast with other areas that have no texture at all.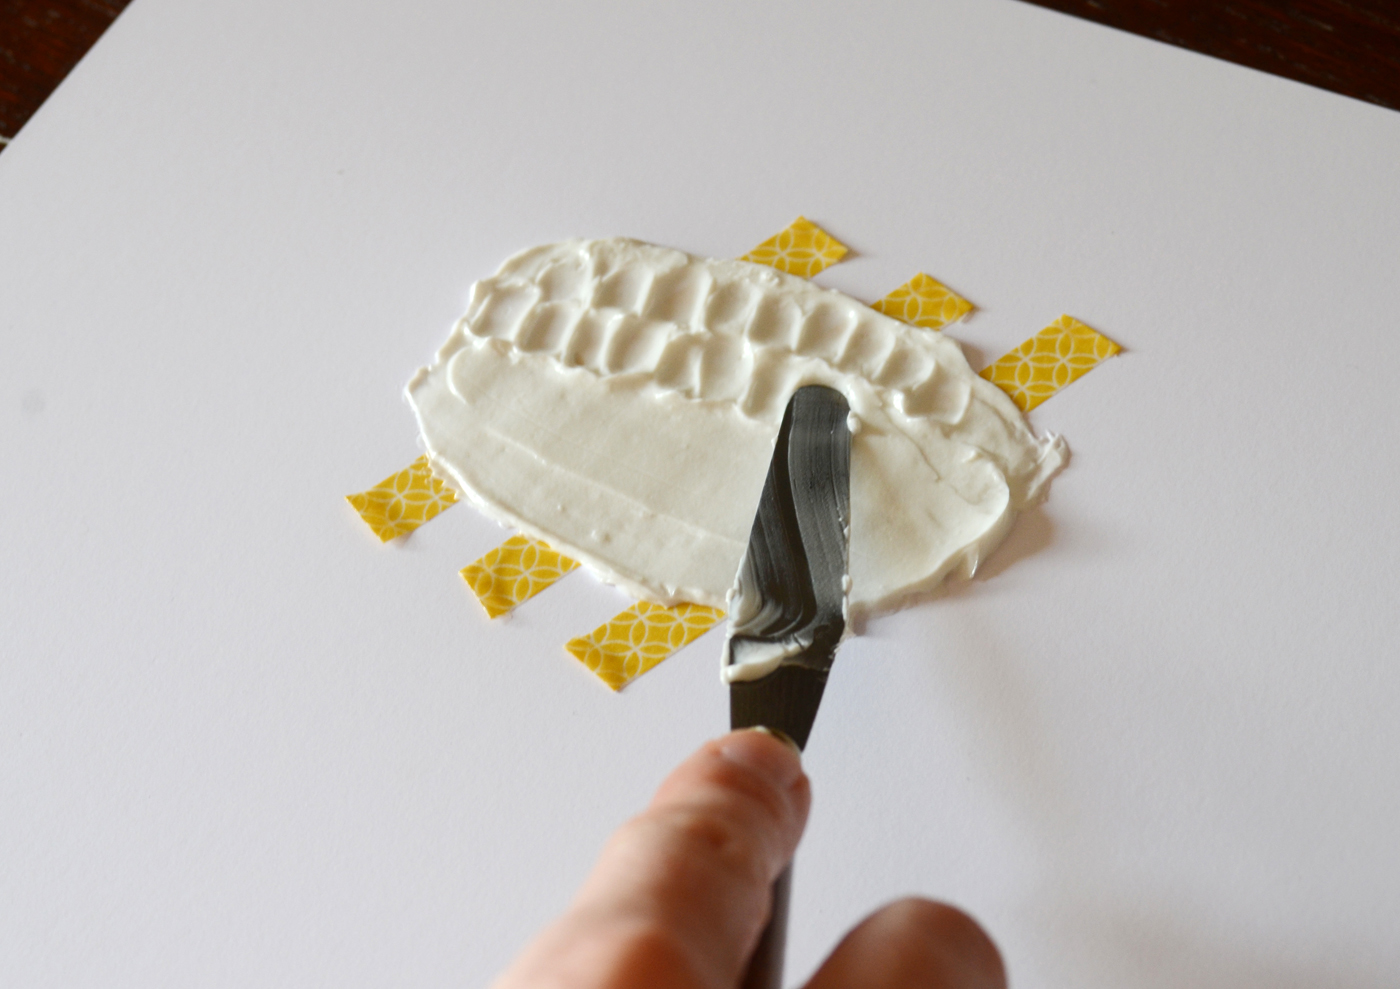
INTRODUCE COLOR
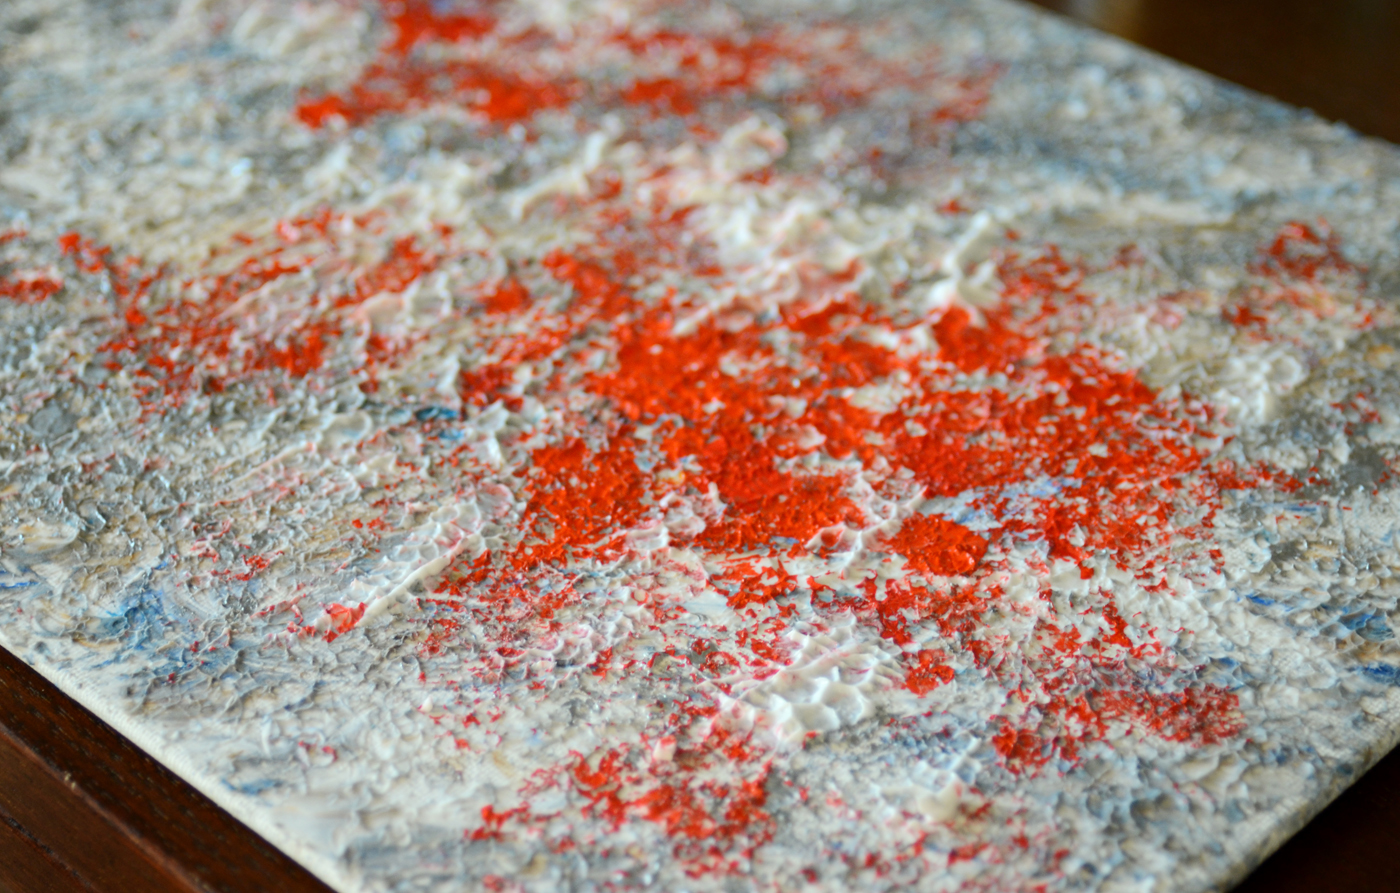
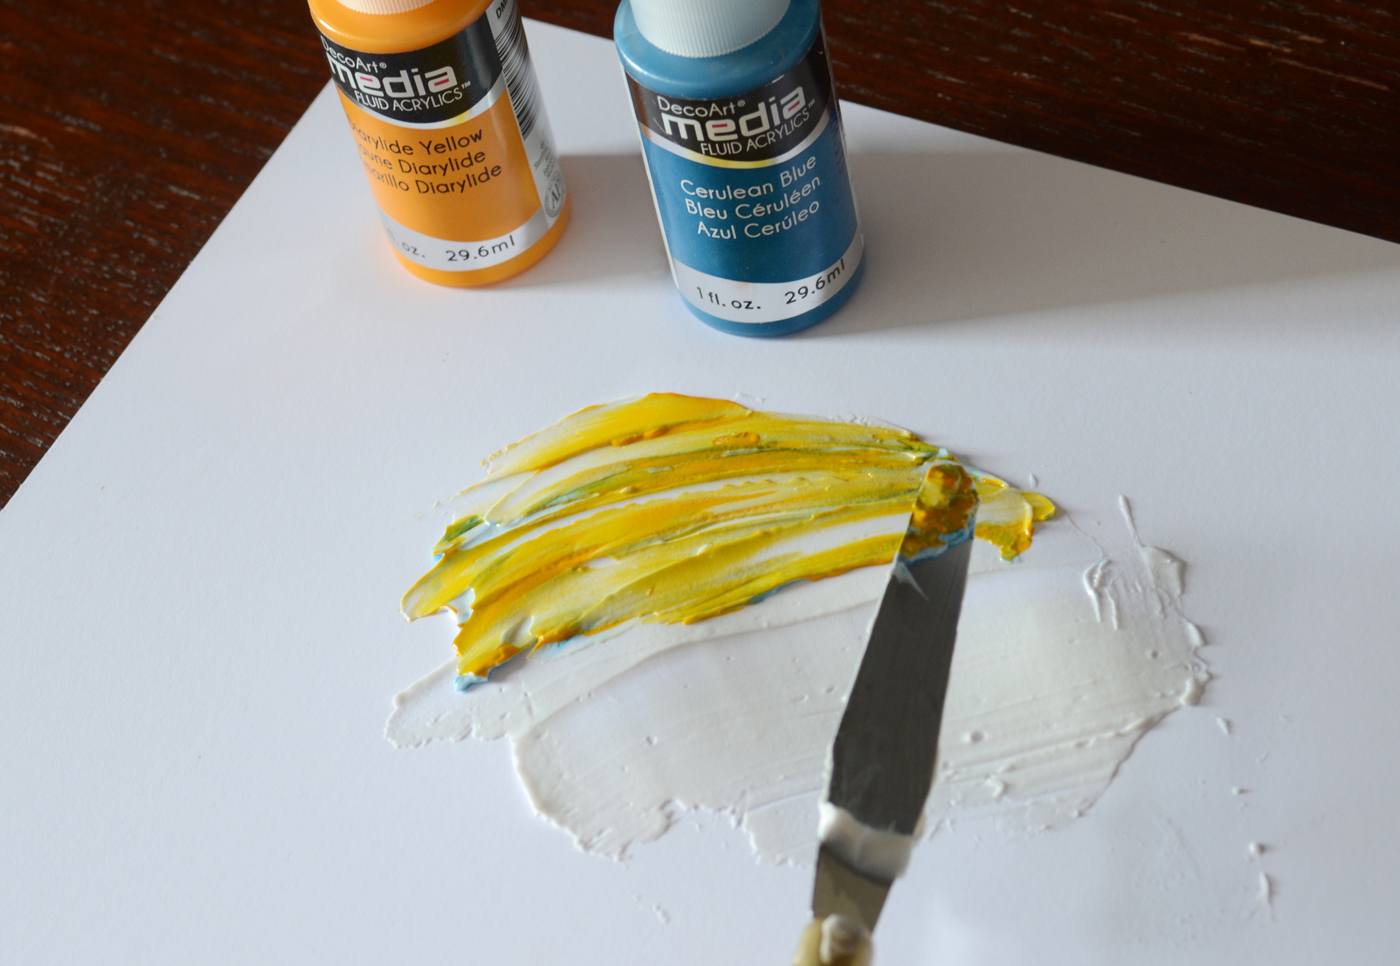
Next, begin adding acrylic paint to your textures. You have three options for adding color; you can lay down your paste and then paint into it while it’s still wet, you can mix the paint with the paste and then apply it to your surface, or you can wait for the paste to dry on the surface and then brush paint over the top. Regular acrylics work great, and metallic colors also look beautiful.
In addition to white modeling paste, DecoArt also sells black – imagine the beautiful results you could achieve by letting a layer of black paste dry, then layering over it with a textured white surface. Or you might try letting the paste dry with the plastic wrap still attached. Or perhaps you could use letter stencils to create words. The possibilities are endless with this versatile material. The main message here is to have fun with the experimentation process… you might stumble onto something amazing!