
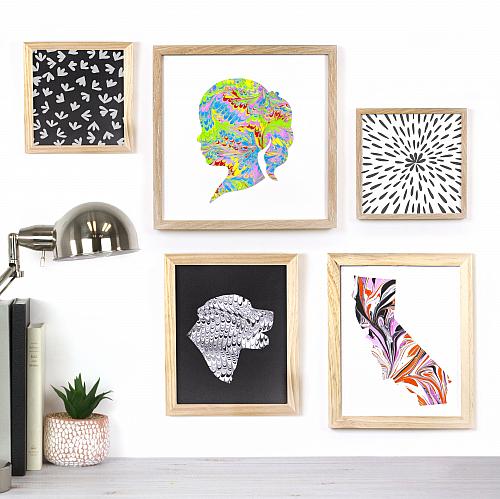
Personalized Dog Mom Gift
Posted by DecoArt on Apr 27th 2022
Show your pet in silhouette using the water marbled paper you make with DecoArt's Water Marbling Paint.
SUPPLIES
- Black (BD2WMBL)
- White (BD2WMWH)
- Premium Marbling Paper (20pcs) (DAS277-K)
- Speciality Marbling Sticks (20pc) (DABK50-K)
- Water Marbling Premium Cleaning Paper (32pcs) (DAS278-K)
- Water Marbling Comb (DAS258-K)
- paper towels
- scissors
- iron
- 8" x 10" wooden frame
- craft adhesive
- construction paper
- •pencil
- tray for rinsing
- plastic tub or tray (with lid for mixing size)
- whisk
INSTRUCTIONS
NOTES:
Before you begin be sure to set up your water marbling station. Make sure you have printed your template. You should have your supplies set up and easily accessible. Following directions on bottle, mix the Magic Medium Water Prep with the appropriate amount of water.
Be sure to have a separate tray or container of water for rinsing your printed papers (Optional). You may also want to lay out paper towels for your prints to rest on to dry.
- This project features the Nonpareil water marbling technique. With just a few supplies you can create countless unique water marbled papers to use for projects like this one.
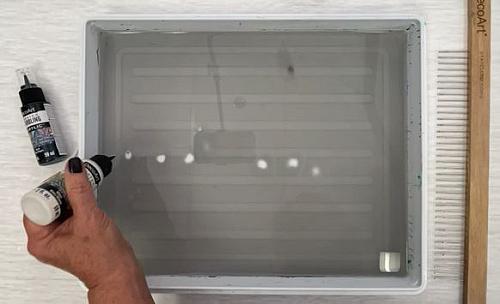
- Start by dropping several single drops of White Water Marbling Paint to create 'stones'(circles) of paint. Let the paint spread before you add the next drop of color to the center of each stone. Add stones until the surface of your size (water) is covered with paint.
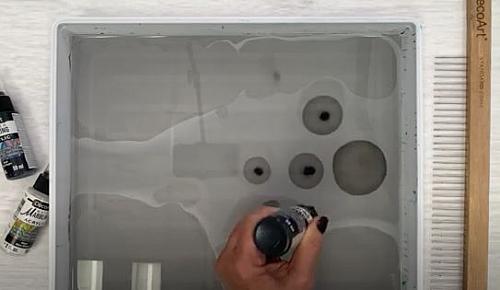
- Next, add drops of Black Water Marbling Paint within the stones. Allow each drop of color to dissolve before adding another. Continue to add black, then white, and so on.
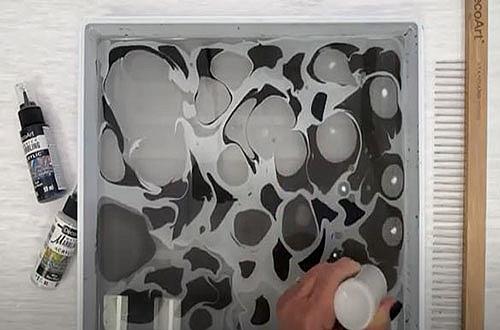
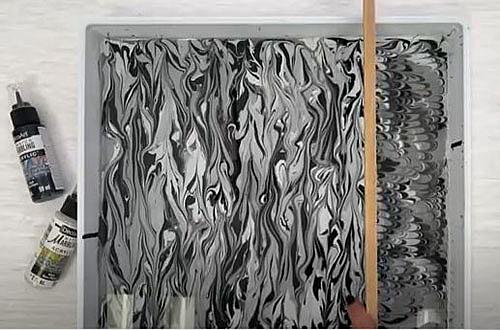
- Continue to add paint. As you can see the stones push against each other as more paint is added. The more paint you add the more vibrant your print will be. Once your surface is covered in paint and you are happy with your design, it is time to create the Gelgit pattern. Gelgit is the Turkish phrase meaning "back and forth."
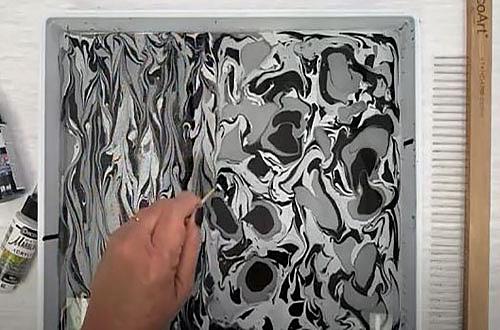
- Start on one side of the tray, moving the Premium Water Marbling Stick from the top of the tray to the bottom. Continue to move the bamboo stick from top to bottom in a continuous motion as you work your way across the tray. You will notice the paint is stretching and creating a zig zag pattern as you move the stick through the stones.
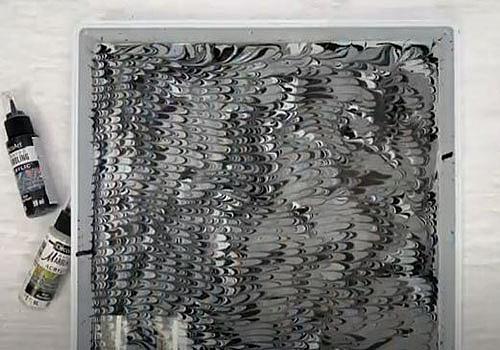
- To make the Nonpareil pattern, place the comb on one end of the of the tray (the wood top will rest on the top of the tray while the 'teeth' will be in the water) and gently move the comb from one end of the tray to the other. Be sure you are moving your comb perpendicularly to the Gelgit pattern and parallel with it.
- Once you reach the other side of the tray, gently lift and remove the comb from the water. You now have a nonpareil pattern and are ready to print your paper.
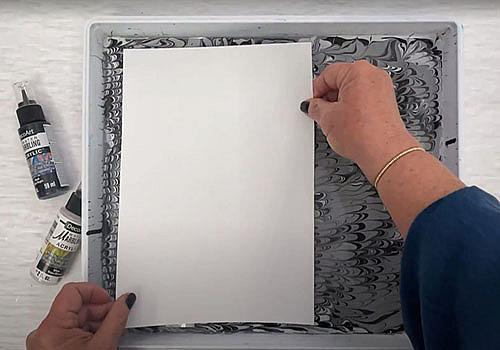
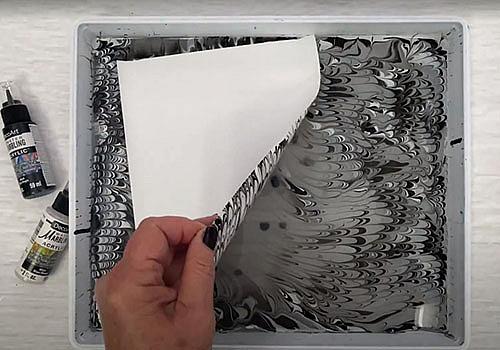
- Use a piece of DecoArt's Premium Water Marbling Paper to get maximum absorbency of the paint. A good technique to minimize air bubbles in your print is to hold your paper on opposing corners to allow the center of the paper to touch the paint surface first. Slowly lay your corners down onto the surface. Make sure the paper is in full contact with the surface. Let go of the paper.
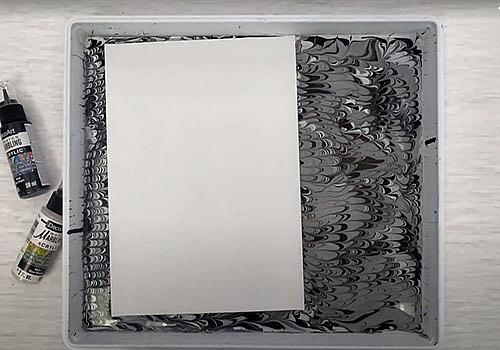
- Allow the paper to float on the surface of the size for a few seconds. This allows the design to transfer onto the paper.
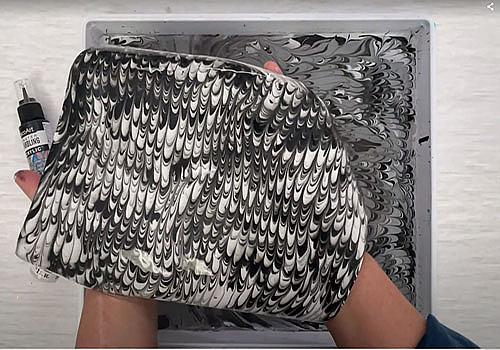
- The corners of the paper will begin to pull away from the surface. When this happens you are ready to remove the paper. Remove the paper off the surface by lifting opposing corners of the paper. Although you may notice some slight finger smudges in the corners of the paper, do not be concerned. They simply add to the overall effect.
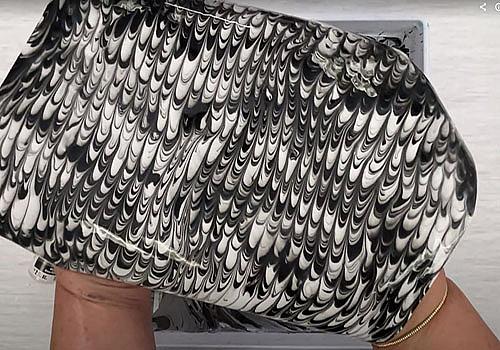
- Allow the excess water to drip off before you move your paper from the marbling tray.
- (Optional: Place print face down in a clean tray of water to rinse off extra sizing.) Lay paper PRINT SIDE UP on a paper towel to dry. This step will help absorb excess moisture and allow prints to dry faster.
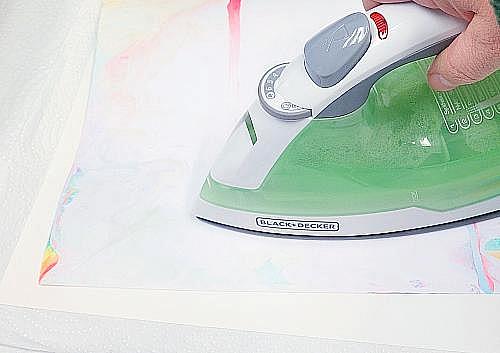
- As the paper dries it may have bends and ripples. An easy way to flatten your dry paper is to iron it. Lay paper print side down onto a piece of paper towel. Cover with the printed paper with a paper towel or piece of water color paper to protect the print, and iron (on medium heat setting) to flatten paper.
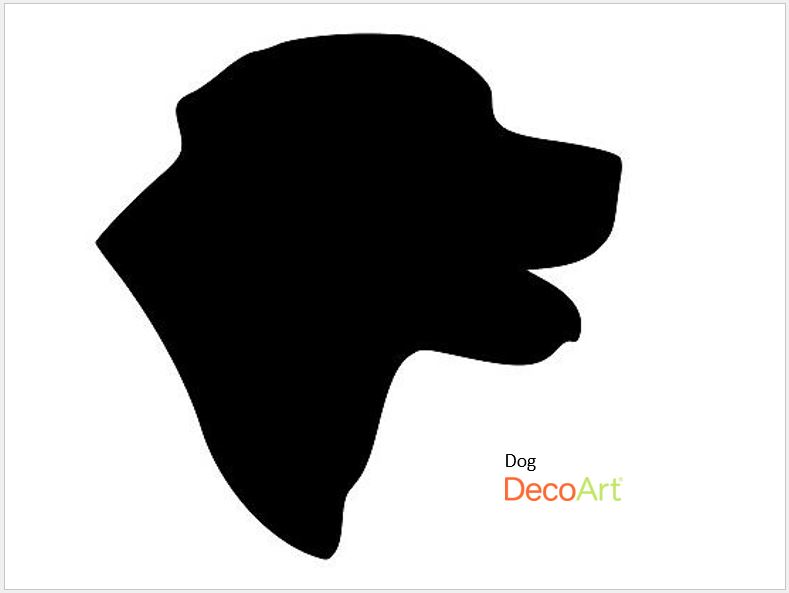
- Print your silhouette (use the one provided or use your own). An easy way to transfer the design is to cut it out and trace the design with a pencil on the back side of your marbled paper.
- Once your design is cut out, use a craft adhesive of your choice to adhere the silhouette onto the black construction paper. Frame as desired. This natural wood frame adds a modern look to showcase the marbled silhouette.
- Try making more silhouettes of your state, pet, child, house, etc. These modern silhouettes will look right at home as part of gallery wall of art. They make great personalized gifts, too!

