Traveling Art Supply Gift Box with Postage Stencil
Posted by DecoArt on Nov 2nd 2015
Give the gift of art all year long with an elegant art supply gift box using Americana® Acrylics.
SUPPLIES
- palette or plastic plate
- paper towels
- sandpaper
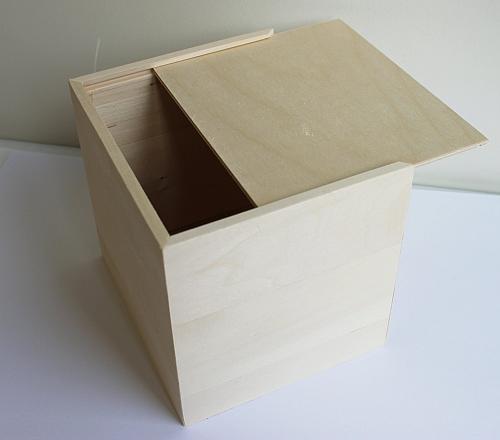
- wooden box
- 1" flat brush
- tissue paper
- hammer
- cosmetic sponges
- fabric
- wire cutters
- brads
INSTRUCTIONS
NOTES:
Let dry completely between painting steps.
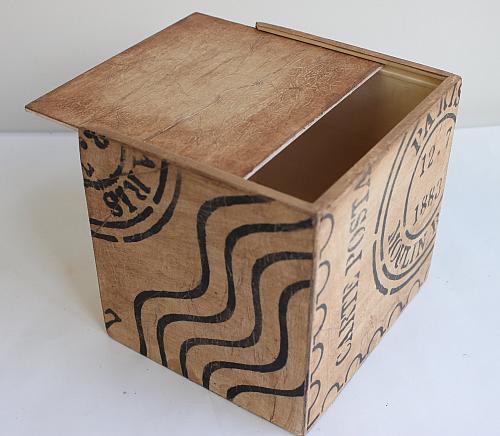
- Sand the box surface to remove any rough edges. Wipe away any dust with a paper towel.
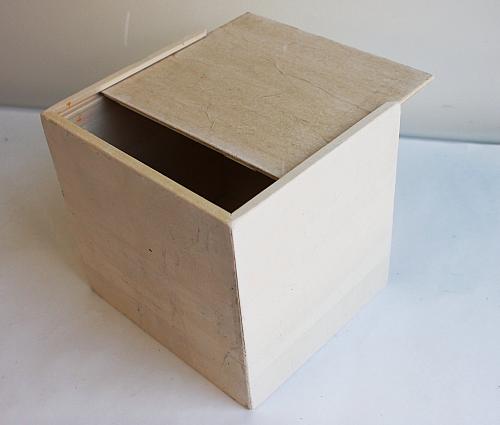
- Crumple and un-crumple pieces of tracing or tissue paper large enough for each side of the surface. On one side, use a 1" flat brush to cover the side with Americana Paper Decou-Page. Apply the tissue paper, being sure to leave some wrinkles on the surface. Apply another coat of Decou-Page on the tissue paper and remove any bubbles. Let dry. Use a piece of sandpaper to sand off excess paper on the edges of the box. Repeat until all sides are covered.
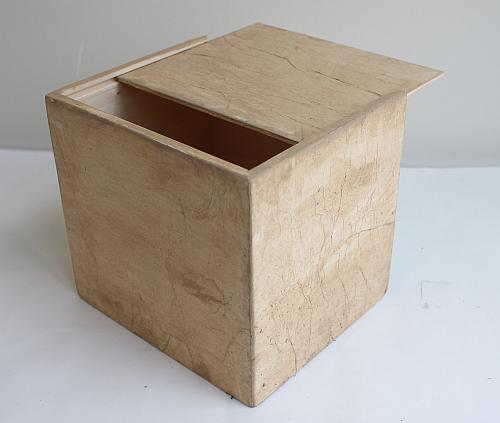
- Quickly paint one side in Khaki Tan with a 1" flat brush. Before the paint dries, wipe back with a paper towel, leaving some of the paint behind. Repeat until all sides are covered.
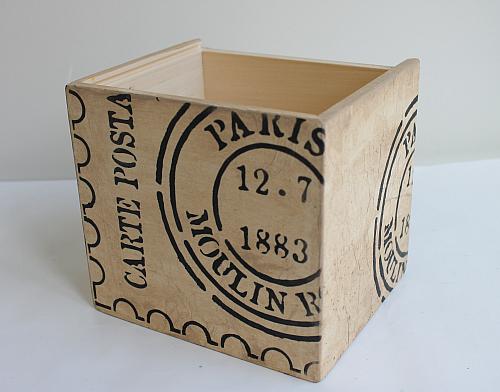
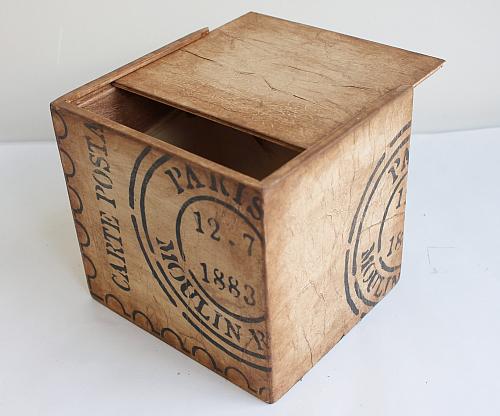
- On each side, position a different area of the Americana Decor Postcard from Paris Stencil. Using a cosmetic sponge, apply Lamp Black to the stencil. Let dry. Once dry, sand the stenciled areas.
- Mix Americana Staining/Antiquing Medium with Burnt Umber according to packaging instructions. Paint one side of the box with the mix and wipe back with a paper towel while it is still wet. Repeat for all sides. Save mix for next step.
- With the same mix from step 5, use a cosmetic sponge to lightly apply on the corners and edges of the box. Do not wipe back.
- Seal the box using Americana Matte Spray Finish.
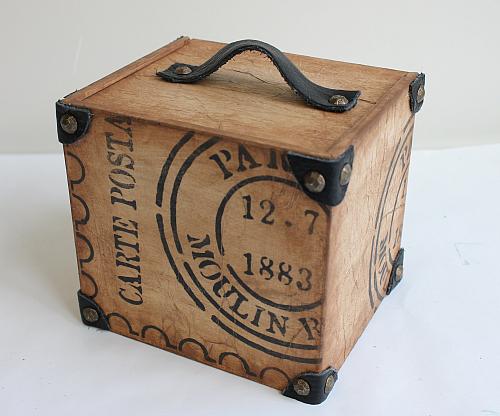
- Cut out a strap for the top of the box as desired from leather or other desired material. Cut half circles for the corners to the desired size. If needed, cut the ends of the brads off so it will not stick through the container. Hammer in the leather pieces with hammer and brads.