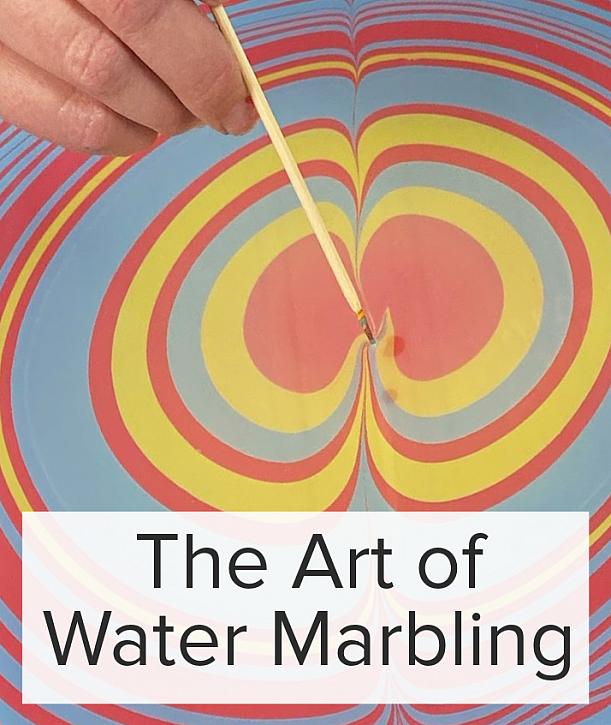
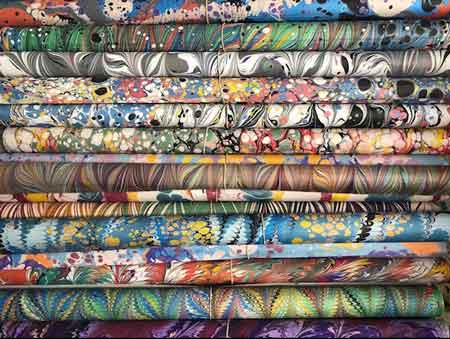
What is Water Marbling?
Posted by DecoArt on Mar 11th 2022
What is Water Marbling
Since the 12th-century paper marbling has been an artistic and cultural practice throughout Central and East Asia. By treating a tray of water with a special medium, you can thicken the surface just enough to use lightweight acrylic paints or inks to dip and swirl otherworldly patterns directly onto the water’s surface.
This mesmerizing practice is as fun to watch as it is to do. After making your marbling pattern, you can simply dip your chosen substrate and pull it away to reveal your one-of-a-kind design.
One of the fascinating things about water marbling is no two designs will be alike. Since water marbling is a mono-printing process each print you make will be entirely one-of-a-kind. The surprise and unique quality of each design adds to the mystique of this ancient art form.

History of Water Marbling
Water marbling has been around for hundreds of years with roots in Japan, China, Turkey, and numerous other cultures. Two popular forms of water marbling are the Japanese art of suminagashi and the Turkish art of ebru.
SUMINAGASHI
Suminagashi or “ink floating” is the Japanese art of paper marbling believed to have originated around the 12th century. Traditionally done in black and white, these papers would closely resemble the patterns found in natural rock and would be used to decorate the home or in bookbinding.
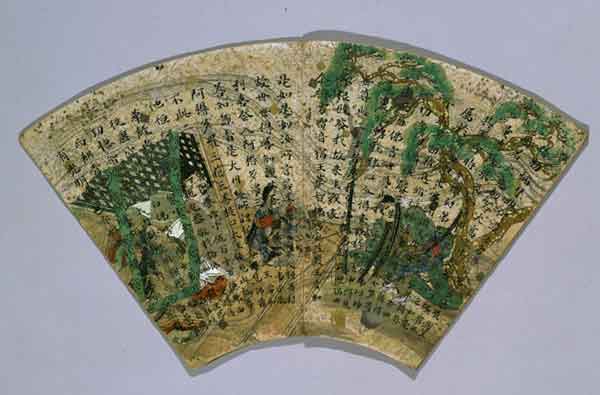
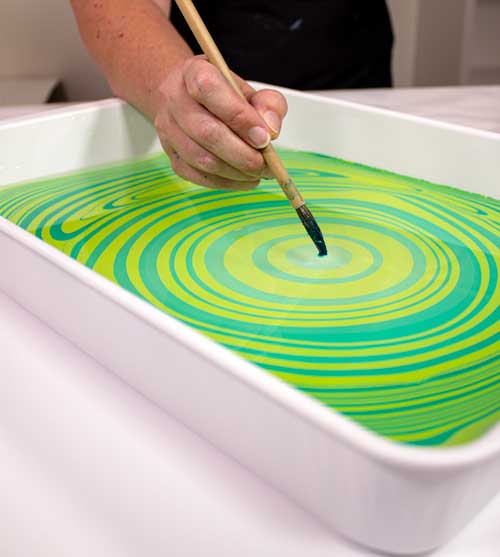
Suminagashi paper is made by using oily black ink called "sumi-e" ink and dipping it into the water with a calligraphy or "sumi" brush. Artists will dip the ink into the bath to create a series of concentric circles, they will then gently blow across the surface of the water to create delicate swirly patterns.
Today, contemporary suminagashi artists may use ink in a variety of colors, although many still use black and white. Water marbling artists will also use acrylic paint and a brush to mimic the suminagashi style "bullseye" pattern in their own prints.
EBRU
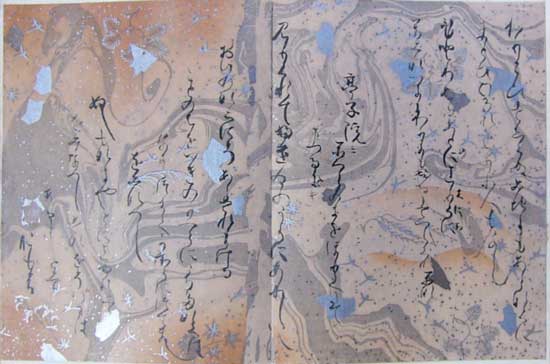
Ebru is the ancient Turkish art of water marbling that originated in the Ottoman Empire. Primarily used as an art form, Turkish paper was highly prized by other countries for its beauty and uniqueness. Marbled paper from Turkey was so popular that all marbled paper was called "Turkish paper."
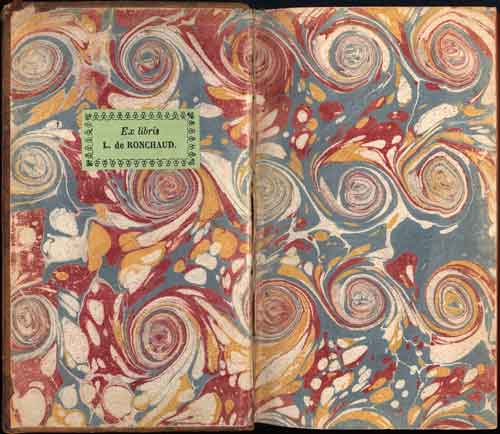
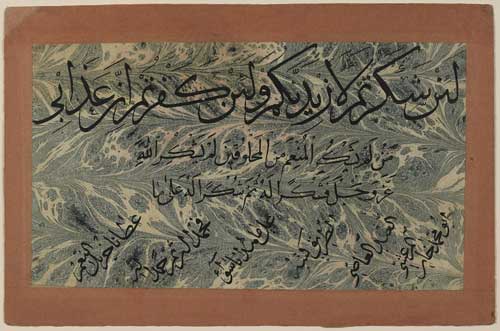
Patience and a good knowledge of traditional culture are characteristics of ebru masters. Turkish marbled papers were often used to decorate books and for official correspondence. The uniqueness of each piece of marbled paper acted as a signature, helping to ensure a document’s authenticity.
Ebru artists use horsehair brushes and natural earth pigments to create these complicated and colorful patterns, and this ancient art form is still a prominent part of Turkish culture today.

WATER MARBLING TODAY
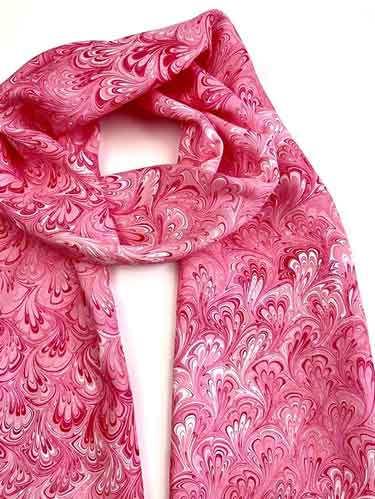
While you can still find ebru artists in Istanbul creating ornate patterns and artists in Japan making the calming swirls of suminagashi, water marbling has also extended to a variety of modern surfaces and purposes. Whether its shoes, scarves, or even their nails, the art of water marbling is growing and the only limit is your imagination.

How to Water Marble
If you're interested in making your own water marble prints DecoArt has made it easy with a collection of water marbling acrylics and accessories to help get you started right away. Once you have your paint, all you need to do is to set up your marbling bath and learn some basic patterns to begin your new hobby. Continue reading to learn more.
How to Start Water Marbling
The first step for any new project is deciding what you want to marble. Almost any absorbent or porous surface can be marbled. Paper and wood are good surfaces for beginners, as are natural fibers such as cotton and silk.
If you want to marble other surfaces, you can also use our Surface Prep to help the paint stick. This is great for glass, plastics, or anything else you'd like to try marbling. Most surfaces can be marbled with the right preparation.
Next, you'll need to make your marbling bath. You will want to ensure your water marbling bath is deep enough to submerge whatever item you are marbling.
Prepare The Marbling Water
Mix DecoArt's Magic Medium with water in a tray or other container. The Magic Medium will increase the density of the water and allow our Water Marbling Acrylics to float on the surface.
The marbling water or "size" as it is also called, can be prepared ahead and stored covered at room temperature for up to 5 days. Empty gallon containers are perfect for this. If you use distilled water, it can be stored for even longer.
There are many traditional techniques used in water marbling. You can choose to start with one of these techniques or experiment and find your own style.
How to Create A Water Marbling Pattern
- Gently shake the paint bottle before use to make sure it is properly mixed
- Remove the plastic inner seal from the dropper tip
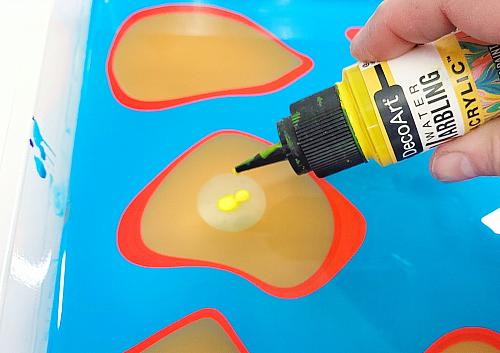
- Hold the bottle 1-2 inches above the water's surface, dropping paint from too high can cause it to sink through the water
- Lightly squeeze the bottle to let paint drops fall onto the water
- Watch as the drops of color spread to create shapes
- Note: The first color drops you add will spread the furthest and may seem to disappear, but they're still there!
- Colors may be added next to or on top of each other
- The paints will begin to press against one another, and you will see a pattern start to form
- Try manipulating colors with a marbling stick, paintbrush, comb, rake, or other tools. Even household objects like toothpicks can be used.
- TIP: When the paint drops stop spreading, the water bath is too saturated. Adding more paint may cause it to sink so go ahead and make a print!

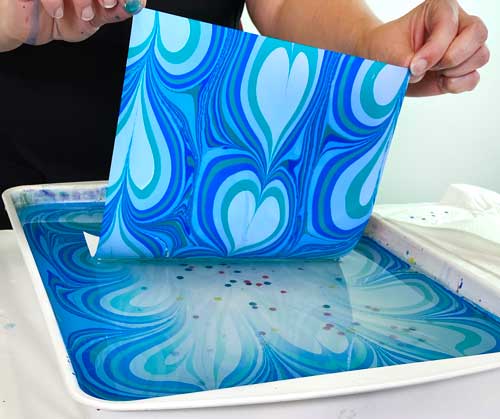
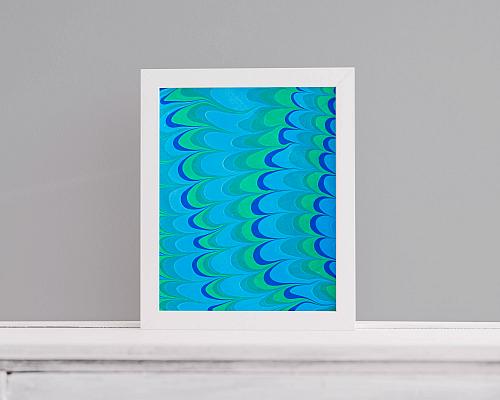
Make A Print
Once you're happy with your pattern, it is time to make your first print! Here's how to create a print using DecoArt's Water Marbling Paper.
- Hold the edges of the paper on opposite ends and bend gently up so the paper forms a “U” shape
- Place the middle of the paper delicately into the water, then slowly drop the edges you are holding down onto the bath so the entire paper is floating on the surface
- Grasp the top edge of the paper and slowly peel the paper off of the surface of the water
- Hang your paper or lay it flat to dry

You can also use other types of paper when water marbling, but they may need to be treated with our Surface Prep to ensure a crisp and clean print. Our Marbling Papers are designed to be bright white and smooth so you get a perfect print every time.
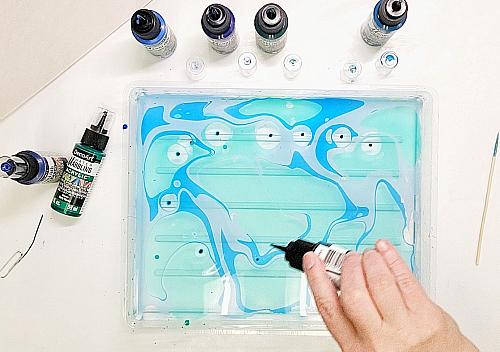
How to Reuse The Water Marbling Bath
You can use the same marbling water for multiple prints. Simply use the DecoArt Marbling Cleaning Paper to remove excess paint from the surface of your water bath.
- Grasp one edge of the cleaning paper and lightly skim the surface of the water to remove the paint
- Repeat with a new cleaning paper until the paper comes away clean and you're ready for another design!
- If paint stops spreading on the surface of the water it is time to mix up a new batch, but the same water can typically be used for several days if stored properly
- TIP: Do not worry if drops of paint fall to the bottom of the water. They will not affect your next print.
Classic Water Marbling Patterns
STONE PATTERN
When the paint is dropped gently onto the surface of the marbling bath, or the "size", and allowed to expand it will form a circle, which is called the stone. When multiple stones are created this is referred to as the stone pattern. The stone pattern is the foundation for many other water marbling patterns, but it can also look gorgeous on its own.
To create the stone pattern, drop paint gently onto the marbling bath. This process is often referred to as “throwing stones.” You can drop other colors of paint within existing stones to create layers of color.
Paint can be dropped directly from a bottle or you can use a stylus, toothpick, or paintbrush to dip paint in the marble water. Dropping more paint will expand the size of the circle.
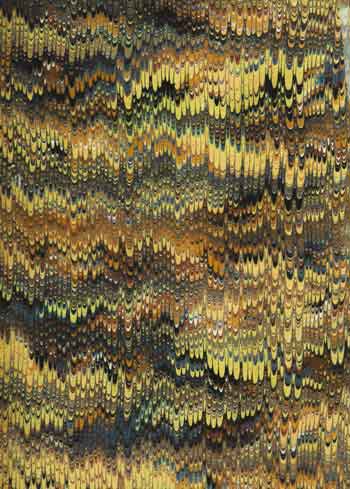
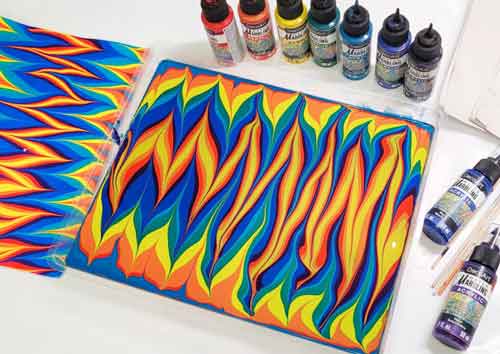
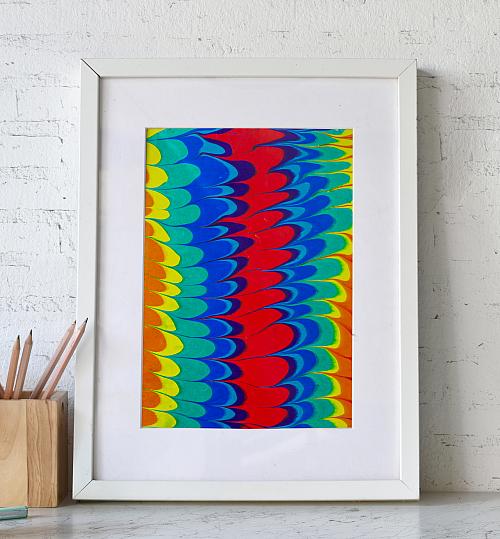
GELGIT OR ZIGZAG
The gelgit pattern is another starting point for many water marbling patterns. The term “gelgit” translates to “come and go” in Turkish and this pattern is also called the back and forth or zigzag pattern.
To create a
gelgit pattern, follow the steps below.
- Create a stone pattern or drop paint however you like until the bath has a base down. In the design below, our artist dropped paint in lines of color in rainbow order first.
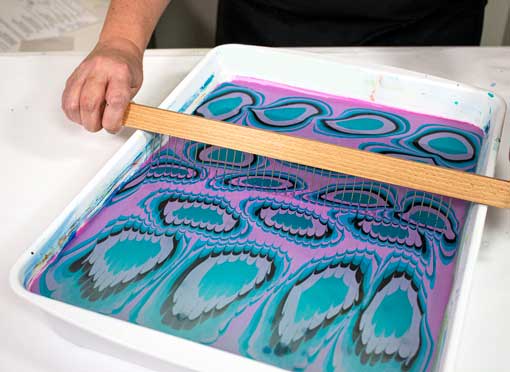
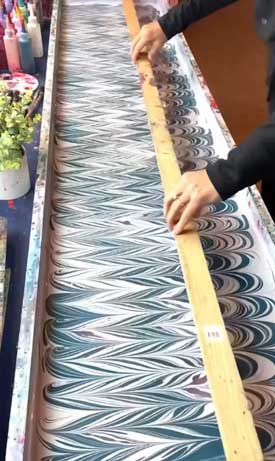
- Once you have your base, draw parallel lines up and down through the water marbling bath using a rake or water marbling stick (also called a stylus).

After creating a gelgit pattern many artists will pass through it with a comb or other tool to create an even more intricate design. Experiment and see what you can come up with.
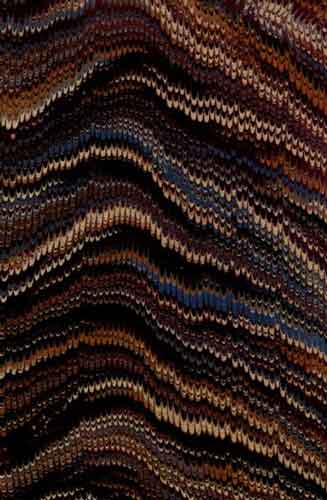
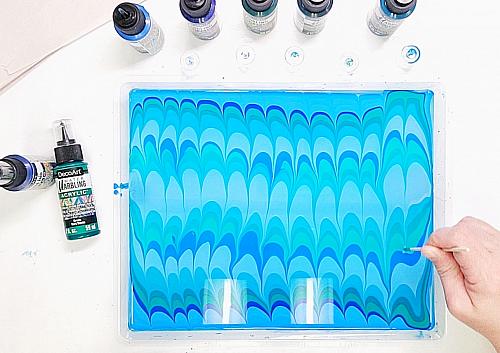
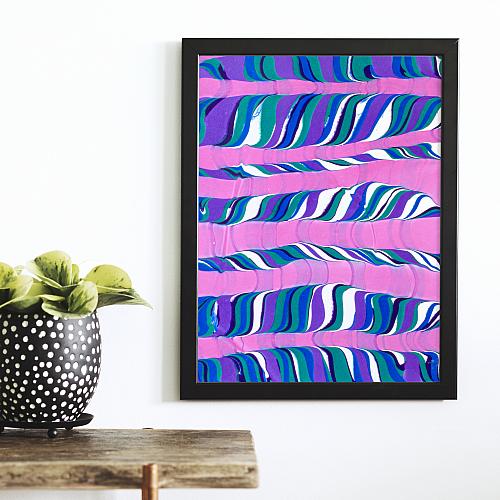
ARCHES
The arches pattern is similar to the gelgit pattern, except you pull your marbling stick through in the same direction each time. This will result in delicate arches and is a popular look in both ancient and modern prints. To make the arches pattern:
- Start with a gelgit base
- Draw parallel lines down through the water marbling bath using a rake or water marbling stick.
- This pattern can be done on top of other patterns to create a complex design or left alone.
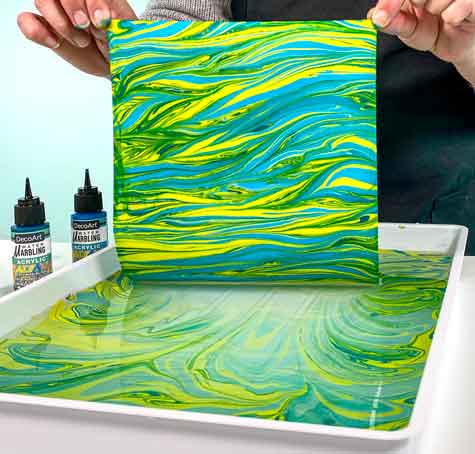
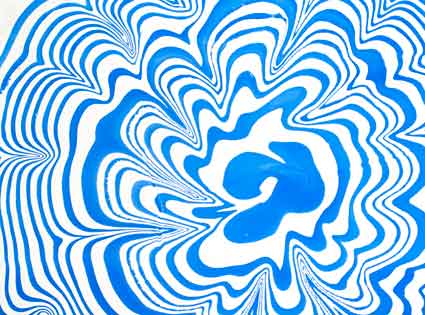
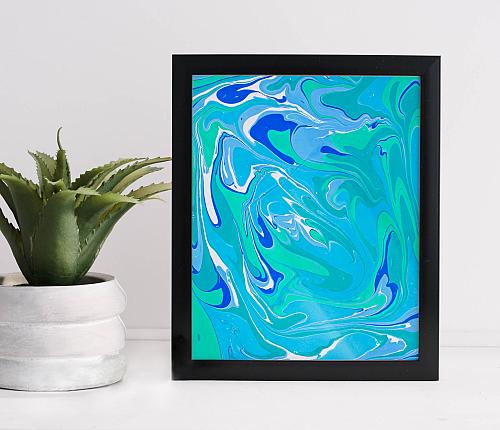
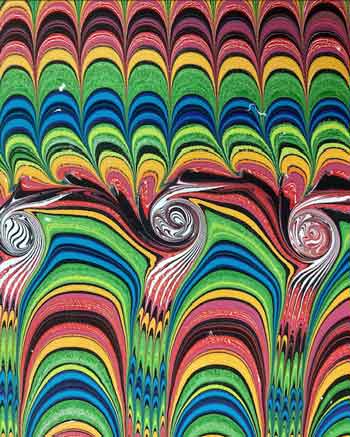
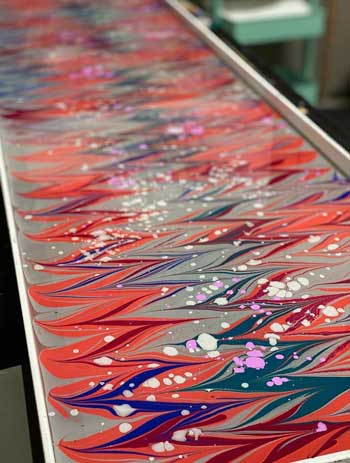
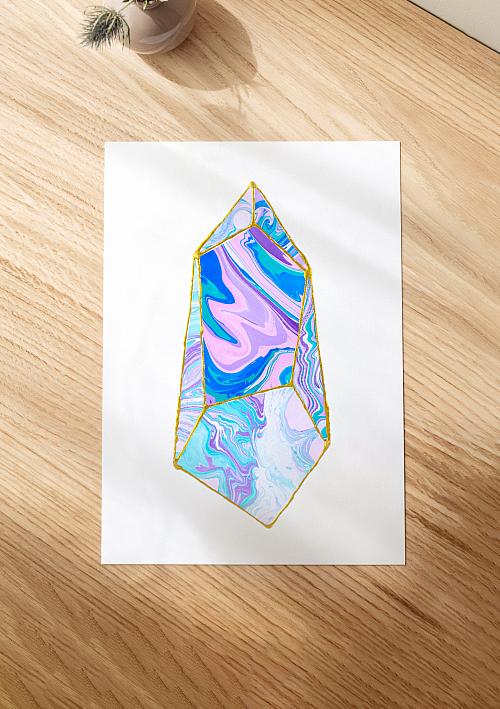
SWIRLS
Swirls (or fantasy marble) is a modern and free-form technique. To make swirls, slowly drag a marbling stick through a pool of paint in a winding motion.
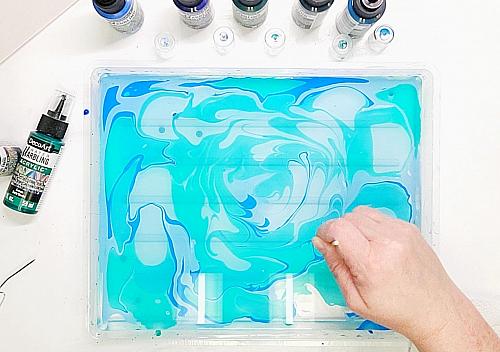
This type of marbling can be very freeing, simply follow your intuition to manipulate the water. You can start with stones, gelgit, or any other type of pattern before swirling.
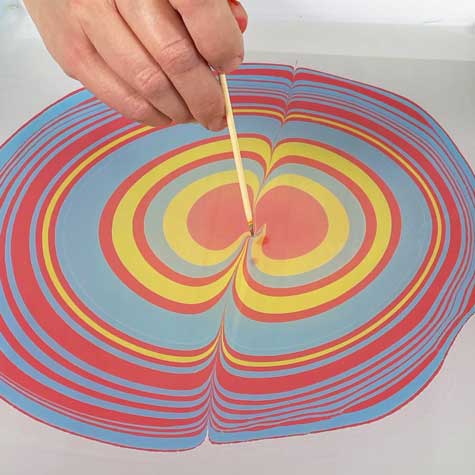
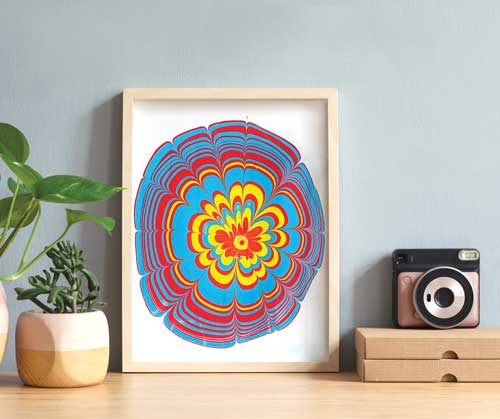
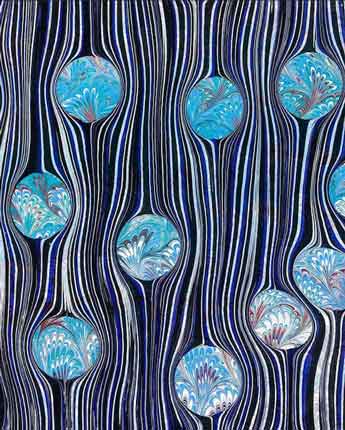
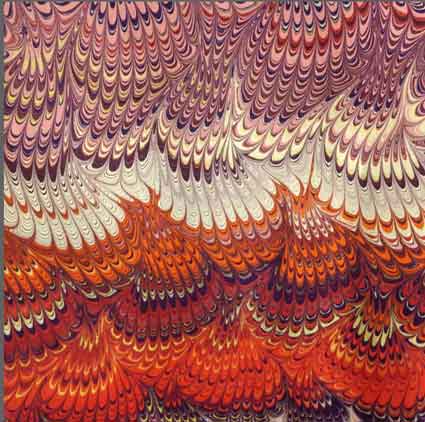
FLOWER PATTERN
A more intricate marbling pattern, the flower pattern incorporates the use of a
marbling stick or stylus to manipulate the paint to resemble a flower. This pattern is popular in ebru art.
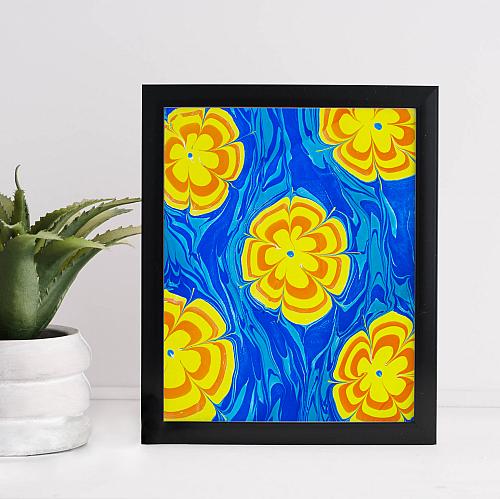
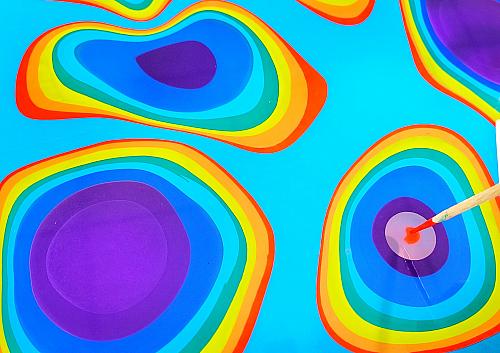
Start by dropping paint to create a stone in the water. You can use the same color or multiple colors, depending on how you want your flower to look.
You then dip the marbling stick into the water outside of the circle and drag it gently towards the middle of the circle before removing the stick. Wipe the stick with a paper towel and repeat until you have your desired number of petals.
Marbling sticks can be used like this to create a variety of shapes, such as hearts, flowers, fish, and more. Experiment and see what you can create.

If you're ready to get started click here to shop our new water marbling collection. We have a variety of vibrant colors to chose from in individual packs or color sets as well as water marbling accessories.

Water Marbling Artists
The best way to learn a new skill is to see it done by the experts. These artists are a must-follow for anyone interested in learning how to water marble.
Mercedez Rex
Mercedez is a skilled artist who offers workshops on the art of water marbling. Her detailed prints and soothing videos will inspire anyone to make their own prints. Click here to visit her website or you can follow her on Instagram here.
 Danny Ebru
Danny creates modern prints with this ancient method to create art that's all his own. Click here to visit his website or you can follow Danny on Instagram here.


Jennifer from Blue Ivy Marbling
Jennifer creates mesmerizing videos of her water marbling silk scarves and other accessories that she sells on her website, Blue Ivy Marbling Boutique. Click here to see her website or you can follow Jennifer on Instagram here.

Mayu Silk Art
Mayu Silk Art teaches others how to create their own marbled silks. Click here to visit her website and learn more (or maybe even book your own lesson!) or you can follow her on Instagram here.
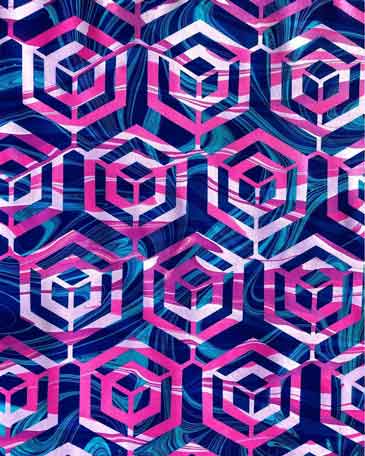
Water Marbling Projects
Want to know even more about this exciting art form? The DecoArt project gallery has plenty of free projects to explore. Click any of the pictures below to learn how to make them yourself.
See us on YouTube
Visit the DecoArt YouTube channel to see our water marbling acrylics in action.
Explore More Water Marbling
Check out our
water marbling shop page to see what we have in store. You can also follow us on Facebook, Instagram, and Pinterest for posts about this ancient art. Be sure to comment and let us know what you think, and what you'd like to marble first!